Showing posts with label classic label. Show all posts

Tuesday, October 31, 2023

Expressions In Ink meets Sending Smiles

  Welcome to my blog

and  thank you for joining me today!

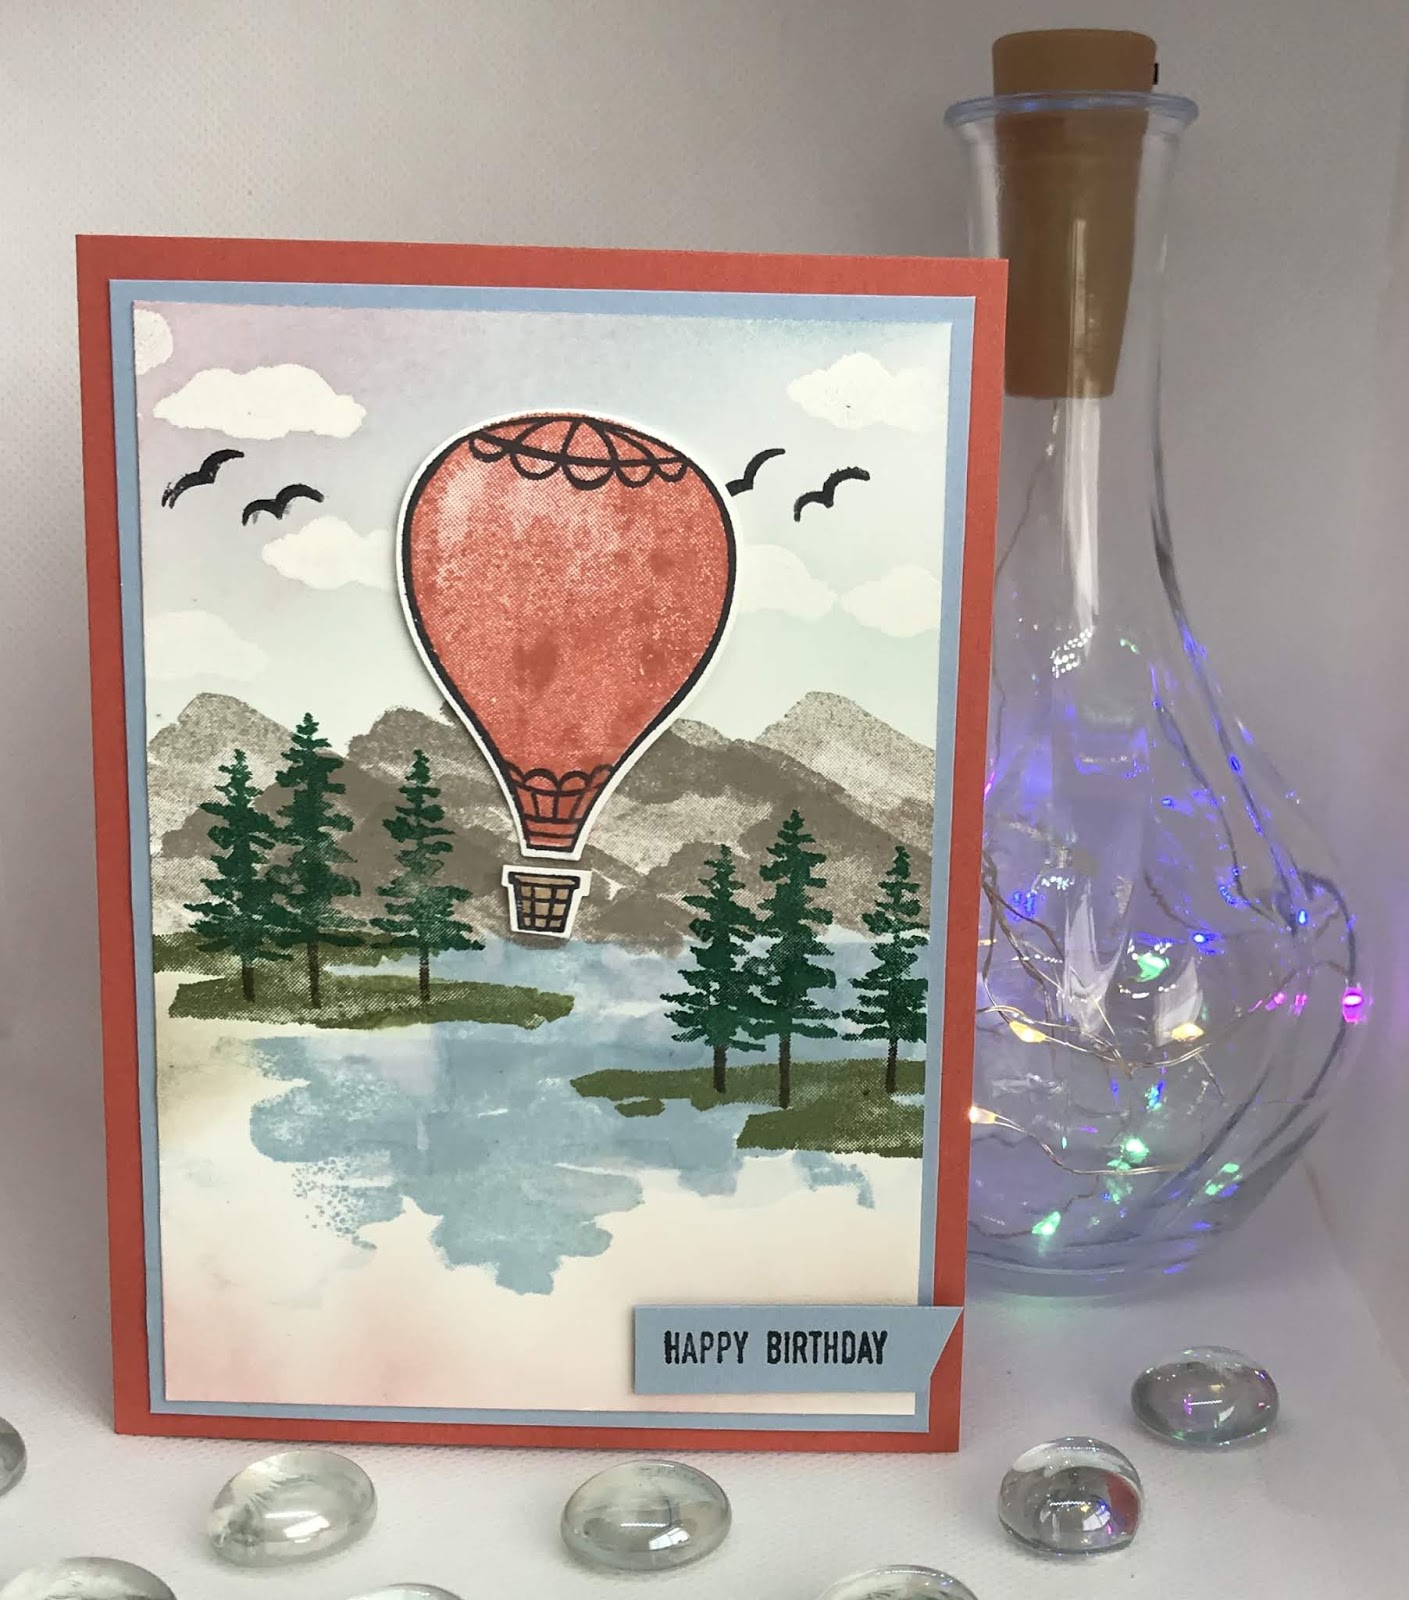
Birthday Wishes for Rachael


This is a 5 minute card - stamping, die cutting and using a punch

Materials required for this card are:

Card Stock: basic white
Designer Series Paper: *Expressions in ink
Dies: artistic
Ink: pumkin pie
Punches: *classic label
Stamp Sets: sending smiles
Accessories: adhesive sheets
 * = no longer available
  1. Start with a base card 13.5 x 29 scored at 13.5
  2. dsp layer is 12.5 x 12.5, adhered using liquid glue
  3. die cut the large floral die using basic white 11 x 11 backed with adhesive sheeting, then adhere to the base card
  4. stamp the sentiment onto a piece of basic white and punch it out
  5. attach the sentiment to the card using dimensional pads
Hope you liked today's card. If you would like more information on how to make it, please don't hesitate to contact me, I'd love to hear from you.

If you wish to buy any of the items used, go to contacting me at the top of the page for details on how to order.

Will be back again soon with more cards, in the meantime take care and have a great day.

Annette 😘 

Monday, April 11, 2022

A Grand Kid meets Hat Builder

    Thank you for joining me today!

Happy 18th Thomas


Love this hat, but haven't used it anywhere near enough so thought I'd give it an airing today. The layout came from Amy Koenders, I've just tweeted it slightly.

Materials required for this card are:

Card Stock: balmy blue, basic white, real red
Designer Series Paper: pattern party
Dies: hat builder, playful alphabet
Embossing Folders: hammered metal 3D
Ink: balmy blue
Punches: *banner triple, classic label
Stamp Sets: a grand kid
 * = no longer available

Hope you liked today's card. If you would like more information on how to make it, please don't hesitate to contact me, I'd love to hear from you.

If you wish to buy any of the items used, go to contacting me at the top of the page for details on how to order.

Will be back again soon with more cards, in the meantime take care and have a great day.
Annette 😘

Tuesday, January 18, 2022

So Hoppy Together meets Handsomely Suited

    Thank you for joining me today!

A blast from the past for Paul this week


I had a lot of fun making this card, by starting with the Z fold card base, and going from there with one of my older stamp sets & dies. It was much easier than I thought it would be to put together. The insert label is not a verse or sentiment it's our choice of menu for next weeks dinner 😊

Materials required for this card are:

Card Stock: basic white, *lemon lime twist, old olive
Designer Series Paper: *botanical butterfly
Dies: *hop around
Ink: memento tuxedo black
Punches: classic label, label me lovely
Stampin' Blends: basic black, daffodil delight, granny apple green, old olive, smoky slate, so saffron
Stamp Sets: so hoppy together, handsomely suited
Accessories: wink of stella
 
* = no longer available, and when using layering dies (1) is the smallest

Hope you liked today's card. If you would like more information on how to make it, please don't hesitate to contact me, I'd love to hear from you.

If you wish to buy any of the items used, go to contacting me at the top of the page for details on how to order.

Will be back again soon with more cards, in the meantime take care and have a great day.
Annette 😘

Saturday, May 8, 2021

Timeless Tropical meets Senior Years & more

 Thank you for joining me today!

Happy Retirement Simon, may this be the start of the best years yet!


A mixture of old and new, and fairly easy to make. Die cutting, stamping and colouring. At the time of making this card all products were live.

Materials required for this card are:

Card Stock: basic white, cherry cobbler, just jade
Dies: *layering ovals (5), *friendly silhouettes 
Ink: memento tuxedo black
Punches: *classic label
Stampin' Blends: basic black, cherry cobbler, gray 
granite, highland heather, just jade
Stamp Sets: birch, *friend like you, senior years, timeless tropical
Accessories: stamparatus
* = retired, when using layering dies (1) is the smallest

Hope you liked today's card. If you would like more information on how to make it, please don't hesitate to contact me, I'd love to hear from you.

If you wish to buy any of the items used, go to contacting me at the top of the page for details on how to order.

Will be back again soon with more cards, in the meantime take care and have a great day.
Annette 😘

Sunday, May 2, 2021

Zany Zebras waterfall card

 Thank you for joining me today!


Happy 3rd Birthday Freddie, where does the time go!

This is my version of a card created by Lisa Cursio (lisasstampstudio.com) I had to make it a little bit bigger, hence the scalloped base for the card (nsu). Once I worked out the measurements I wanted, it was very straight forward to complete. At the time of making this card only the ribbon and tag punch were retired.

I think this is the best waterfall card I've made so far!  
Sorry it's a bit photo heavy.


There is also a zebra stamped on the pull mechanism, just loved this set and didn't get to use it as much as I'd have liked to.

Materials required for this card are:

Card Stock: basic white, calypso coral, night of navy
Designer Series Paper: *playing with patterns
Dies: playful alphabet *stitched shaped frames (4)
Embossing Folders: hammered metal 3D
Ink: calypso coral, coastal cabana, crushed curry, night of navy
Punches: *classic label, *scallop tag topper
Ribbon: *sycamore street satin
Stampin' Markers: calypso coral, coastal cabana, crushed curry, night of navy
Stamp Sets:  a grand kid, *family party, *zany zebras 
* = retired, when using layering dies (1) is the smallest

Hope you liked today's card. If you would like more information on how to make it, please don't hesitate to contact me, I'd love to hear from you.

If you wish to buy any of the items used, go to contacting me at the top of the page for details on how to order.

Will be back again soon with more cards, in the meantime take care and have a great day.
Annette 😘

Sunday, March 7, 2021

Forever Blossoms meets Woven Heirlooms

 Thank you for joining me today!


Another card for Sue


I was looking at some of my old stamp sets and dies the other day, and decided to use the retired rose trellis dies for this card, I'm also using up some of my old card stash. 

Materials required for this card are:

Card Stock: basic white, soft sea foam, silver foil
Dies: cherry blossoms, *rose trellis
Embossing Folders: tin tile
Ink: smoky slate
Punches: classic label,detailed trio
Ribbon: crinkled seam binding
Stampin' Blends: just jade, flirty flamingo, rococo rose
Stamp Sets: forever blossoms, woven heirlooms   
Accessories: basic rhinestones, wink of stella
* = retired

Hope you liked today's card. If you would like more information on how to make it, please don't hesitate to contact me, I'd love to hear from you.

If you wish to buy any of the items used, go to contacting me at the top of the page for details on how to order.

Will be back again soon with more cards, in the meantime take care and have a great day.
Annette 😘

Tuesday, December 29, 2020

Snowman Season meets Itty Bitty Christmas

Hello and welcome to my haven in a hectic world!


This is the Fourth of my Christmas cards for 2020.  As stated before they are all creations taken from Pinterest last year. So for all of you who first made them a big thank you.


All measurements are in centimetres.
(cs) = card stock, (ef) = embossing folder, (r) = retired, (ss) = stamp set

Card Stock: 4 pieces whisper white 14.5 x 21 scored at 10.5 (card base), 13.5 x 9.5 (embossed layer), 7 x 7 (stamped layer) 1.5 x 6 (sentiment)
2 pieces purple posy/soft seaside spray 14 x 10 (1st layer), 10.5 x 13 (leaves frame)
  • Emboss the larger whisper white (cs) using the subtle (ef).
  • Stamp the snowman from the snowman seasons (ss) using memento ink and then colour it using the light stampin' blends for the scarf and nose, pumpkin pie, purple posy/seaside spray.
  • Die cut the 2 frames (this can be done at the same time) using the frosted frames dies.
  • Staple the seaside spray metallic / organdy combo ribbon at top of the image frame, making a banner.
  • Stamp the sentiment from the itty bitty Christmas (ss) and punch out using the classic label punch.
  • To put together, adhere the embossed (cs) to the purple posy (1st layer) using liquid glue and attach to the card base using dimensional pads. Then attach the other two layers on top again using dimensional pads, finishing with the sentiment.
  • Add a rhinestone to the sentiment.
Thanks for dropping by and hopefully see you again soon
Annette X

Sunday, December 6, 2020

Itty Bitty Christmas meets Toile Tidings

Hello and welcome to my haven in a hectic world!
Thanks for joining me today!

Created for my Uncle, it's his first Christmas without my Aunt.


Clean and simple, die cutting and very little stamping.

Materials required for this card are:

Card Stock: gold foil, very vanilla
Designer Series Paper: Toile Tidings
Dies: ornate layers, stitched rectangles (4) wide
Ink: garden green
Punches: classic label 
Stamp Sets: itty bitty christmas
when using layering dies (1) is the smallest

Hope you liked today's card. If you would like more information on how to make it, please don't hesitate to contact me, I'd love to hear from you.

If you wish to buy any of the items used, go to contacting me at the top of the page for details on how to order.

Will be back again soon with more cards, in the meantime take care and have a great day.

Annette 😘 

Monday, September 14, 2020

Boho Indigo Product Medley

 Hello and welcome to my haven in a hectic world!

Thanks for joining me today!

Lots of new goodies for Sue's card this week.

They say Birmingham is going back into lockdown this coming week, hope it doesn't  come to Walsall.

Quick and easy to make, using the product kits is really great, with not a lot extra needed.


Materials required for this card are:

Card stock: night of navy, very vanilla
Embossing folders:tasteful textile 3D
Ink: blushing bride, night of navy
Kits: boho indigo product medley (great value, you get it all. Coordinating stamps, dies, paper, ribbon & embellishments)
Punches:banner triple, classic label

Hope you liked today's card. If you would like more information on how to make it, please don't hesitate to contact me, I'd love to hear from you.

If you wish to buy any of the items used, go to contact me at the top of the page for details on how to order.

Will be back again soon with more cards, in the meantime take care and have a great day.
Annette 😘

Sunday, April 12, 2020

Above the Clouds meets Waterfront

Hello and welcome to my haven in a hectic world, hope you're having a great day!

Happy Birthday Duncan!

I have a few of the "waterfront" type stamp sets now and feel I'm starting to get better with them.
I really enjoyed making this one.

All measurements are in centimetres.

(cs) = cardstock, (ep) = embossing powder, (ss) = stamp set.

Terracotta Tile 21 x 14.5 scored at 10.5 (card base), Seaside Spray 9.7 x 13.7 (1st layer), sWhisper White 13.3 x 9.3 (2nd layer), 7 x 4.5 Balloon.
  • Stamp the sentiment from the itty bitty greetings (ss) in memento black ink onto the seaside spray 1st layer and punch out using the classic label punch (this is called gutting, the hole that is left doesn't get seen).
  • Adhere the 1st layer to the card base using liquid glue.
  • Prime the top half of the whisper white 2nd layer with your embossing buddy and then stamp the clouds from the above the clouds (ss) in versaMark and heat emboss using clear (ep).
  • Stamp your scene making sure there's a top, middle and bottom area, using the waterfront (ss) and appropriate colours. I used balmy blue and pool party for the sky (sponge method), gray granite for the mountains, seaside spray for the water, mossy meadow for grass, shaded spruce & early espresso for the trees, then more sponging at the bottom using sahara sand and terracotta tile (very lightly). The birds are stamped in memento black.
  • With the small piece of whisper white (cs) stamp the full balloon in terracotta tile and then over stamp with one of the outline balloons in memento black and punch out using the hot air balloon punch. Stamp the outline of the basket in memento black and punch out too.
  • Colour the basket using a bronze stampin' blend.
  • Adhere the second layer to the card base using liquid glue.
  • Attach the balloon using dimensional pads.
  • Cut the sentiment straight on the left and diagonal on the right, then attach to the card base using dimensional pads.
Will be back again soon with more cards. Thanks for stopping by.
Annette X

Saturday, January 25, 2020

Piece of Cake meets Tufted


Hello, and thank you for stopping today

Happy birthday Ashlie!
What do you do when they start getting older? I find it harder to come up with ideas.

Measurements are in centimetres, (cs) = card stock, (dsp) = designer series paper, (ef) = embossing folder, (ep) = embossing powder), (r) = retired, when using layering dies (1) is the smallest.

Card base is 14.85 x 21 scored at 10.5, (r) winter frost (dsp) 14.85 x 4.5, so saffron (cs) strip 14.85 x 1, whisper white (cs) 9 x 6.5 (plain oval), silver foil 9.5 x 7 (scalloped oval),  scrap whisper white (cake) and (sentiment), scrap silver foil (cake base), scrap pool party and so saffron (label).

Colours are, coastal cabana, pool party, so saffron, memento tuxedo black (use of all outline stamping).
  1. With the tufted (ef) emboss the first 6 centimetres of the card base, adhere the (r) winter frost (dsp) down the left hand side and add the so saffron strip using liquid glue. Now add the glittered organza ribbon on top of the so saffron strip and tidy up the edges. I used snail to attach the ribbon.
  2. Stamp all the outline pieces using the piece of cake (ss) the candles are stamped on the whisper white (cs) for the oval.
  3. Using the layering ovals dies, die cut the plain oval (6) and the scalloped oval (7).
  4. The happy birthday sentiment was stamped using coastal cabana ink and heat embossed using clear (ep). Once embossed cut using the classic label punch. Then cut 2 more labels, one each of pool party and so saffron. Cut these two labels in half and adhere to the sentiment label at each end using liquid glue.
  5. Adhere the scalloped oval to the card base using liquid glue.
  6. Using stampin' blends colour the candles and cake, then add some clear wink of stella to the flowers and flames. Now cut both the cake and the cake stand using the cake builder punch.
  7. Attach both the cake and cake stand using dimensional pads.
  8. Then using dimensional pads attach both the plain oval, and the sentiment.
Will be back again soon with more cards
Annette X

Friday, January 17, 2020

Floral Essence meets Well Said

Hi Folks welcome to my happy place, hope you're having a great day!

I will be posting twice today as there are to birthdays.

Happy Birthday Heather x

This is a mixture of old and current products, hope you like it.
The card base is 21 x 14.85 scored at 10.5, the first layer is 10 x 14.3, second layer (dsp) is 3.5 x 14.3.
Colours are daffodil delight, early espresso, old olive and whisper white.
(cs) = card stock, (dsp) = designer series paper, (r) - retired, (ss) = stamp set
All measurements are in centimetres.

  • Starting with the first layer of (cs) and the floral essence (ss), stamp the sentiment in early espresso then lightly spritz with daffodil delight.
  • Emboss this layer using the subtle (ef), and adhere the second layer (r) gingham gala (dsp) using liquid glue.
  • Add the ribbon across the top of the (r) gingham gala (dsp). For this I used (r) taffeta and (r) grosgrain.
  • Attach to the card base using dimensional pads and put to one side for now.
  • Stamp 2 of the leaves from the floral essence (ss) using old olive and cut using the co-ordinating leaf punch.
  • Stamp 2, of the 3 petal stamp on perennial essence velum using daffodil delight allow to dry for a few minutes then cut using the co-ordinating perennial flower punch, layer these together using glue dots.
  • Position the flower and leaves where you want them and stick down using glue dots (vellum sticks easier with glue dots).
  • Die cut the happy using the well written dies, adhere using liquid glue of adhesive sheet.
  • stamp the birthday from the well said (ss) and cut using the classic label punch, then attach using dimensional pads.
  • Add a (r) iced rhinestone to the centre of the flower.
Thank you for dropping by.

Will be back again soon with more cards
Annette X


Monday, January 6, 2020

Beautiful Promenade meets Beautiful Layers

Hi folks, and welcome to my haven in a hectic world, hope you're having a great day!

Happy Birthday Aunty Val x

I made a card for her months ago and can't find it now so had to make a new one (maybe the one I thought I'd made was last years).

But I must say though, I enjoyed making this one.
To recreate this card follow the guide below:

All measurements are in centimetres, colours are Old Olive, Petal Pink Whisper White
(cs) = card stock, (ef) = embossing folder, (ep) = embossing powder. (ss) = stamp set

Card Stock: Petal Pink 21 x 14.85 scored at 10.5 (card base), Perennial Essence velum 14.4 x 10.1 (first layer), Whisper White 2 pieces 14.4 x 10.1 (flowers, leaves & sentiment). 9.5 x 9.5 (lattice).
  • Starting with the perennial essence velum emboss using the tufted (ef).
  • Attach a strip of the organdy striped ribbon across the embossed layer (I used glue dots) and adhere to the card base using liquid glue.
  • Using the beautiful promenade (ss) stamp the 3 flowers using petal pink, in full strength for the outline and stamping off once for the centres.
  • Next ink up the sentiment from the itty bitty birthdays (ss) using versamark and Petal pink before stamping then heat emboss with the clear (ep).
  • Now stamp the leaves in old olive.
  • Punch out the sentiment using the classic label punch.
  • Die cut the leaves, petals and lattice using the beautiful layers dies.
  • Arrange as desired and then using both liquid glue and dimensional pads attach to the card base.
  • Add some basic rhinestones.
  • For some sparkle I used wink of stella on the flower stamen.
Card completed.

Thank you for joining me today, hope you have a good one!

Will be back again soon with more cards.
Annette X

Thursday, November 7, 2019

Crackle Paint meets Piece of Cake and Rooted in Nature

Hello hope you're having a great day!

Happy birthday Roy!

This is hubby's card and I just hope he likes it. I find making his cards difficult because he's nearly always here so they have to be made in stages while he's out.

To recreate the card follow the guide below:
(cs) = card stock, ⓡ = retired, (ss) = stamp set

All measurements are in centimetres

Card Stock: Gold Foil 5 x 5 (emboss/die cut leaf)
Merry Merlot 2 pieces 27.9 x 10.5 scored at 14.8 (card base), 9 x 5 (die cut word)
Whisper White 3 pieces 14.2 x 9.9 (first layer) 4.5 x 14.2 (second layer) 1.5 x 14 (sentiments)
Dies: Celebrate You ⓡ, Natures Roots
Embossing Folders: Subtle
Embossing Powder: Gold
Punches: Classic Label
Stamp Sets: Amazing You ⓡ, Crackle Paint, Piece of Cake, Rooted in Nature
Inks: Merry Merlot, Pool Party, VeraMark

Starting with the first layer (cs), the crackle paint (ss) and merry merlot ink stamp the background.
Now with the second layer (cs), the rooted in nature (ss) and both the merry merlot and pool party stamp the leaves using (second generation) stamping, then emboss using the subtle folder.
Adhere the second layer across the first, then adhere both to the card base.
Now emboss the leaf from the nature's roots dies, and then die cut both the leaf and the sentiment from the ⓡ celebrate you dies.
Using the long sentiments strip, stamp the 2 sentiments from the celebrate you (ss) and the happy birthday from the piece of cake (ss) using versamark, and then heat emboss with the gold powder.
Cut these sentiments into individual pieces and arrange across the card front, then attach using liquid glue for the amazing sentiment and dimensional pads for the rest.

Hope you liked today's card and look forward to see you again soon.

I would love to hear what you think of the card, and thank you for visiting.

Back again soon with more cards
Annette X

Daisies meets Nature's Symphony

  Welcome to my blog and    t hank you for joining me today! Happy birthday Serenia Intermediate level - die cutting, dry embossing, layerin...