Showing posts with label new horizons dsp. Show all posts

Wednesday, May 8, 2024

Thoughtful Expressions meets Cheerful Daisies & more

 Welcome to my blog

and  thank you for joining me today!

Happy Birthday Jim


mixture of old and new - colour with blends, die cutting, layering, stamping

At first I made the card without the bird and hubby wasn't impressed. So I had a think and this is what I came up with

Materials required for this card are:

Bundles: cheerful daisies, thoughtful expressions
Card Stock: basic white, misty moonlight, vellum
Designer Series Paper: *new horizons
Dies: *aspen trees, enduring beauty
Ink: misty moonlight, stazon black
Stampin' Blends: misty moonlight, *purple posy
 
* = no longer available

  1. Start with a base card 14.5 x 21 scored at 10.5, white panel 14 x 10, dsp panel 9.9 x 13.9, vellum 11 x 8, off cuts for sentiment
  2. place the aspen die in the centre of the white panel and die cut
  3. adhere to the dsp and white panels together using liquid glue then adhere to the base card
  4. stamp the bird onto the vellum and the sentiment onto a white off cut
  5. colour the bird using stampin' blends on the reverse side of the image
  6. die cut the sentiment, bird and and the backing for the sentiment
  7. adhere the bird to the card using a little bit of spread out liquid glue and then slightly curve the wings
  8. attach the sentiment to its backing using dimensional pads
  9. adhere the sentiment to the base card using liquid glue
Hope you liked today's card. If you would like more information on how to make it, please don't hesitate to contact me, I'd love to hear from you.

If you wish to buy any of the items used, go to contacting me at the top of the page for details of how to order.

Will be back again soon with more cards, in the meantime take care and have a great day.
Annette 😊 

Saturday, March 11, 2023

On the Horizon

  Welcome to my blog

and  thank you for joining me today!

Happy Birthday Sid


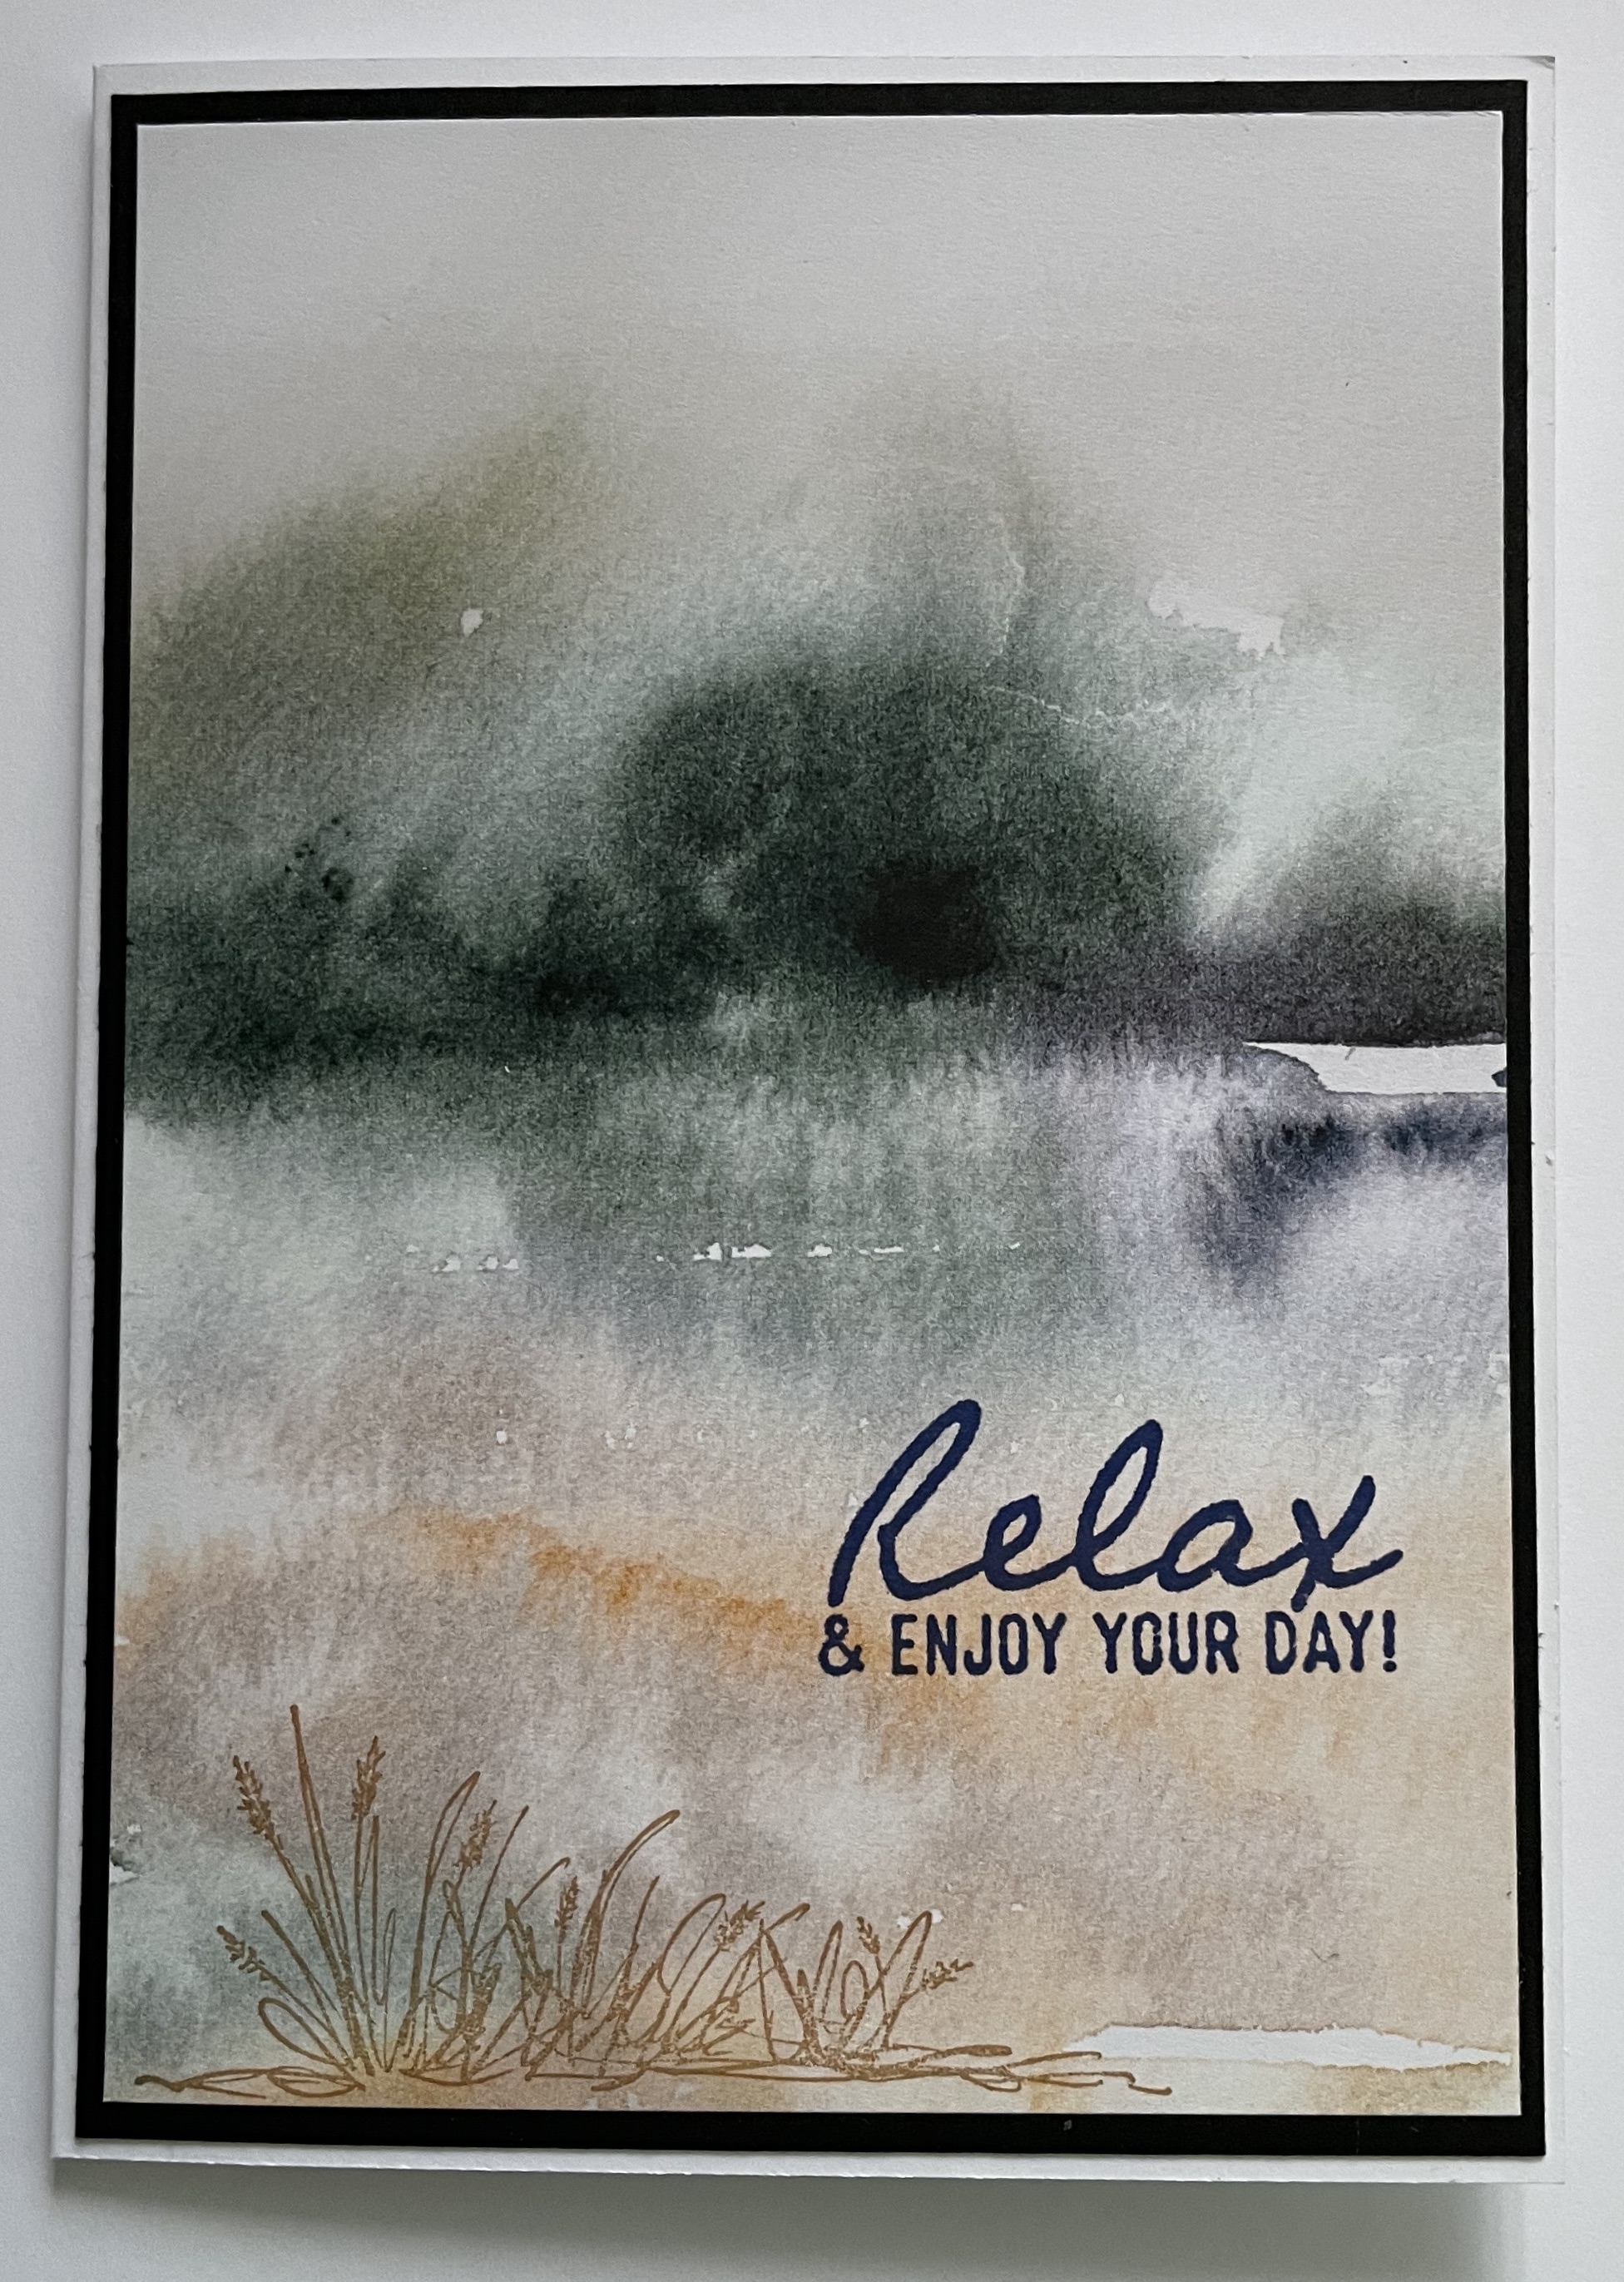
My New Years resolution is to try and use up some of my old DSP papers. So here we go. I've  I CASED this from Pinterest and it's so simple just cutting card and DSP then stamping the image and sentiment.

Materials required for this card are:

Card Stock: basic white, basic black
Designer Series Paper: *new horizons
Ink: crumb cake, pale papaya, starry sky
Stamp sets: *on the horizon
* = no longer available
  1. base card 14.8 x 21 scored at 10.5, layer one 14.4 x 10.1
  2. layer 2 dsp 14 x 9.1
  3. stamp the reeds in pale papaya and then stamp again in crumb cake
  4. stamp the sentiment
  5. adhere each layer 
Hope you liked today's card. If you would like more information on how to make it, please don't hesitate to contact me, I'd love to hear from you.

If you wish to buy any of the items used, go to contacting me at the top of the page for details on how to order.

Will be back again soon with more cards, in the meantime take care and have a great day.
Annette 😘

Friday, December 9, 2022

Aspen Trees meets Charming Sentiments

  Welcome to my blog

and  thank you for joining me today!

Happy Birthday Simon


Using some retired dsp along with the Aspen trees dies for this card.

Materials required for this card are:

Card Stock: evening evergreen, gold foil, very vanilla
Designer Series Paper: *new horizons, rose gold metallic
Dies: aspen trees, sentiment silhouettes
Embossing Folders: *subtle 3D
Ink: evening evergreen, gray granite
Stamp Sets: charming sentiments
Accessories: blending brushes, *copper trim
 
* = no longer available
  1. Base card 14 x 21 scored at 10.5, Tree matt 10.1 x 13.4, dsp 9.9 x 13.2
  2. stamp the sentiment on a scrap piece of very vanilla
  3. die cut the tree's, leaves and sentiment
  4. sponge the tree's & sentiment using a blending brush
  5. adhere the dsp to the back of the tree's using liquid glue
  6. wrap the copper trim around the trees's using a knot, leave about 2cm of trim either side of the knot
  7. tease out the trim. (this makes like a mesh bow)
  8. adhere the tree's to the base card using liquid glue
  9. adhere the larger leaf with liquid glue
  10. cut about 3cm of the copper trim and again tease it out, adhere to the large leaf using double sided tape or runner
  11. add the smaller leaf using a dimensional.
Hope you liked today's card. If you would like more information on how to make it, please don't hesitate to contact me, I'd love to hear from you.

If you wish to buy any of the items used, go to contacting me at the top of the page for details on how to order.

Will be back again soon with more cards, in the meantime take care and have a great day.
Annette 😘

Sunday, June 19, 2022

New Horizons Fathers day card

   Welcome to my blog

and  thank you for joining me today!

Happy Fathers Day Dad


This the second time out for this card I made the same card a couple of weeks ago but with a different sentiment and background colour.

Materials required for this card are:

Card Stock: basic white, *misty moonlight (will really miss this colour)
Designer Series Paper: *new horizons
Ink: *misty moonlight
Punches: banner pick a punch
Stampin' Up Blends: *misty moonlight
Stamp Sets: celebrating you, *on the horizon, wildlife wonder
 
* = no longer available

Hope you liked today's card. If you would like more information on how to make it, please don't hesitate to contact me, I'd love to hear from you.

If you wish to buy any of the items used, go to contacting me at the top of the page for details on how to order.

Will be back again soon with more cards, in the meantime take care and have a great day.
Annette 😘

Wednesday, June 8, 2022

Grassy Grove meets Wildlife Wonder

  Welcome to my blog

and  thank you for joining me today!

Happy Birthday Kevin


Just loved this card so CASEd it from Helen Read's blog. I know this dsp is no longer available but's its just gorgeous, so I keep using it. The card came together quite easily. Blended the background using balmy blue, stamped the images and then layered using the dies and added the linen thread.

Materials required for this card are:

Card Stock: basic white, early espresso, *misty moonlight, 
Designer Series Paper: *new horizons
Dies: stitched rectangles (5&6)w
Ink: balmy blue, early espresso, evening evergreen, soft succulent
Stamp Sets: grassy grove, *on the horizon, wildlife wonder
Accessories: blending brushes, linen thread
 
* = no longer available, when using layering dies (1) is the smallest, N = narrow, W = wide

Hope you liked today's card. If you would like more information on how to make it, please don't hesitate to contact me, I'd love to hear from you.

If you wish to buy any of the items used, go to contacting me at the top of the page for details on how to order.

Will be back again soon with more cards, in the meantime take care and have a great day.
Annette 😘

Wednesday, June 1, 2022

Wildlife Wonder and more

  Welcome to my blog

and  thank you for joining me today!

Happy Birthday Mike


Will miss these papers, they make such fabulous backgrounds so not a lot else is needed. All I did was a little stamping, blending and punching.
Once I had completed the card and looked at again I felt the sentiment would have been much better if heat embossed in white.

Materials required for this card are:

Card Stock: basic white, blackberry bliss
Designer Series Paper: *new horizons
Ink: craft white,*misty moonlight
Punches: banner pick a punch
Stampin' Up Blends: *misty moonlight
Stamp Sets: celebrating you, *on the horizon, wildlife wonder
 
* = no longer available

Hope you liked today's card. If you would like more information on how to make it, please don't hesitate to contact me, I'd love to hear from you.

If you wish to buy any of the items used, go to contacting me at the top of the page for details on how to order.

Will be back again soon with more cards, in the meantime take care and have a great day.
Annette 😘

Saturday, May 7, 2022

Let'a Set Sail meets Celebrating You

  Welcome to my blog

and  thank you for joining me today!

Happy Birthday Alasdair


I've used the layering diorama's for this card along with the new horizon dsp and a few other things for good measure. The only stamping is the boat pieces and the sentiment so it's quite easy to make. The bakers twine is wrapped around the bottom of the sentiment. 

Materials required for this card are:

Card Stock: basic white, misty moonlight, vellum
Designer Series Paper: *new horizons
Dies: layering diorama (3 & 4), stitched rectangles (1 & 2)w
Ink: blackberry bliss, *misty moonlight
Punches: sailboat builder
Stamp Sets: celebrating you, let's set sail
Accessories: *fan bakers twine, heart & home cards & envelopes
 
* = no longer available, when using layering dies (1) is the smallest, N = narrow, W = wide

Hope you liked today's card. If you would like more information on how to make it, please don't hesitate to contact me, I'd love to hear from you.

If you wish to buy any of the items used, go to contacting me at the top of the page for details on how to order.

Will be back again soon with more cards, in the meantime take care and have a great day.
Annette 😘

Tuesday, March 22, 2022

On the Horizon meets Amazing Thanks

  Welcome to my blog

and  thank you for joining me today!

A Thank you card for Paul


A quick card with a little die cutting and very little stamping. The designer series paper does all the rest, it's fantastic background scenery in great colours.

Materials required for this card are:

Card Stock: basic white, evening evergreen
Designer Series Paper: new horizons
Dies: amazing thanks
Ink: evening evergreen
Stamp Sets: on the horizon
Accessories: *forever green gold trim, note card & envelopes
 
* = no longer available, 

Hope you liked today's card. If you would like more information on how to make it, please don't hesitate to contact me, I'd love to hear from you.

If you wish to buy any of the items used, go to contacting me at the top of the page for details on how to order.

Will be back again soon with more cards, in the meantime take care and have a great day.
Annette 😘

Delicate Whispers and more

Welcome to my blog and    t hank you for joining me today! Happy Anniversary to Sylvia & Bill Intermediate level - blending with a brush...