Showing posts with label basic pearls. Show all posts

Saturday, June 29, 2024

Sentimental Park Bundle 2

  Welcome to my blog

and  thank you for joining me today!

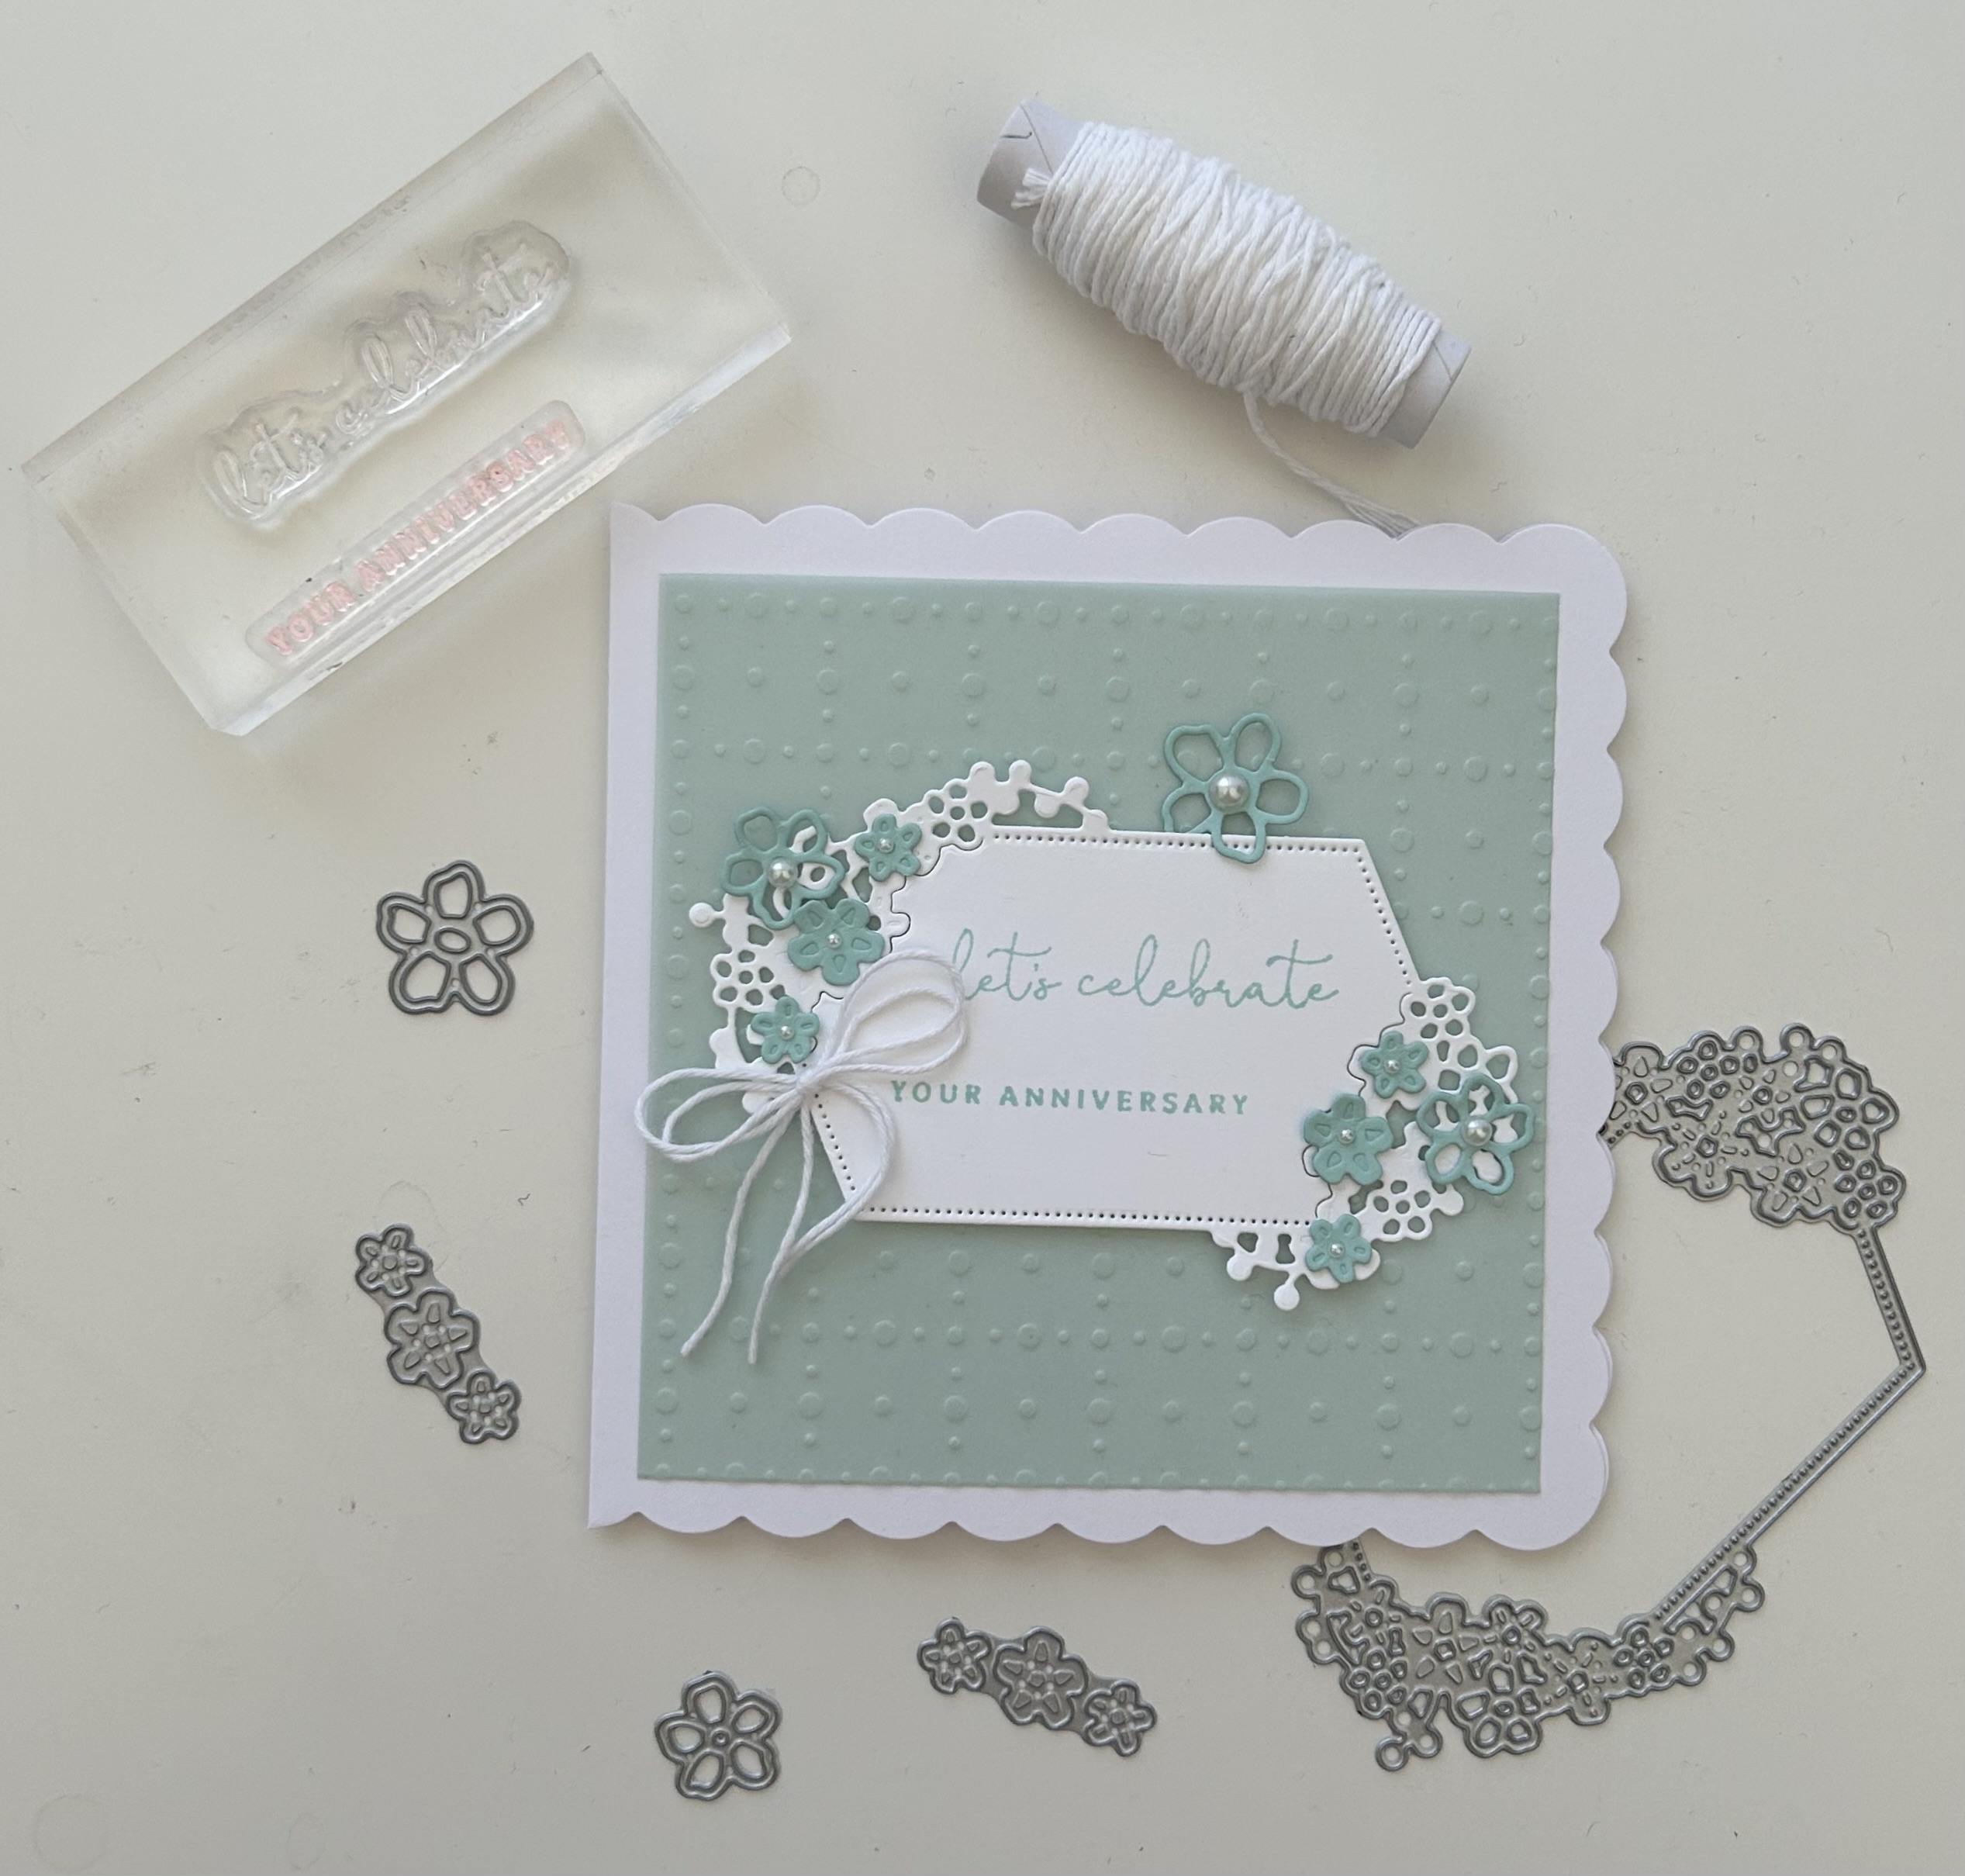
Happy Anniversary Jenny & Leigh


Easy - die cutting, layering, stamping

Materials required for this card are:

Bundles: sentimental park
Card Stock: basic white, pool party
Designer Series Paper: *so very vellum
Ink: purple posy
Accessories: bakers twine, *basic pearls

* = no longer available
  1. Start with a base card 12.5 x 25 scored at 12.5, vellum 11 x 11, white 7 x 11, purple posy 7.5 x 4, bakers twine 30cm
  2. adhere the vellum to the base base using stampin' seal behind where the image will go
  3. die cut the rectangle and flowers
  4. stamp the sentiment 
  5. attach the sentiment using dimensional pads
  6. use a scoring tool to give the flowers a little dimension
  7. attach them to the sentiment using glue dots
  8. add the pearls 
  9. create a double bow and attach using a glue dot
Hope you liked today's card. If you would like more information on how to make it, please don't hesitate to contact me, I'd love to hear from you.

If you wish to buy any of the items used, go to contacting me at the top of the page for details of how to order.

Will be back again soon with more cards, in the meantime take care and have a great day.
Annette 😊 

Thursday, June 27, 2024

Sentimental Park Bundle

 Welcome to my blog

and  thank you for joining me today!

Happy Anniversary Ste & Sere


Easy - die cutting, layering, stamping

Materials required for this card are:

Bundles: sentimental park
Card Stock: basic white, pool party
Designer Series Paper: *so very vellum
Ink: pool party
Accessories: bakers twine, *basic pearls

* = no longer available
  1. Start with a base card 12.5 x 25 scored at 12.5, vellum 11 x 11, white 7 x 11, pool party 7.5 x 4, bakers twine 30cm
  2. adhere the vellum to the base base using stampin' seal behind where the image will go
  3. die cut the rectangle and flowers
  4. stamp the sentiment 
  5. attach the sentiment using dimensional pads
  6. use a scoring tool to give the flowers a little dimension
  7. attach them to the sentiment using glue dots
  8. add the pearls 
  9. create a double bow and attach using a glue dot
Hope you liked today's card. If you would like more information on how to make it, please don't hesitate to contact me, I'd love to hear from you.

If you wish to buy any of the items used, go to contacting me at the top of the page for details of how to order.

Will be back again soon with more cards, in the meantime take care and have a great day.
Annette 😊 
Tuesday, July 11, 2023

Season Of Chic meets Sending Smiles

  Welcome to my blog

and  thank you for joining me today!

Happy Birthday Holly


Easier than it looks, a little stamping, embossing, die cutting and it's done.

Materials required for this card are:

Card Stock: lost lagoon, petal pink
Designer Series Paper: *copper foil, *texture chic
Dies: chic, deckled rectangles (5), sending
Embossing Folders: *seashells 3D, stripes & splatters 3D
Ink: lost lagoon, petal pink
Stamp Sets: season chic, sending smiles
Accessories: basic pearls
 * = no longer available
  1. Start with a base card 14 x 20 scored at 10, petal pink 10 x 14, dsp 8 x 11, some spare basic white for stamping and copper foil for die cutting
  2. die cut the petal pink using the rectangle, emboss it then adhere it to the base card using liquid glue
  3. die cut the dsp with the same rectangle and adhere it in place using liquid glue
  4. stamp the shells and sentiment
  5. die cut all pieces, shells, netting, and sentiment
  6. adhere the foil shells and netting using liquid glue, then attach stamped shells and sentiment using dimensional pads

Hope you liked today's card. If you would like more information on how to make it, please don't hesitate to contact me, I'd love to hear from you.

If you wish to buy any of the items used, go to contacting me at the top of the page for details on how to order.

Will be back again soon with more cards, in the meantime take care and have a great day.
Annette 😘

Tuesday, August 24, 2021

Queen Anne's Lace meets Timeless Tulips

 Thank you for joining me today!

Happy Birthday Donna


It's the first time I've used the mercury glass designer acetate and I found it quite hard to get it to fold, but was pleased with the finished result. I did some blending on basic white cs for the background then stamped the image on vellum and heat embossed. Both the cs and the vellum were die cut, then the vellum was cut down to just the plain frame and adhered with tiny dots of liquid glue. I think if I was to do this card again I would use a lighter colour for the label.

Materials required for this card are:

Card Stock: basic white, calypso coral
Designer Acetate: mercury glass
Dies: ornate layers, painted labels, *well written
Embossing Powder: white
Ink: calypso coral, Gorgeous grape, rich razzleberry versamark  
Stamp Sets: queen anne's lace, timeless tulips  
Accessories: basic pearls
* = no longer available, when using layering dies (1) is the smallest

Hope you liked today's card. If you would like more information on how to make it, please don't hesitate to contact me, I'd love to hear from you.

If you wish to buy any of the items used, go to contacting me at the top of the page for details on how to order.

Will be back again soon with more cards, in the meantime take care and have a great day.
Annette 😘

Sunday, July 11, 2021

Thoughtful Blooms meets Label Me Bold

 Thank you for joining me today!

Happy Birthday Holly


Thought I  would try the new decorative masks for this one, and loved them! Some of the elements are no longer available but can be easily swapped out for up to date product!

Materials required for this card are:

Card Stock: basic white, petal pink, misty moonlight
Dies: painted labels, *stitched shapes (2), *well written
Embossing Folders: tasteful textile
Ink: misty moonlight, petal pink, soft sea foam
Punches: *small bloom
Ribbon: organdy striped
Stamp Sets: *label me bold, *thoughtful blooms 
Accessories: bakers twine, basic pearls, plenty of patterns decorative masks
* = no longer available, when using layering dies (1) is the smallest

Hope you liked today's card. If you would like more information on how to make it, please don't hesitate to contact me, I'd love to hear from you.

If you wish to buy any of the items used, go to contacting me at the top of the page for details on how to order.

Will be back again soon with more cards, in the meantime take care and have a great day.
Annette 😘

Sunday, May 9, 2021

Garden Wishes meets Art Gallery

 Thank you for joining me today!

I forgot I had the Dandy Laser-cut paper so decided I needed to use it up quickly. Don't know if that will happen, but here's the first card using it!


It's an easy to make card, using the heat embossing technique for the flower & sentiment.

Materials required for this card are:

Card Stock: basic white thick
Designer Series Paper: *dandy laser-cut, *flower & field
Dies: floral gallery, stitched rectangles (4n) 
Embossing Powder: white
Ink: versamark
Ribbon: *twill bumblebee
Stamp Sets: art gallery, garden wishes 
Accessories: basic pearls
* = retired, when using layering dies (1) is the smallest

Hope you liked today's card. If you would like more information on how to make it, please don't hesitate to contact me, I'd love to hear from you.

If you wish to buy any of the items used, go to contacting me at the top of the page for details on how to order.

Will be back again soon with more cards, in the meantime take care and have a great day.
Annette 😘

Monday, April 26, 2021

Daisy Lane meets Jar of Flowers

 Thanks for joining me today!


Happy Birthday Ita

A quick and simple card, CASEd from Mitosu Crafts


Materials required for this card are:

Card Stock: basic white, pool party
Designer Series Paper: flowers for every season 
Ink: pool party, night of navy
Punches: small bloom
Ribbon: flowers for every season combo
Stamp Sets: daisy lane, jar of flowers  
Accessories: basic rhinestones

Hope you liked today's card. If you would like more information on how to make it, please don't hesitate to contact me, I'd love to hear from you.

If you wish to buy any of the items used, go to contacting me at the top of the page for details on how to order.

Will be back again soon with more cards, in the meantime take care and have a great day.
Annette 😘

Saturday, March 20, 2021

Butterfly Brilliance meets Beauty Abounds

 Thank you for joining me today!


Just loving this new early release bundle

I'm sending this card to some friends of ours who we haven't seen for over a year now. Just to let them know we miss them.


It all goes together so well and it's easy to use too!

Materials required for this card are:

Card Stock: basic white
Designer Series Paper: butterfly bijou
Dies: brilliant wings, stitched frames, well written
Ink: calypso coral, smoky slate
Ribbon: polka dot tulle
Stampin' Blends: calypso coral
Stamp Sets:  beauty abounds, butterfly brilliance 
Accessories: basic pearls

Hope you liked today's card. If you would like more information on how to make it, please don't hesitate to contact me, I'd love to hear from you.

If you wish to buy any of the items used, go to contacting me at the top of the page for details on how to order.

Will be back again soon with more cards, in the meantime take care and have a great day.
Annette 😘

Wednesday, January 27, 2021

Butterfly Gala meets Dandelion Wishes

 Hello and welcome to my haven in a hectic world!

Thanks for joining me today!

A card for my friend Donna who is currently unwell with Covid


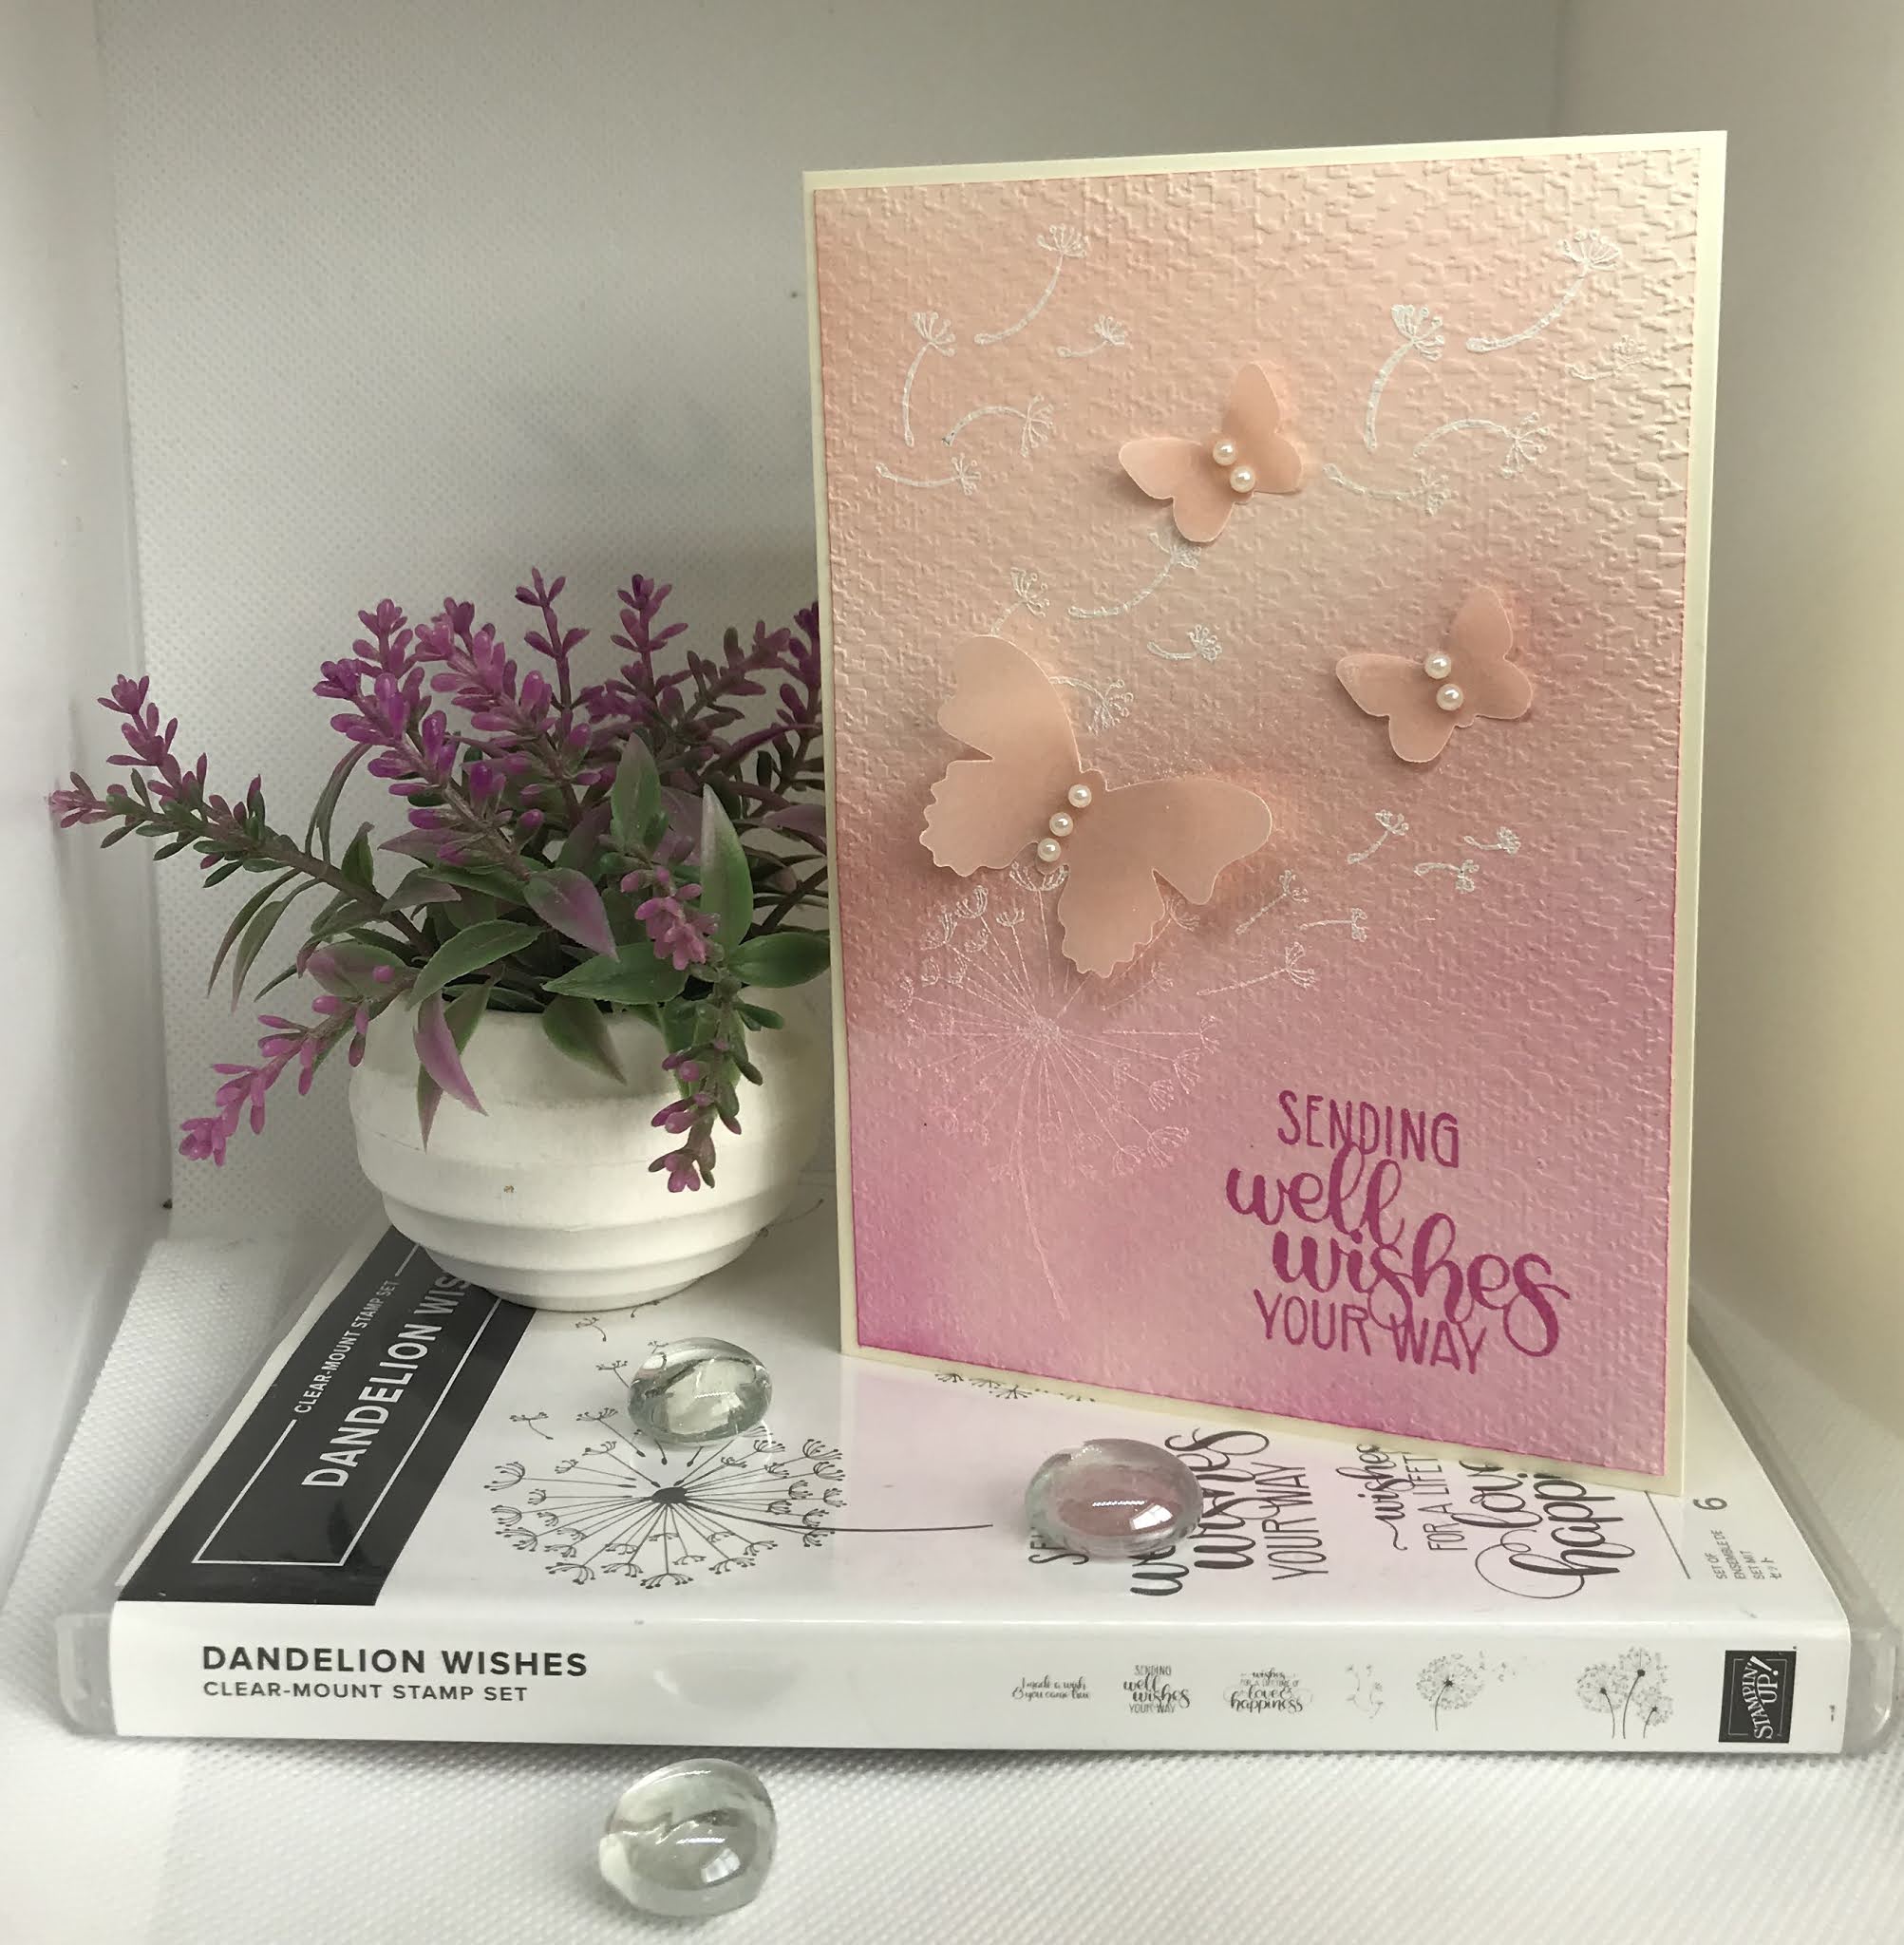
Some more blending along with dry embossing and heat embossing. The dandelions were stamped with the craft ink and heat embossed in white ep, and the butterflies were stamped on vellum and embossed in clear ep.

Materials required for this card are:

Card Stock: *perennial essence vellum, very vanilla 
Embossing Folders: tasteful textiles 3D
Embossing Powder: clear, white
Ink: craft whisper white, magenta madness, petal pink. rococo rose, versamark
Punches: butterfly duet
Stamp Sets:  butterfly gala, dandelion wishes 
Accessories:  basic pearls, blending brushes
* = retired

Hope you liked today's card. If you would like more information on how to make it, please don't hesitate to contact me, I'd love to hear from you.

If you wish to buy any of the items used, go to contacting me at the top of the page for details on how to order.

Will be back again soon with more cards, in the meantime take care and have a great day.
Annette 😘

Sunday, December 13, 2020

Postive Thoughts and More

 Hello and welcome to my haven in a hectic world!

Thanks for joining me today!

Happy Birthday Sima πŸŽ‚

Did some overlaying in different colours for the background and used the baby wipe technique for the stamping


Also used colours I don't tend to go to very often, even though I like them.

Materials required for this card are:

Card Stock: silver foil, soft sea foam, whisper white
Dies: nature's thoughts
Embossing Folders: seabed 3D
Ink Refills: blushing bride, mint macaron, soft sea foam
Punches: butterfly duet, lovely labels
Ribbon: polka dot tulle
Stamp Sets: butterfly gala, posted for you, positive thoughts
Accessories: basic pearls
* = retired, when using layering dies (1) is the smallest

Hope you liked today's card. If you would like more information on how to make it, please don't hesitate to contact me, I'd love to hear from you.

If you wish to buy any of the items used, go to contacting me at the top of the page for details on how to order.

Will be back again soon with more cards, in the meantime take care and have a great day.
Annette 😘

Thursday, December 10, 2020

First Frost

 Hello and welcome to my haven in a hectic world!

Thanks for joining me today!

A special card for a special lady


My Aunt loves all things Christmas, so I thought she might like this poinsettia card!!

Materials required for this card are:

Card stock: gold foil, whisper white
Dies: *detailed poinsettia, *frosted bouquet
Embossing folders: subtle
Embossing Powder: gold
Ink: versamark
Ribbon: *taffeta
Stampin' blends: cherry cobbler
Stamp sets: *first frost
Accessories: basic pearls and rhinestones, *gold cord
* = retired 

Hope you liked today's card. If you would like more information on how to make it, please don't hesitate to contact me, I'd love to hear from you.

If you wish to buy any of the items used, go to contact me at the top of the page for details on how to order.

Will be back again soon with more cards, in the meantime take care and have a great day.
Annette 😘

Sunday, November 15, 2020

Field of Flowers meet Lovely You

 Hello and welcome to my haven in a hectic world!

Thanks for joining me today!

A mixture of new and old for Sue's week 34


I just loved this colour combo

Materials required for this card are:

Card Stock: flirty flamingo, whisper white
Designer Series Paper: *16/18 in colors
Dies: ornate frames, stitched rectangles (4) wide
Embossing Folders: subtle 3D
Ink: flirty flamingo, *just jade, memento tuxedo black
Ribbon: *rushed 16/18 in colors, *scalloped edge
Stamp Sets: field of flowers, lovely you
Accessories: basic pearls
* = retired, when using layering dies (1) is the smallest

Hope you liked today's card. If you would like more information on how to make this card, please don't hesitate to contact me, I'd love to hear from you.

If you wish to buy any of the items used, go to contacting me at the top of the page for details on how to order.

Will be back again soon with more cards, in the meantime take care and have a great day.
Annette 😘

Sunday, July 12, 2020

Butterfly Gala meets Lovely You

Hello and welcome to my haven in a hectic world!

Well July has got off to a dull and wet start, but today has started with bright sunshine and as my Son's off on a jolly with the family good weather would be appreciated!!!

Happy Sunday Sue

I've copied this card from Jill Chapman's blog Paper Daisy Crafting, she makes lovely quick and simple cards.


Materials required for this card are:

Card stock: whisper white
Dies:stitched shapes (2&3) square
Embossing folders: *fancy fan, subtle
Ink: memento tuxedo black
Punches: butterfly duet
Ribbon: *flax
Stampin' blends: magenta madness, pool party
Stamp sets: butterfly gala, en franÇais, lovely you
Accessories: basic pearls, note cards & envelopes, wink of sella

* = retired and when using layering dies (1) is the smallest

Hope you liked today's card. If you would like more information on how to make it, please don't hesitate to contact me, I'd love to hear from you.

If you wish to buy any of the items used, go to contact me at the top of the page for details on how to order.

Will be back again soon with more cards, in the meantime have a great day.
Annette 😘

Friday, June 19, 2020

Forever Blossoms meets So Sentimental

Hello and welcome to my haven in a hectic world

Sue's thank you card for week 14

I nearly forgot to do a card for this week, so made a very quick one!


Materials required for this card are:

Card stock: whisper white
DSP: 19/21 in colors
Dies: cherry blossoms, stitched so sweetly
Embossing folder: subtle
Ink: memento tuxedo black, rococo rose
Ribbon: (r) sheer (whisper white, dyed call me clover)
Stampin' blends: (r) call me clover, rococo rose
Stamp sets: forever blossoms, so sentimental
Accessories: basic pearls (dyed rococo rose)

(r) = retired and when using layering dies (1) is the smallest
The larger nested label was die cut a second time on one side to make it narrower.

Hope you liked today's card if you need more information please don't hesitate to contact me, I'd love to hear from you.

If you wish to buy any of the items used, go to contact me at the top of the page for details on how to order.

Will be back again soon with more cards, in the meantime have a good day.
Annette 😘

Friday, September 27, 2019

Hugs from Shelli meets Watercolor Wishes

Hi, and welcome to my blog

Happy Birthday Judy!

It's taken me some time to get round to using the hugs from Shelli Paper Pumpkin kit, but now I've broken it open I'll enjoy making the cards up. It's so simple to do with all the pieces there for you, even down to the dimensional pads.

When you need something quickly these kits come into their own, everything in one place and straightforward to put together.

Only for this card I changed it up slightly by using a different stamp set for the sentiment and added some basic pearls.
To recreate this card follow the guide below.
 Ⓡ  = retired, (ss) = stamp set, 

 Ⓡ Hugs From Shelli Paper Pumpkin kit
 Ⓡ  Watercolor Wishes kit
Stampin' Blends: Pretty Peacock
Accessories: Basic Pearls

Start with one of the note card layouts, and stamp the 3 birds in the the top right hand corner (1 of the smaller wing span and 2 of the wider wing span) in Early Espresso.

Add a strip of the ribbon across the bottom using thin tear n tape.

Stamp the sentiment from the watercolor wishes (ss) onto one of the tags in early espresso and attach using the dimensional pads.

Using one of the little glue dots ( I just love these and wish they were in the Annual Catalogue) attach  the feather.

Make a small bow with the linen thread and attach this on top of the feather. Remove any stickiness from the glue dot (tap with an embossing buddy).

Add one of the small bird trinkets, again using one of the glue dots.

Using the pretty peacock dark blend, colour 3 basic pearls and adhere to the tag for added interest.

Stamp a bird onto the envelope (stamped off twice).

Job done!!

Will be back again soon with more cards
Annette X


Delicate Whispers and more

Welcome to my blog and    t hank you for joining me today! Happy Anniversary to Sylvia & Bill Intermediate level - blending with a brush...