Showing posts with label stitched nested labels. Show all posts

Monday, April 12, 2021

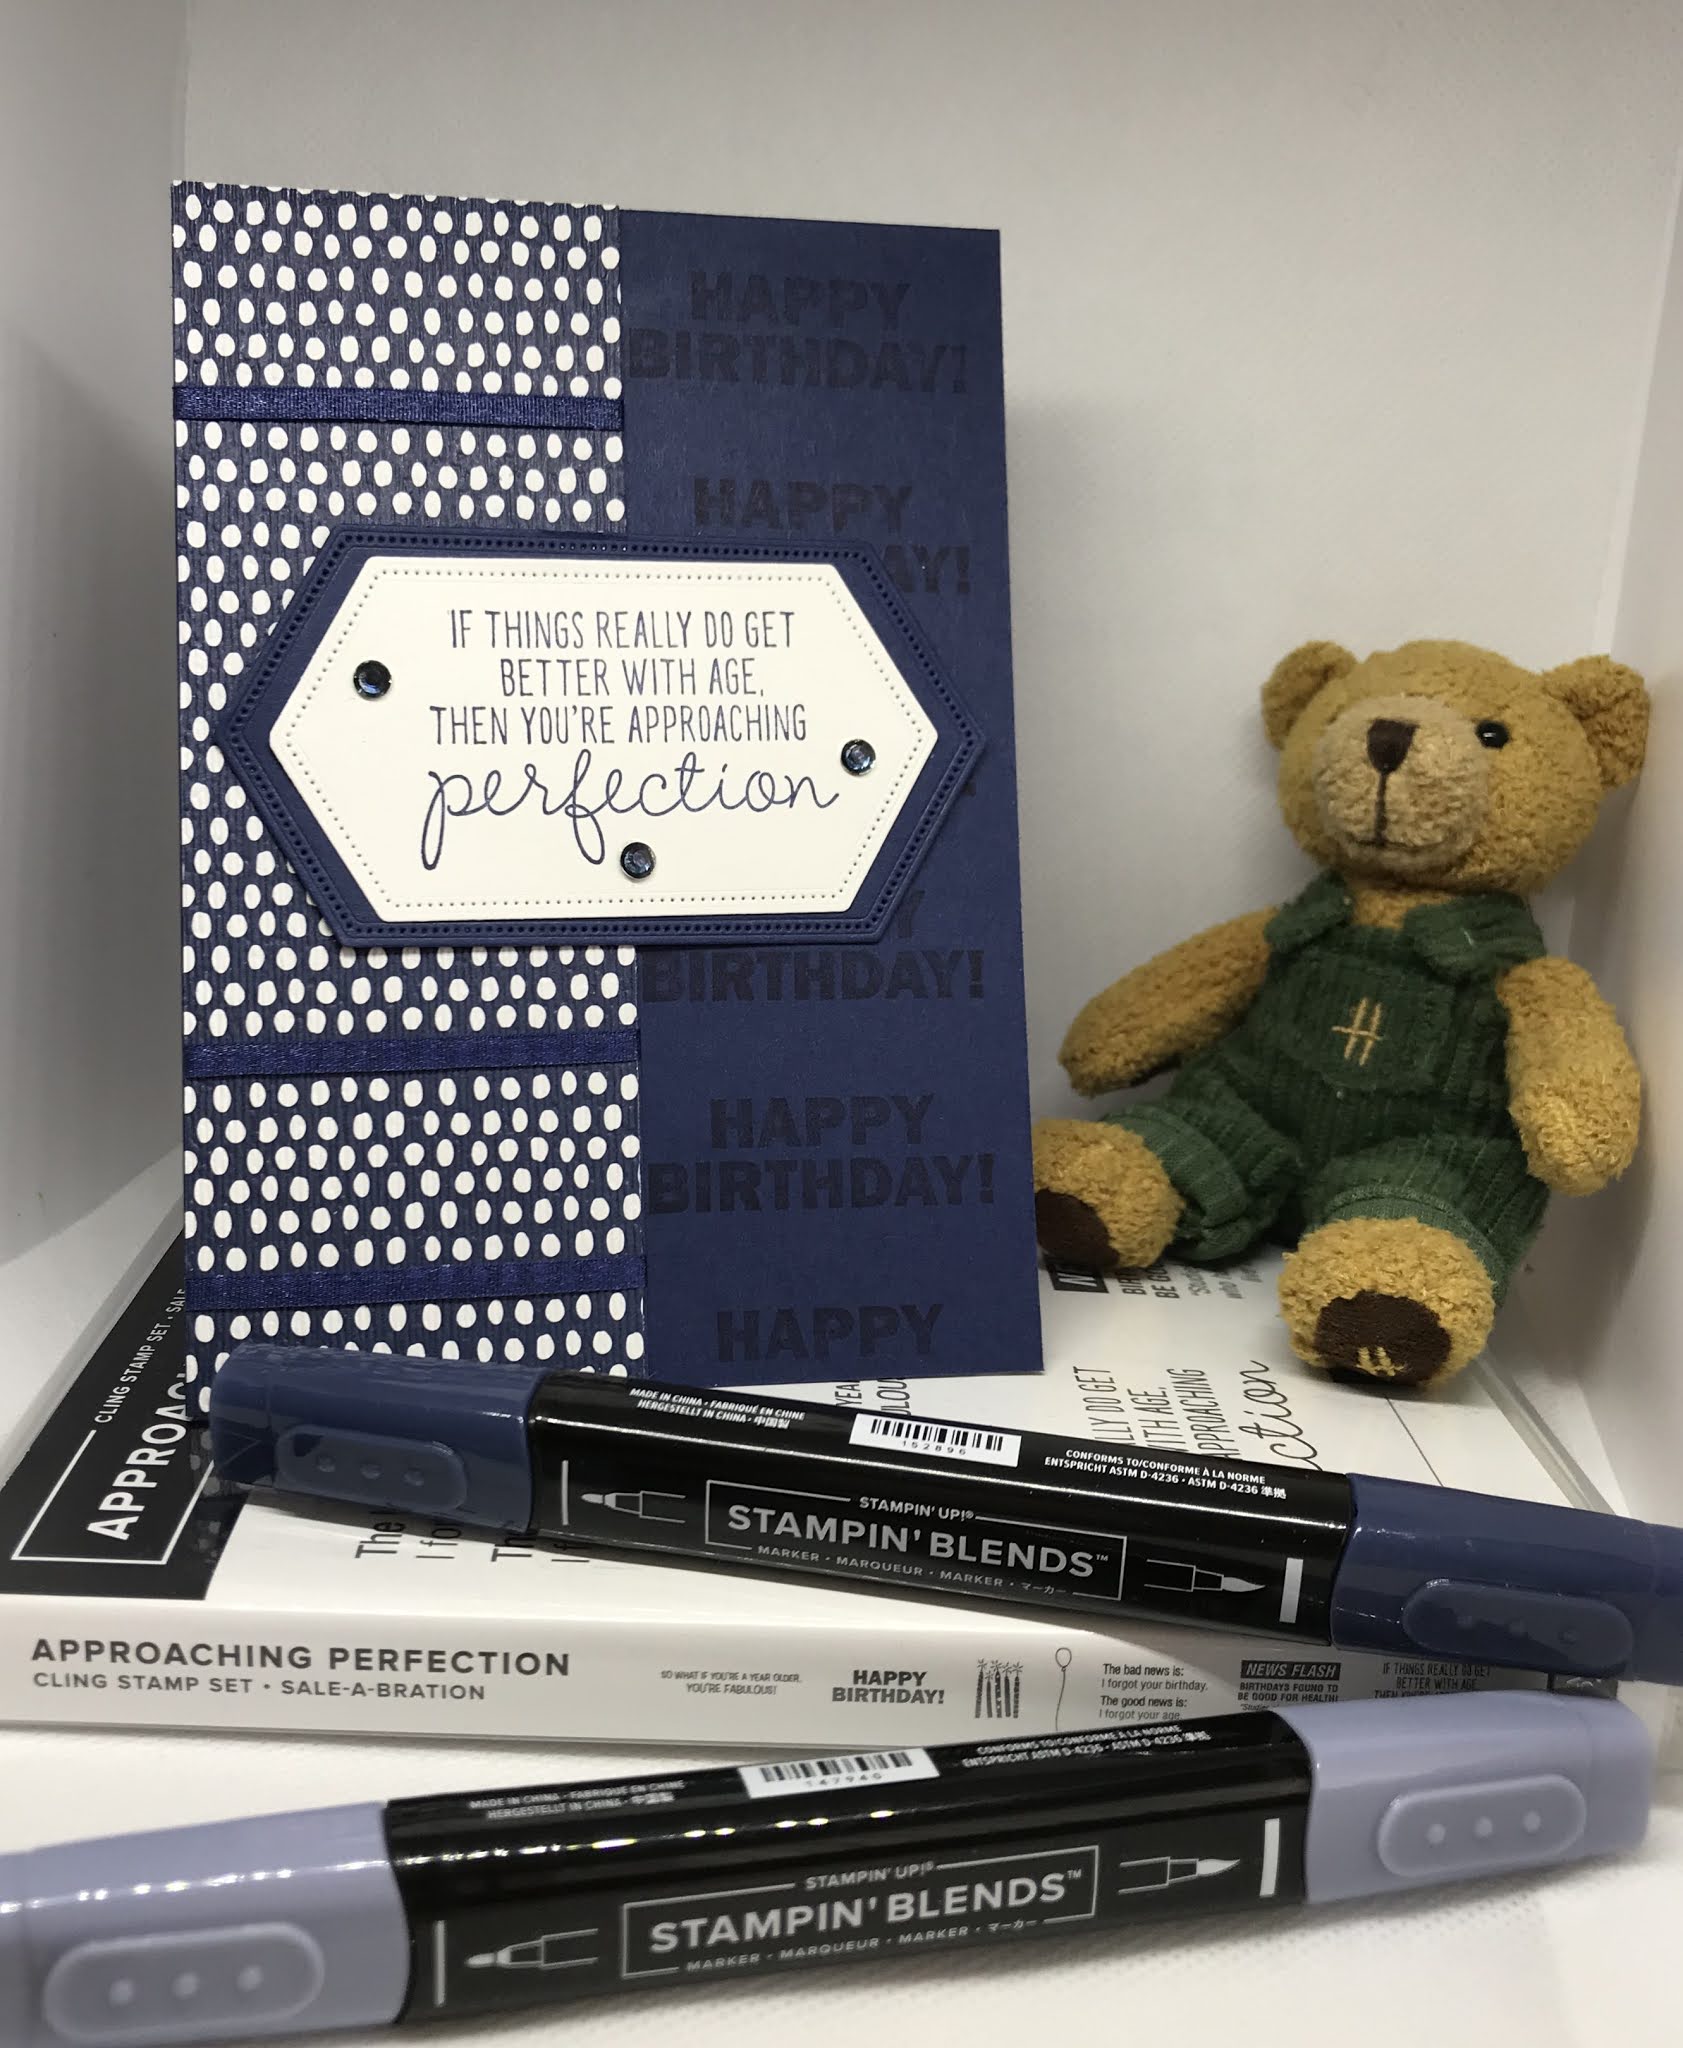
Approaching Perfection

Thanks for joining me today!


Have a great day Uncle Duncan


This card is out of the norm for me, I don't usually go for this type of card, but the set was free with Sale-a-bration just now, so it had to be used.

Materials required for this card are:

Card Stock: basic white, night of navy
Designer Series Paper: *tutty fruity
Dies: stitched nested labels (5 & 6)
Embossing Folders: subtle 3D
Ink: night of navy 
Ribbon: playing with patterns combo
Stampin' Blends: basic black light, misty moonlight dark
Stamp Sets: approaching perfection
Accessories: basic rhinestones
* = retired, when using layering dies (1) is the smallest

Hope you liked today's card. If you would like more information on how to make it, please don't hesitate to contact me, I'd love to hear from you.

If you wish to buy any of the items used, go to contacting me at the top of the page for details on how to order.

Will be back again soon with more cards, in the meantime take care and have a great day.
Annette 😘

Wednesday, March 24, 2021

Nothing's Better Than

 Thank you for joining me today!


Hoping to brighten a friend's day

Just bought this set after seeing some fun cards!


You can put a card together in no time at all, stamp, die cut, adhere, done.

Materials required for this card are:

Card Stock: basic white, early espresso 
Dies: love you more than, stitched nested labels (2)
Embossing Folders: subtle 3D, tasteful textile 3D
Ink: early espresso,  soft suede
Stampin' Blends: bronze, petal pink, soft suede
Stamp Sets: nothing's better than 
Accessories: 
when using layering dies (1) is the smallest

Hope you liked today's card. If you would like more information on how to make it, please don't hesitate to contact me, I'd love to hear from you.

If you wish to buy any of the items used, go to contacting me at the top of the page for details on how to order.

Will be back again soon with more cards, in the meantime take care and have a great day.
Annette 😘

Friday, February 26, 2021

Bridge Panel Fun Fold - UK sizes

Hello and welcome to my haven in a hectic world!
Thanks for joining me today!

Simple stamping today, but a beautiful effect!


Converted this card from imperial measurements to uk metric.

Materials required for this card are:

Card Stock: basic white, bermuda bay 
Designer Series Paper: oh so ombre
Dies: stitched nested labels ((5)
Embossing Folders: subtle 3D
Ink: bermuda bay
Punches: butterfly duet
Ribbon: bakers twine
Stamp Sets: butterfly wishes, lovely you, peaceful moments
Accessories: frost white shimmer spritz
when using layering dies (1) is the smallest

base card: 21 x 14.8 scored @ 10.5 then cut up to centre score line @ 3.5 on both sides.
background layer: 4 measuring 10.1 x 3.1, 1 measuring 7.4 x 10.1 (front middle section)
across band: 1 measuring 2.5 x 14.8, 1 measuring .7 x 14.8
DSP layer: 4 measuring 9.8 x 2.8, 1 measuring 7.1 x 9.8 (front middle section)
The 4 smaller panels go on either side, 2 on the front and 2 on the back inside with a sentiment in the middle section. ( I split the 'life is better with a friend like you') from the peaceful moments over 2 lines. 

Hope you liked today's card. If you would like more information on how to make it, please don't hesitate to contact me, I'd love to hear from you.

If you wish to buy any of the items used, go to contacting me at the top of the page for details on how to order.

Will be back again soon with more cards, in the meantime take care and have a great day.

Annette 😘 

Saturday, January 2, 2021

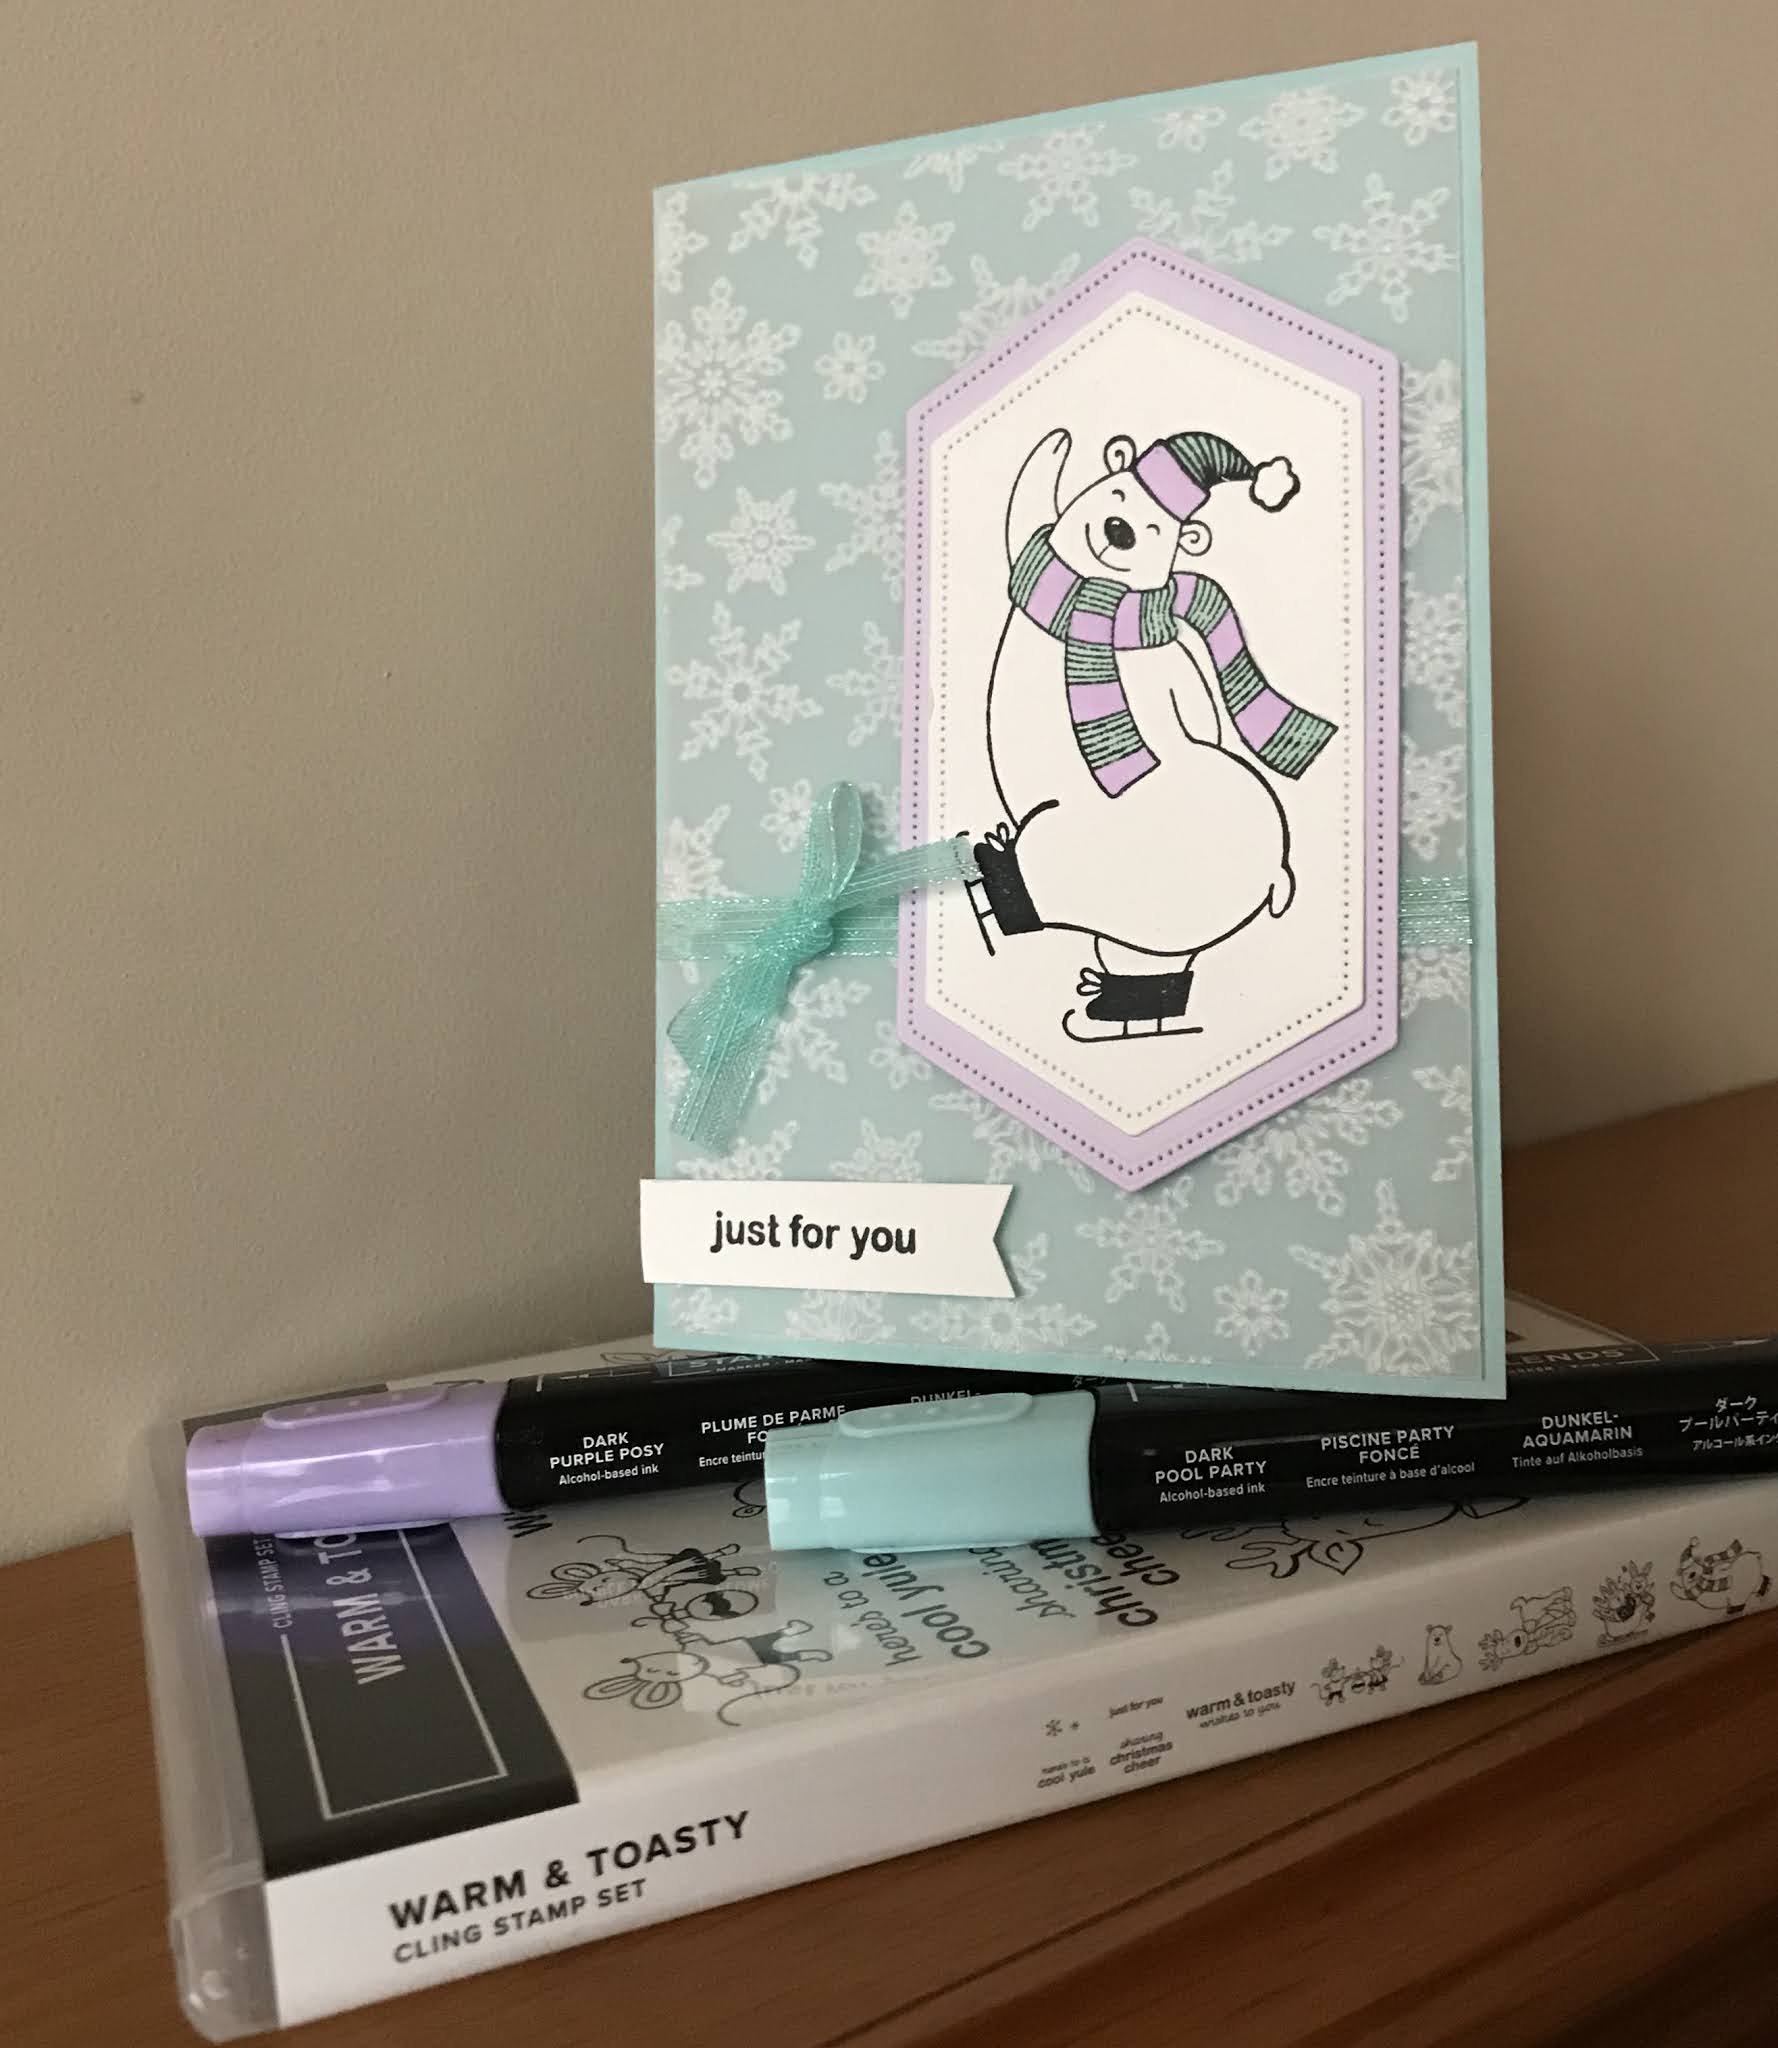
Warm & Toasty

 Hello and welcome to my haven in a hectic world!

Thanks for joining me today!

Filling in with a few more Christmas cards I've made, before the birthdays start 😊

To a beautiful Granddaughter


Quick and easy, and looks just perfect for her!

Materials required for this card are:

Card Stock: pool party, purple posy, vellum
Dies:stitched nested labels (6&7)
Embossing Folders: winter snow
Ink: memento tuxedo black
Punches: banner pick a punch
Ribbon: sheer
Stampin' Blends: pool party, purple posy
Stamp Sets: warm & Toasty
when using layering dies (1) is the smallest

Hope you liked today's card. If you would like more information on how to make it, please don't hesitate to contact me, I'd love to hear from you.

If you wish to buy any of the items used, go to contacting me at the top of the page for details on how to order.

Will be back again soon with more cards, in the meantime take care and have a great day.
Annette 😘

Saturday, December 19, 2020

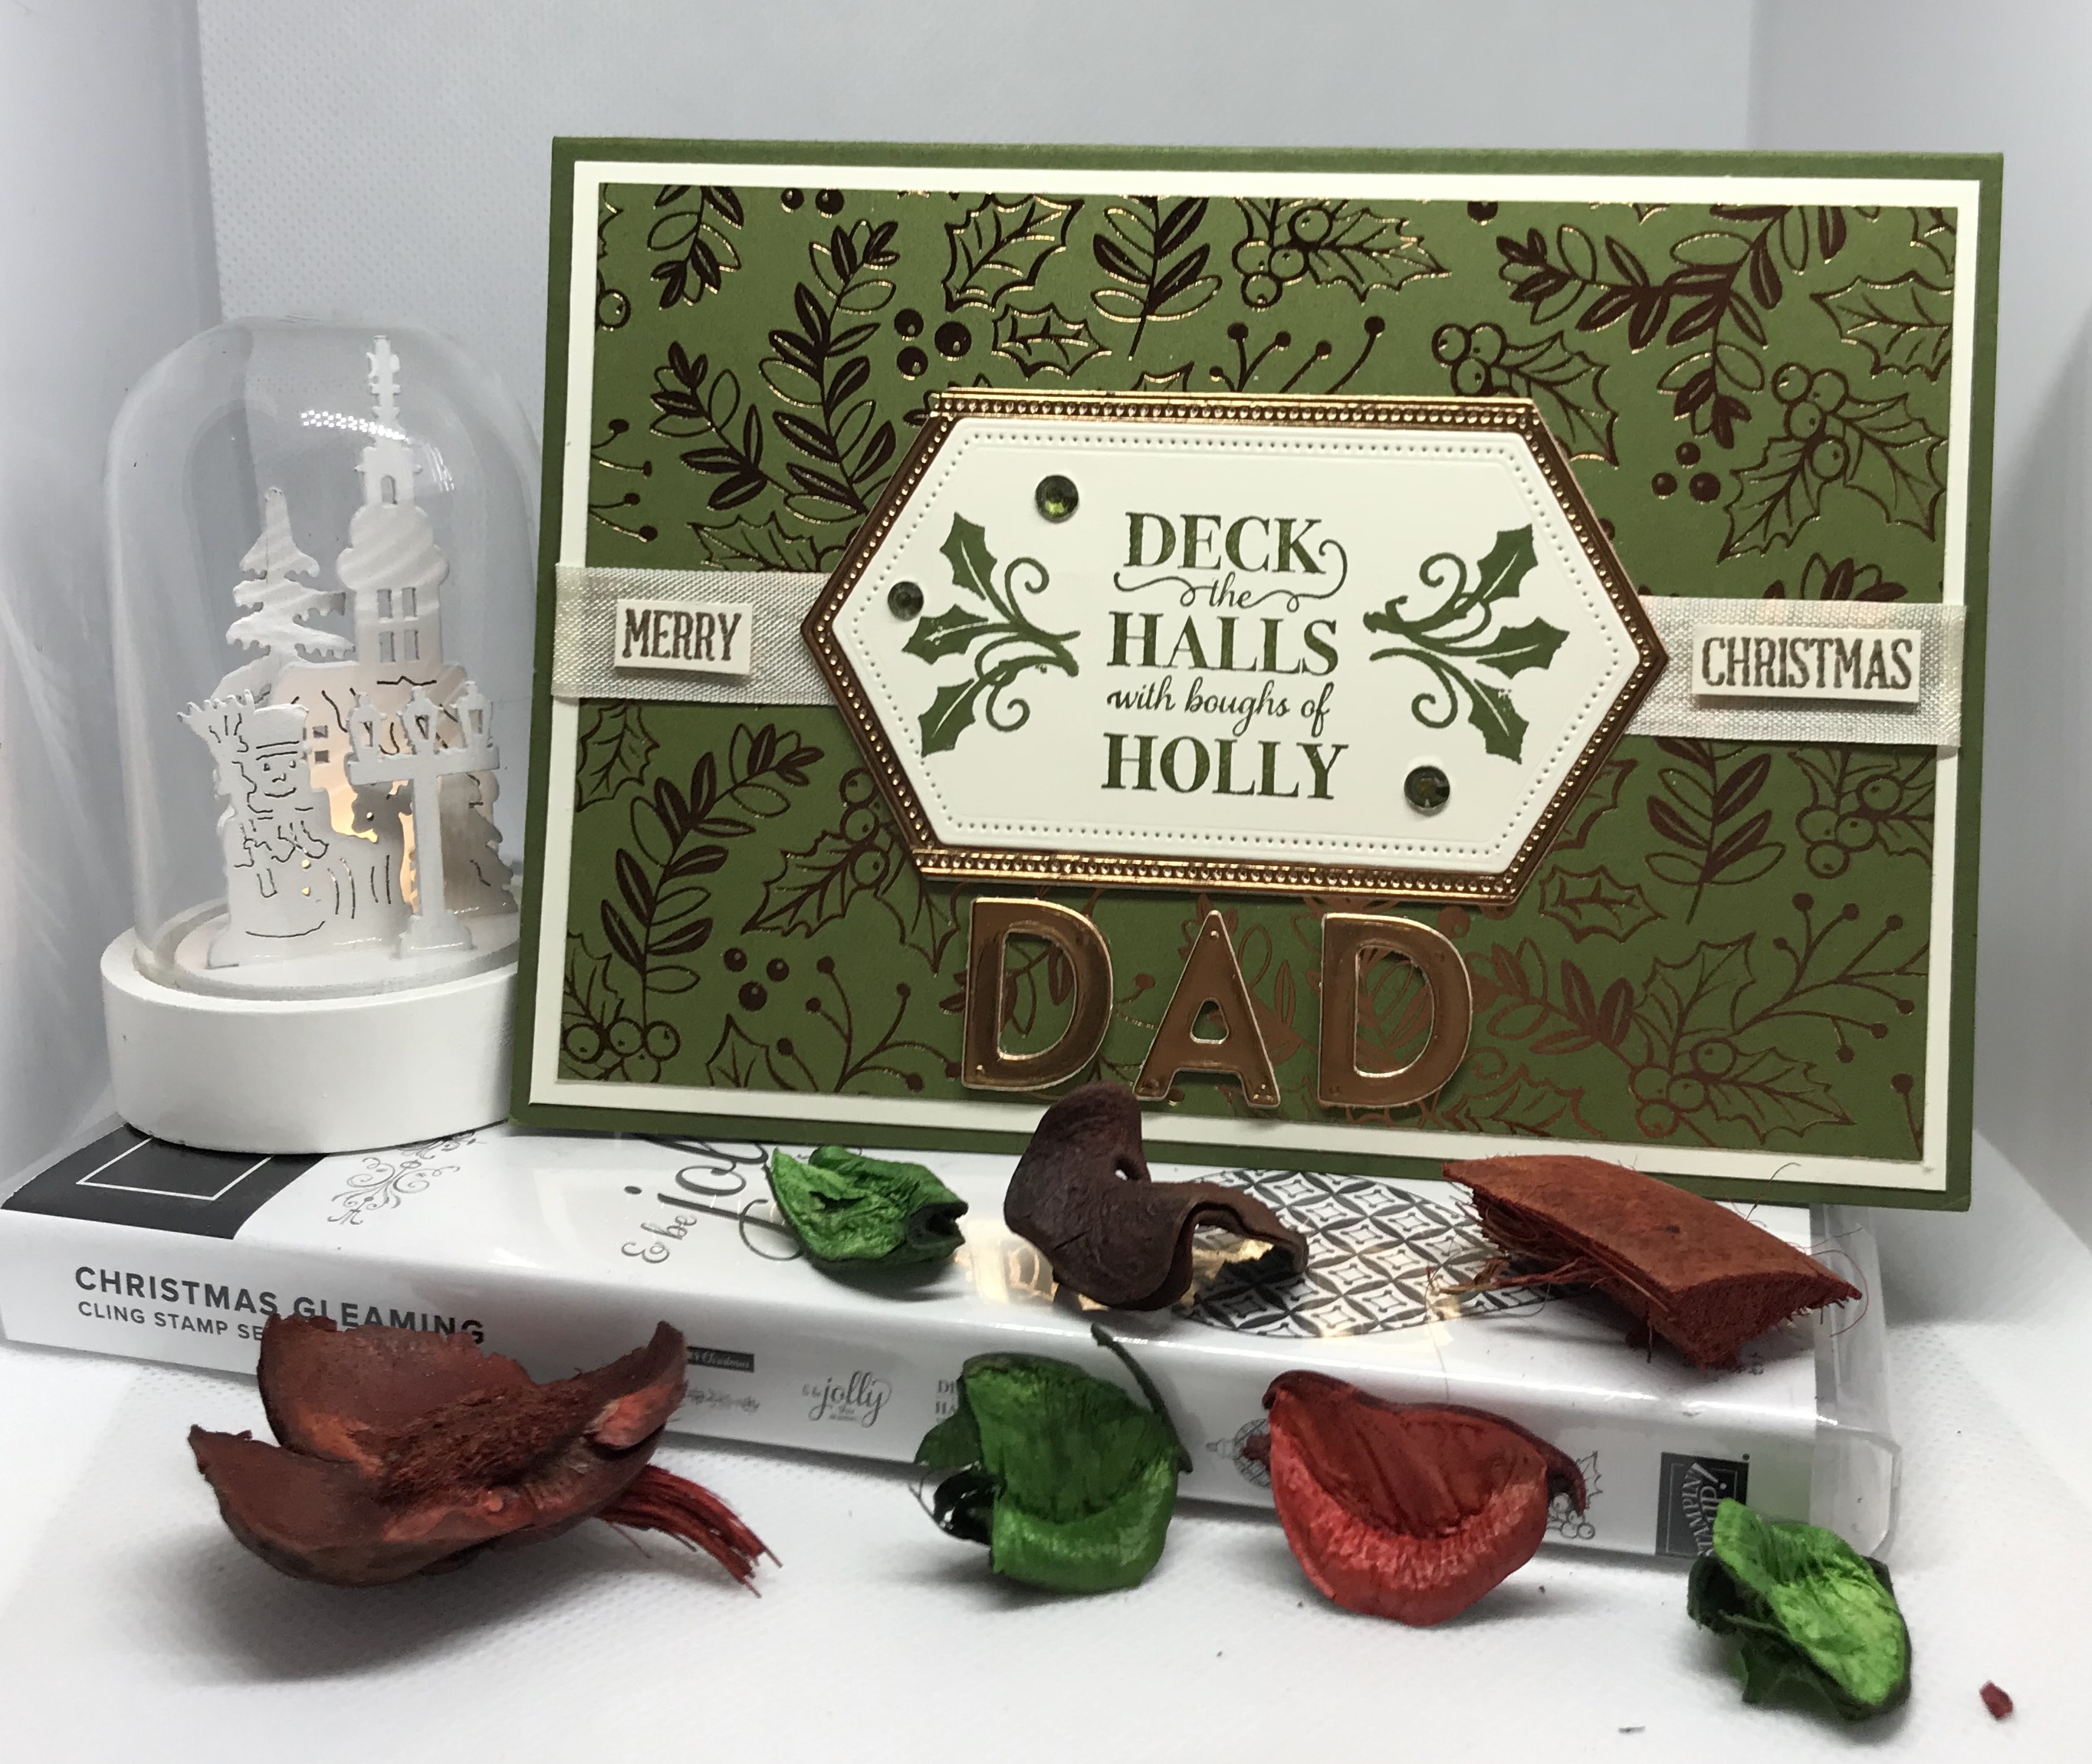
Christmas gleaming meets A Wish For Everything

Hello and welcome to my haven in a hectic world

This was my Dad's card for last year and it was still in my draft folder which means it wasn't posted last year! This year's will come soon

This is a card I 'CASd' from Jill Chapman @ paper daisy crafting. Most of the products are retired now, but I liked the style for my Dad.


Materials required for this card are:

Card stock: mossy meadow and very vanilla
DSP:(r) brightly gleaming
Dies: stitched nested labels (5 & 6),playful alphabet
Embossing Powder: copper
Ink: mossy meadow & versamark
Ribbon: (r) *seam binding
Stampin' blends: mossy meadow
Stamp sets: christmas gleaming, (r) *merry christmas to all, a wish for everything
Accessories: basic rhinestones
(r) = retired, and when using layering dies (1) is the smallest
The larger nested label was die cut a second time on one side to make it narrower.

If you wish to buy any of the items used, go to contacting me at the top of the page for details on how to order.

Hope you liked today's card, if you need more information please don't hesitate to contact me.

Will be back again soon with more cards, in the meantime have a good day.
Annette 😘

Tuesday, June 23, 2020

Mountain Air meets A Wish for Everything

                        Hello and welcome to my haven in a hectic world

 hope you're having a great day.

Happy fathers day Dad!
Materials required for this card are:

Card stock: pretty peacock, whisper white
Dies: majestic mountain, stitched nested labels (7&8), stitched rectangles (1) narrow
Embossing folder: pinewood planks
Ink: basic gray, gray granite, mint macaron, pretty peacock, seaside spray
Ribbon: (r) sycamore street
Stampin' blends: 
Stamp sets: a wish for everything, mountain air

(r) = retired and when using layering dies (1) is the smallest

If you wish to buy any of the items used, go to contact me at the top of the page for details on how to order.

Hope you liked today's card, if you need more information please don't hesitate to contact me, I'd love to hear from you.
Annette 😘

Thursday, April 30, 2020

A Wish for Everything meets Sailing Home

Hello and welcome to my haven in a hectic world, thanks for dropping by.

I'm back again! there were two birthdays for me today and I felt both cards needed to be shown.

Happy Birthday Nigel!
The second photo is a close up of the card insert.
Measurements are all centimetres.

Card Stock: Night of Navy 21 x 14.5 scored at 10.5 (card base) 7 x 13 (stitched nested label), 1 x 5 (happy & birthday sentiment), Whisper White 20 x 14 scored at 10 & 15 (insert), 7 x 7 (die cutting), Champagne Foil 4.5 x 4.5 (helm).
DSP: 7 x 13 (stitched nested label).

(cs) = card stock, (dsp) = designer series paper, (ef) = embossing folder, (ep) = embossing powder, (ss) = stamp set, when using layered dies (1) is the smallest.
  • Using the stitched nested labels dies and the night of navy stitched nested label (cs) die cut a (8).
  • Using the stitched nested labels dies and the come sail away (dsp) die cut a (8).
  • Now adhere these two labels together using liquid glue, (make sure they both have the right side facing out).
  • Using the  night of navy happy & birthday sentiments (cs)  stamp the happy & birthday from the a wish for everything (ss) using versamark and whisper white craft ink and then heat emboss using white (ep). Now trim these two sentiments down to have very narrow borders.
  • Using the sailing home (ss) and the whisper white die cutting (cs) stamp the larger boat in night of navy ink leaving room on the (cs) to die cut the stitched label from the all dressed up dies.
  • Using stampin' blends colour in the boat in light cherry cobbler, light crumb cake and light balmy blue.
  • Die cut stitched label from the all dressed up dies, the boat from the smooth sailing dies and the helm using the champagne foil (cs) and the smooth sailing dies.
  • Stamp the stitched label using the water stamp from the lilypad lake (ss) in night of navy.
  • With the night of navy card base (cs) die cut an opening in the middle using the (6) die from the stitched nested labels dies.
  • Once die cut, emboss the front of the card using the high seas 3D (ef).
  •  Now with the whisper white insert (cs) and working on the left panel, stamp the light house in gray granite along with the birds and sentiment in night of navy. (I used a night of navy wash for the sea at the bottom of the lighthouse).
  • Attach the helm using dimension pads.
  • Adhere the right side of nested stitched label to the 3rd panel of the insert making sure the points of the label are on the folded crease using liquid glue.
  • Adhere the boat to the small stitched label using liquid glue.
  • Now adhere the label at each side across the front of card using liquid glue.
  • On the front of the card adhere 3 (r) white perfect accents down the left side.
  • Position the happy & birthday sentiments so they are hidden behind the boat when the card is closed and attach using dimensional pads.
Will be back again soon with more cards. Enjoy the rest of your day!
Annette X

Saturday, April 11, 2020

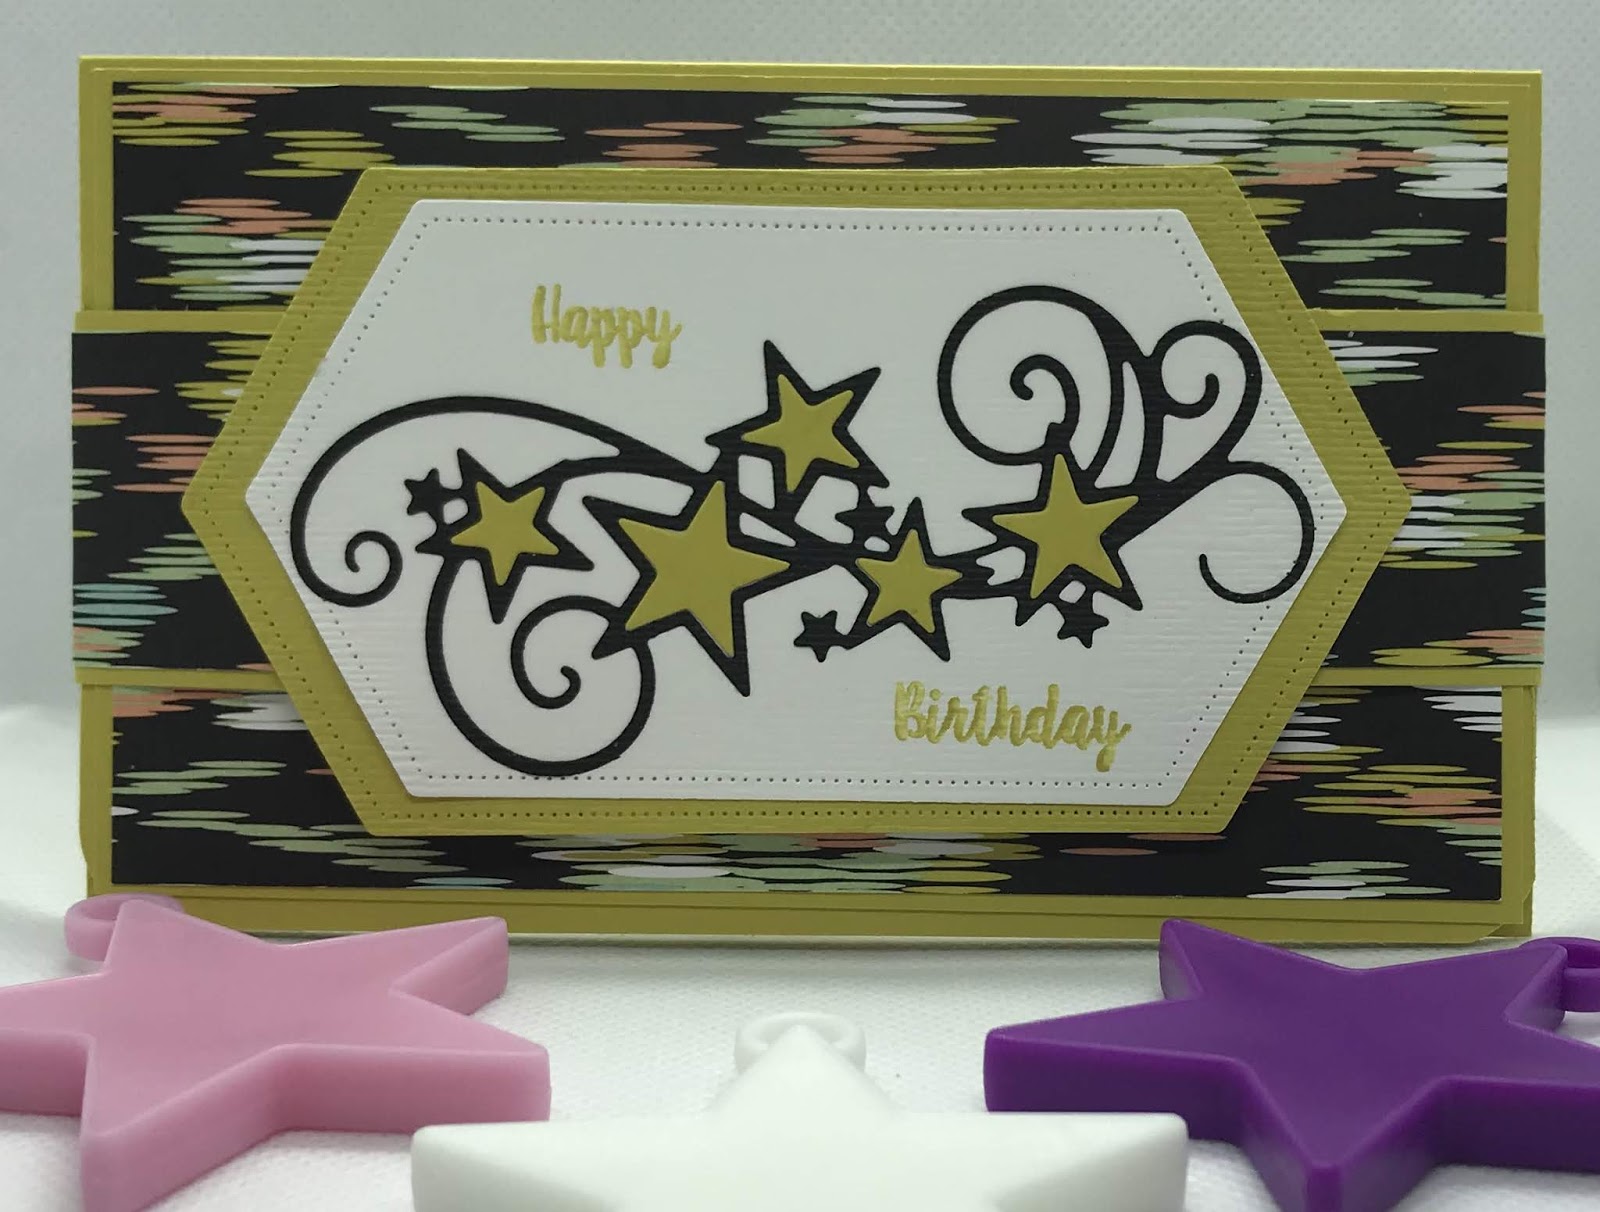
Stitched Nested Labels meets Stitched Stars & Piece of Cake

Hello and welcome to my haven in a hectic world!

I made this card quite some time ago, in fact it was last years but I lost it, just hope he likes it as much as the money inside!

Happy Birthday Tom x

The instructions for this wallet came from Terri Pocock, a fellow demonstrator with Stampin' Up!
Measurements are in centimetres, (cs) = card stock, (dsp) = designer series paper, (r) = retired, (ss) = stamp set, when using nesting dies (1) = the smallest.

Colours are: basic black 10.5 x 5 (stars), (r) summer starfruit 6 pieces 21 x 14.8 (wallet base), 14.5 x 8.5 (front layer), 14.5 x 2.8 (pocket layer), 21 x3.8 (belly band), 13 x 7 (larger label), 10.5 x 5 (stars), whisper white 11.5 x 6.5 (smaller label).

(r) sweet sorbet (dsp) 3 pieces 14.1 x 8.1 (front layer), 14.1 x 2.4 (pocket layer), 21 x 3.4 (belly band)
  • With the long edge across the top of your score board score at 3.3 & 12.3.
  • Using liquid glue along the shorter score line, adhere each side of the pocket down.
  • Round the bottom corners of both the (cs) and (dsp) for the front of the wallet using the detailed trio punch.
  • Adhere the 2 pocket layers together and then adhere to the pocket using liquid glue.
  • Adhere the 2 front layers together and then adhere to the front of the wallet using liquid glue.
  • Die cut the 2 labels using the stitched nested labels dies (7 & 8).
  • Die cut the swirls and stars twice, once in basic black and once in summer starfruit using the stitched stars dies.
  • Adhere the black swirls across the whisper white label using liquid glue.
  • Then stamp the happy birthday from the piece of cake (ss) above and below the swirls.
  • Emboss both labels using the subtle folder and adhere together using liquid glue.
  • Now insert the summer starfruit stars inside the empty stars, using liquid glue.
  • Adhere the belly band layers together using liquid glue.
  • Wrap the belly band around the wallet and attach to either side of the labels using tear and tape.
Thanks for dropping by.

Will be back again soon with more cards, thanks for dropping by
Annette X

Friday, January 17, 2020

Colorful Seasons meets Parcels & Petals

Hello and welcome, hope you're having a great day!

This is the second post for today.

Happy Birthday Mick!
Apart from my family, Mick is the person I've known the longest, he was my best friend's husband, and the girl who got me hooked on card making just before she died, some too many moons ago.

Measurements are in centimetres, (cs) = card stock, (dsp) = designer series paper, (r) = retired, (ss) = stamp set, when using layering dies (1) is the smallest.

Card base is 21 x 14.85 scored at 10.5, (r) Wood textures (dsp) 4 x 14.85 and scraps of all the colours below.

Colours are: cajun craze, crumb cake, crushed curry, early espresso, old olive, merry merlot, very vanilla
  • Using the parcels & petals (ss) stamp the sentiment in cajun craze, then using the colorful seasons (ss) stamp the leaves in the various colours and sizes.
  • With the basic pattern decorative masks, sponge the trees across the front of the card base using crumb cake ink. Then spritz lightly using an early espresso marker.
  • Now with the stitched nested labels (2 & 3), and the seasonal layers dies, die cut all the leaves and labels.
  • Attach the (dsp) to the card base using dimensional pads.
  • Arrange and glue down the leaves using liquid glue.
  • Arrange some (r) copper metallic thread across the front of the old olive label, then adhere the  sentiment label on top using liquid glue. Once done adhere to the (dsp) using liquid glue.
  • Add some random candy dots.
Will be back again soon with more cards.
Annette X

Thursday, January 9, 2020

Bird Ballad Laser-Cut Cards meets Free As A Bird

Thank you for stopping by my crafting haven today,

Happy Birthday Cheryl!!!

Although at the time of creating this post it's a cold wet miserable day, I'm feeling really good.

Have had  this stamp set for a while now but don't use it enough, so thought I'd have a go with it today.
Card base is one of the bird ballad laser-cut cards 10.8 x 14,  2 pieces of pineapple punch (cs) 10.6 x 14 (backing for the front), 8 x 4.5 stitched nested label 4, 2 pieces of very vanilla 3.5 x 6.5 stitched nested label 3,  21 x 7 all other stamping.

All measurements are in centimetres, and when using nested dies (1) is the smallest.

Colours for the card are pineapple punch, shaded spruce, very vanilla.
(cs) = card stock, (r) = retired,  (ss) = stamp set

  • Adhere the front backing to the card base using liquid glue around the outside edge only.
  • Stamp the greeting from the free as a bird (ss) on the smaller very vanilla piece.
  • Die cut the sentiment and the smaller pineapple punch (cs) using the stitched nested labels (3 & 4).
  • Stamp 4 of the leaves, 2 of the larger flowers, 2 of the buds and 1 of the smaller flowers using memento tuxedo black ink.
  • Use shaded spruce and pineapple punch stampin' blends to colour the flowers and leaves, and then fussy cut them. Use a black stampin' marker to go round the edges if needed.
  • Attach the 2 labels together using dimensional pads and then attach to the card front, again using dimensional pads.
  • Adhere the flowers and leaves using liquid glue, tucking the leaves behind the label.
  • Add some basic rhinestones as flower centres.
  • Tie a bow using the (r) yellow organdy combo ribbon and attach using a glue dot.

After completing and photographing the card I decided to add some wink of stella to the flowers, which looked quite nice.

Will be back again soon with more cards
Annette X

Wednesday, January 1, 2020

Snowman Season

HAPPY NEW YEAR!

Hello and welcome, thanks for popping by!

I still have a few of my Christmas cards to show you, so will carry on with them until my birthdays for this year start.

This card was for Freddie, my youngest grandson.
All measurement are in centimetres
When dealing with nesting dies the smallest is 1
(nsu) = non stampin' up!, (r) = retired

Card Stock: Real Red 8.5 x 8.5 (scallop circle:, Thick Whisper White 29.7 x 10.5 scored at 14.85, Whisper White 3 pieces 8.5 x 8.5 (snowman), 10.5 x 2 (merry christmas), 11 x 4 (large banner)
DSP: Let it Snow 10.5 x 14.85 (cut down at 3 cm and reversed)
Dies: Layering Circles (scalloped 8) Stitched Nested Labels (3 and straight strip), Stitched Shapes (circle 4)
Inks: Coastal Cabana, Real Red, Tuxedo Black Memento
Punches: Triple Banner
Stamp Sets: Snowman Season
Stampin' Blends: Coastal Cabana, Gray Granite, Pumpkin Pie, Real Red
Accessories: Glitter (r), Stampin' Glitter
Grand Son sentiment (nsu)

Having created this card I feel the dsp layout would have been better the other way round (the short piece on the right) but I left it to late to change.

  • Adhere the dsp using liquid glue to the front of the card base and add the ribbon to hide the join.
  • Lightly sponge the large banner with coastal cabana, flag the one end using the triple banner punch and adhere with liquid glue just above the middle of the card.
  • Stamp the snowman in memento ink and lay to one side, then stamp the Merry Christmas and do the same.
  • Go back to the snowman and die cut using the stitched circle die,  colour the snowman using stampin' blends, once dry dab some liquid glue across the front gently then cover with the stampin' glitter (if you still have some, adhesive sheets are good for this).
  • Use the triple banner punch to flag the ends of the Merry Christmas sentiment.
  • Die cut the scalloped circle and adhere the snowman using liquid glue, then attach to the card base using dimensional pads.
  • I then die cut the Grand Son (nsu) and adhered toward the bottom of the card.

Will be back again soon with more cards!
Annette X

Friday, September 20, 2019

Daisy Lane meets A Wish For Everything

Hello everyone, hope you're day is going well

Happy Birthday Leah!

This card is for one of my granddaughters and the problem is she's not a tomboy but neither is she girly so it's hard to decide what to create for her.

So this is what I came up with!
We went Lichfield Cathedral a couple of weeks ago to see the Space show, which was amazing!!!!  and when we got to the SHOP at the end of the show, as you always do, I just couldn't resist this lovely mason jar with the twinkle twinkle little star on it and lights inside. So hubby was very good to me and bought it for me, isn't he the best!!

To recreate this card follow the guide below:
(cs) = Card Stock, (ss) = Stamp Set, dsp = Designer Series Paper, Ⓡ = Retired, When using layering dies (1) is the smallest.

All measurement are in centimetres

Card Stock: Blueberry Bushel 8.5 x 7 (pocket)
Call Me Clover 4 pieces  21 x 14.8 (card base), 5 x 7 (leaves), 6 x 4 (happy), 3.5 x 1.5 (stitched tag)
Pineapple Punch 5 x 10 (daisy)
Whisper White 1 x 2.5 (birthday)
Dies: Needlepoint Elements, nested labels, Pretty Pines, Word Wishes
DSP: In Colors 18-20 6.8 x 10.5 (1st layer)
Embossing Folders: Layered Leaves, Ⓡ Pretty Pines, Stitched Nested Labels
Punches: Medium Daisy
Ribbon: In Color Grosgrain
Stampin' Pads: Call Me Clover
Accessories: Faceted Gems


Starting with the larger piece of call me clover (cs) score and fold at 10.5, this is the card base.

Emboss, the top front 8.5 centimetres of the card base, using the layering leaves folder.

Using liquid glue adhere the in color (dsp) to the front of card at the bottom.

Add a strip of grosgrain ribbon across the join between the two colours using narrow tear n tape.

It's now time to do the die cutting, you will need to run the pocket through 4 times in all.
For the 1st pass using the stitched nested labels dies and the straight edge die run through along the narrower edge for the top stitching (this does not cut, it only gives the stitching effect).
For the 2nd pass run through with (7) stitched nested label along with the rest of the pieces that need cutting. With the call me clover (cs) pieces, cut the leaves from pretty pines, the happy from word wishes and the stitched tag from the stitched labels dies.

For the embossing on the pocket follow the directions below:
1. big shot platform
2. cutting pad
3. die face up, taped to the back of the pocket
4. thin silicone mat (blue)
5. Impressions pad (white)

Run through twice to create the (+) cross.

With the piece of pineapple punch (cs) stamp the medium daisy twice using pineapple punch ink, then punch them out with the medium daisy punch, and brush lightly with a wink of stella.

Using dimensional pads position the pocket, add the leaves using liquid glue, adhere the two daisies together with liquid glue then adhere to the card using a dimensional pad.

Adhere the happy sentiment using liquid glue.

With the small piece of whisper white (cs) stamp the 'birthday' from the a wish for everything (ss) in call me clover and trim down. Adhere to the stitched tag using liquid glue and add to the card using dimensional pads.

Add the faceted gems.

This looks to be a lot of work but it isn't I assure you!

Will be back again soon with more cards.
Annette X

Wednesday, August 28, 2019

Let it Ride and more

Welcome to my world

Hope wherever you are, you're having a great day!

Here it's overcast but very warm still, just how I like it (but my inks and things like glue don't).

I'm posting this blog a little early as her birthday isn't until October, but I want to send a link to a fabulous fellow demonstrator within her competition time frame.  I put a slightly different spin on it, as the recipient for the card is very mindful of the environment and so I tend to use scraps and recycled elements, when making her cards.

So less of the waffle, here's today's card, inside and out.

Again being mindful of the planet, the greeting label is placed using removable tape so it can swapped out and another one written and then the card can be passed on if she wishes.

You will find a video of how to make this kind of card over on 

(dsp) = designer series paper, (ss) = stamp set

For this card I used soft suede for the card base, soft sea foam for the outside layer and the inside panel. Black for the scalloped square, whisper white for the greeting label (this was computer generated), pressed petals (dsp) for the top layer, the let it ride (ss), versamark ink and gold embossing powder for the horses head and the main sentiments inside. Soft suede for the trees and linen thread for the bow.

Will be back again soon with more cards
Annette X

Blast from the past - You are amazing meets Alphabet a la mode

  Welcome to my blog and    t hank you for joining me today! Happy Birthday Stuart  Quick Intermediate  level - die cutting, layering, punch...