Showing posts with label birthday jubilee. Show all posts

Tuesday, November 3, 2020

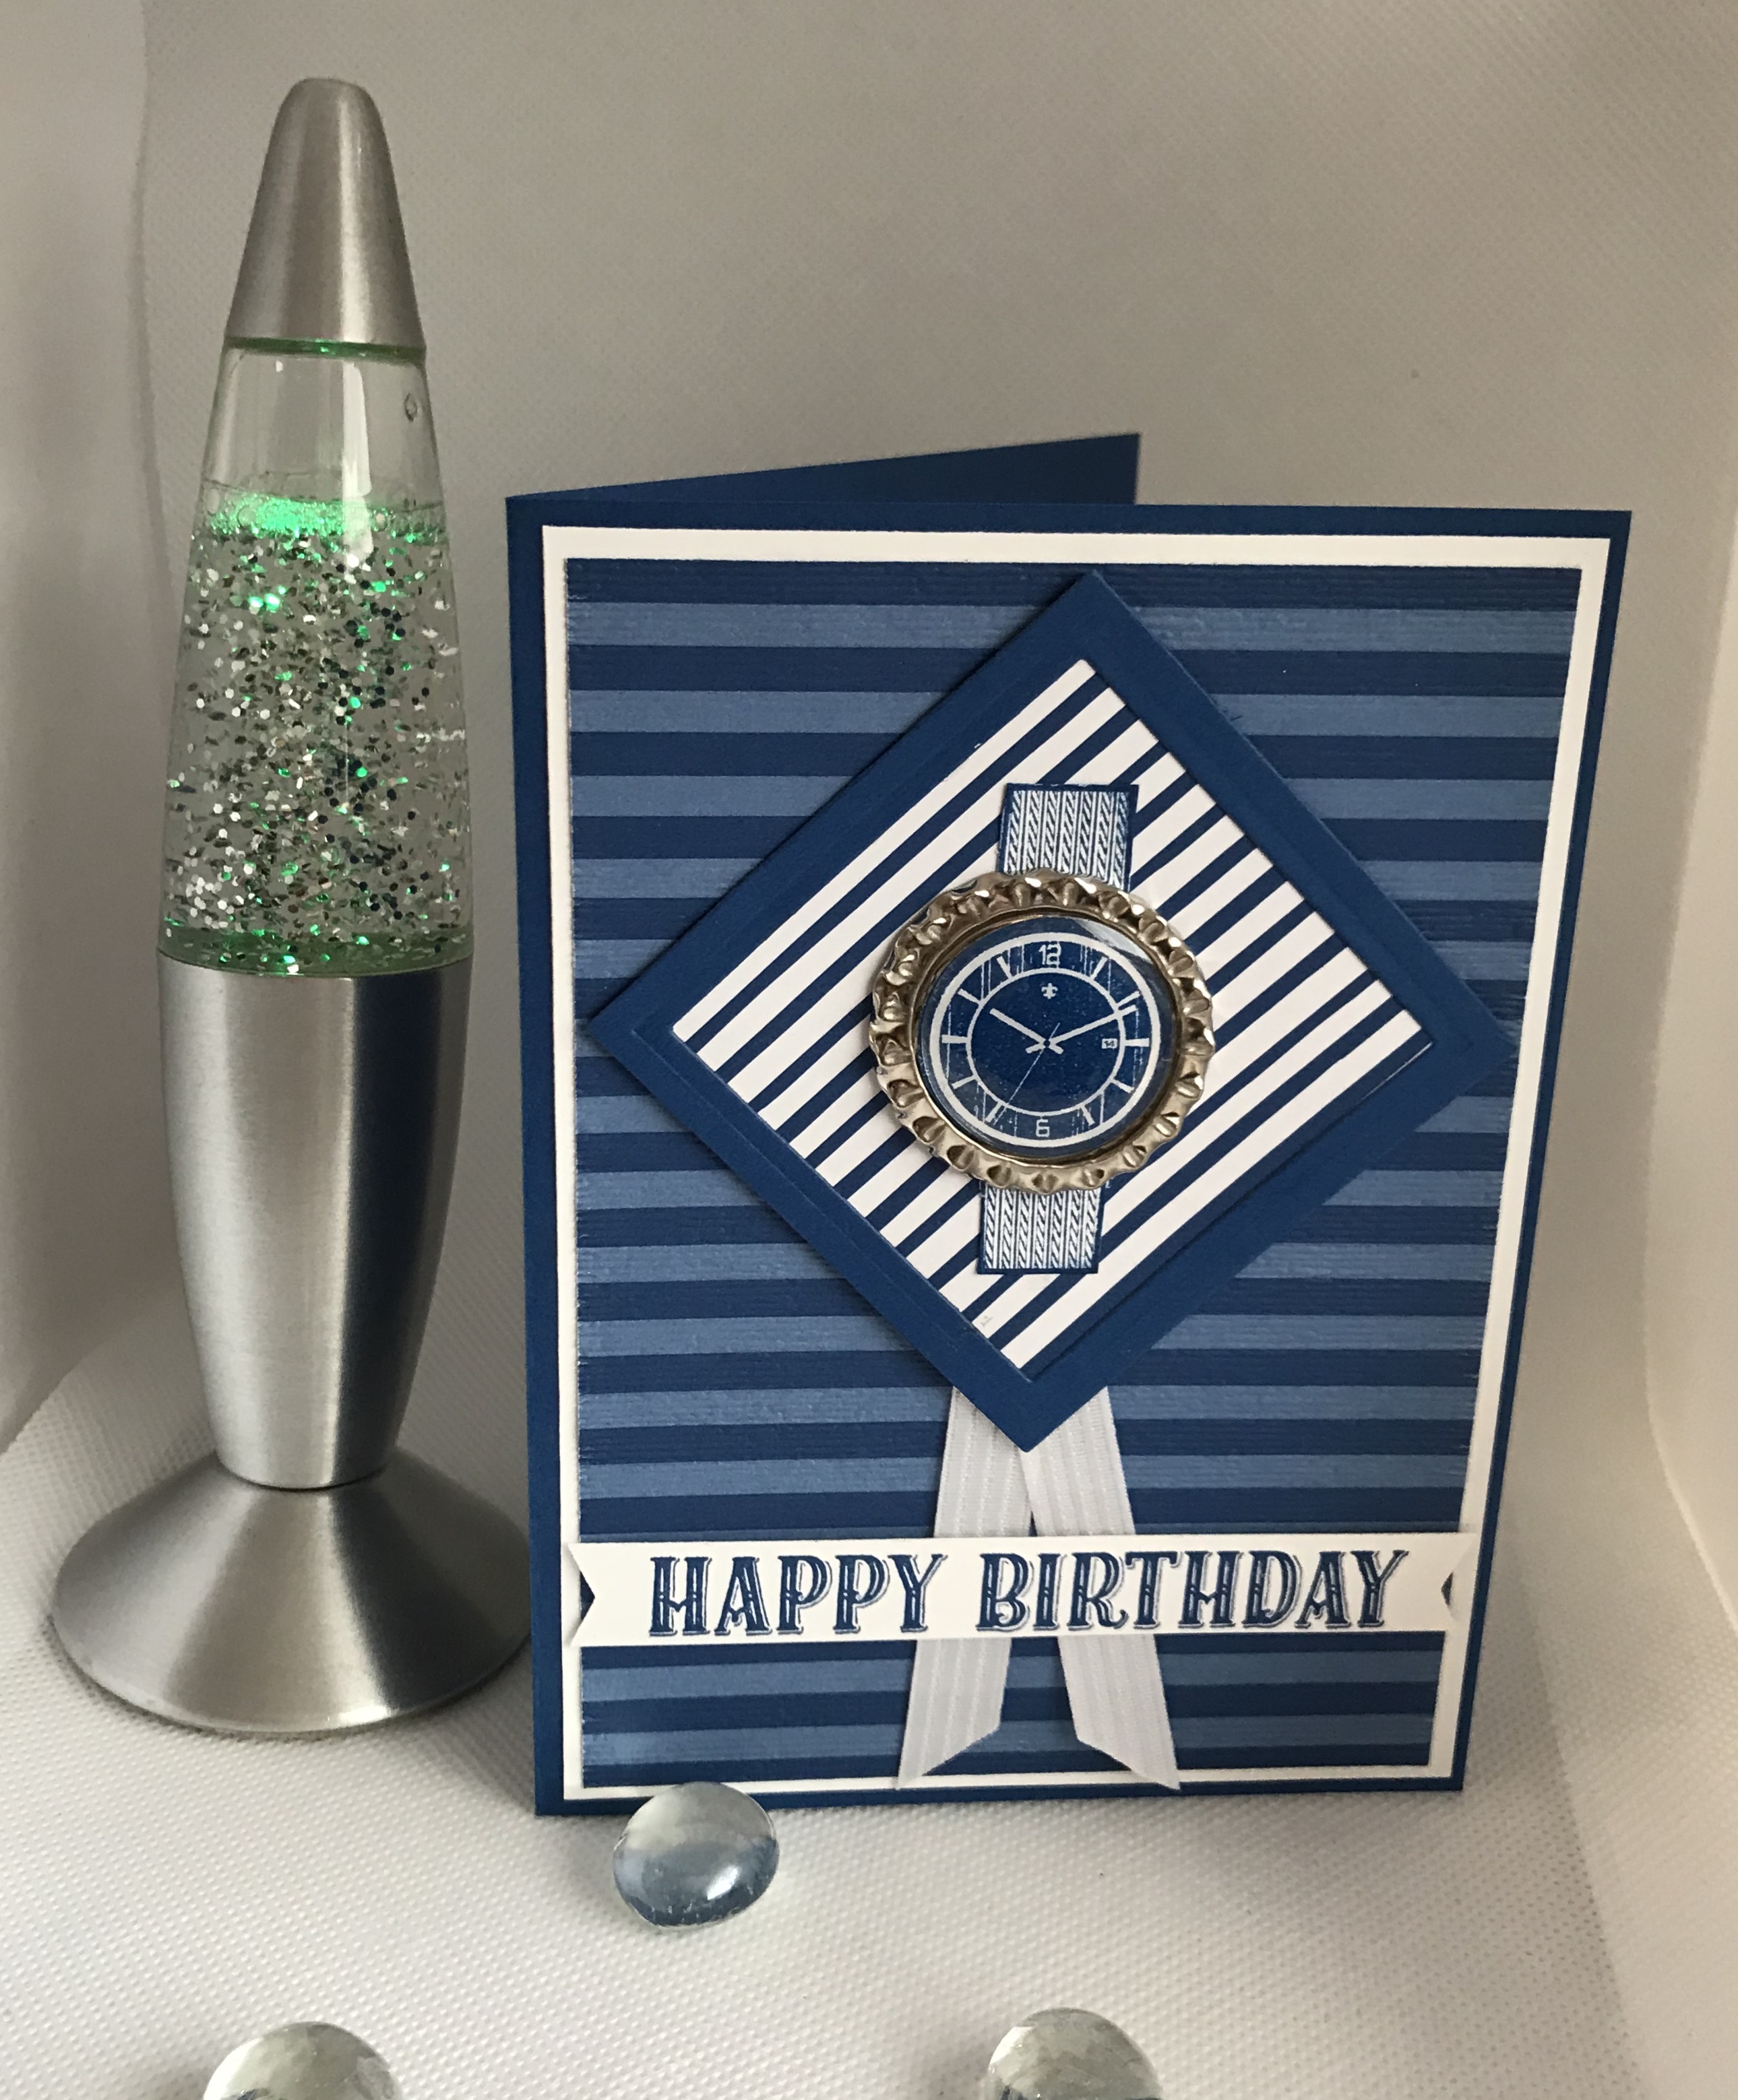
Birthday Jubilee meets Dapper Dad

Hello and welcome to my haven in a hectic world!

This is a mixed card, both new and old products being used.


Materials required for this card are:

Card stock: *blueberry bushel, whisper white
DSP: *in colors 18/20
Dies: layering squares (5&7)
Embossing folders: subtle
Ink: *blueberry bushel
Punches: triple banner
Ribbon: *stitched satin
Stamp sets: *birthday jubilee, *dapper dad
Accessories: (nsu) epoxy stickers, *silver soda pop tops

* = retired, (nsu) = non stampin' up!, when using layering dies (1) is the smallest

Hope you liked today's card. If you would like more information on how to make this card please don't hesitate to contact me, I'd love to hear from you.

If you wish to buy any of the items used, go to contacting me at the top of the page for details on how to order.

Will be back again soon with more cards, in the meantime have a great day.
Annette 😘

Saturday, May 2, 2020

Birthday Jubilee meets bonanza buddies

Hello and welcome to my haven in a hectic world, hope you're keeping safe!!

Happy Birthday Freddie 😘
Well today is Freddie's second birthday, can't believe how quickly he's grown. He's his own little man now.

I loved stamping these little critters, and putting them together was so easy.

All measurements are in Inches.
Card Stock: Grapefruit Grove 5 ½  x 4 (1st layer), Pretty Peacock 3 x ¾ (sentiment backing), Whisper White 10 x 7 scored at 5 (card base), 5 ½  x 4 (bonanza buddies stamping), 3½ x  (hb  sentiment), 1 x 2 (grandson)
DSP: 1 x 4 (banner)
(cs) = card stock, (ef) = embossing folder, (ss) = stamp set, (nsu) = not Stampin' Up.
  • Emboss the card base using the subtles (ef).
  • Round the corners off the 1st layer (cs) using the detailed trio punch.
  • Emboss the 1st layer (cs) using the brick & mortar (ef).
  • Using the hb sentiment (cs) stamp the Happy Birthday from the birthday jubilee (ss) in pretty peacock, then tidy up each end and adhere to the sentiment backing (cs) using liquid glue.
  • Using the grandson (cs) and the making a difference (ss) my grandson is an (nsu) but it looks really good using the SU stamp set, promise. Stamp the relationship in pretty peacock ink, then trim off round the edge. 
  • Stamp all the pieces needed from the bonanza buddies (ss) on the bbs (cs) using bermuda bay, daffodil delight, mango melody, memento black, smoky slate and terracotta tile.
  • Use cajun craze, mango medley and pumpkin pie blends to colour the birds beck.
  • Die cut all these pieces using the bonanza dies.
  • Die cut the banner using birthday bonanza (dsp).
  • Fussy cut around the balloon strings and adhere the balloons using liquid glue.
  • Now adhere the balloon bunches to the bird and koala, again using liquid glue.
  • Adhere the banner to  the 1st layer using liquid glue.
  • Now attach all the elements to the 1st layer (cs) using dimensional pads.
  • Adhere the 1st layer to the cards base.
  • Colour a medium sized basic rhinestone using dark cajun craze stampin' blends, then adhere to the pompom.
Will be back again soon with more cards, thanks for dropping by today.
Annette X
Saturday, March 14, 2020

Birthday Jubilee meets Hand Lettered Prose

Hello, and welcome to my haven in a hectic world, hope you're having a good day!

Happy Birthday Sis!

I'm Still trying to use all my new stamp sets before buying more, and there's lots more I want to buy. So I just keep crafting.

This is the big 60 for my sister but she'd kill me if I advertised it on her card, so I left numbers off and just put the sis instead.
Card Stock: Soft Sea Foam 2 pieces 10 x 6 (lattice work x 2), So Saffron 2 pieces 21 x 14.5 scored at 10.5 (card base), 1.5 x 9.5 (letters), Whisper White 2 pieces 10 x14 (1st layer), 5.5 x 5.5 (circle).

All measurements are in centimetres.
(cs) = card stock, (ef) = embossing folder, (ss) = stamp set, when using layering dies (1) is  the smallest.
  • Place the smaller piece of whisper white (cs) on your cutting plate along with the stitched shape circle (2) die, next to this place the so saffron (cs) along with the first 2 letters from the hand lettered prose dies, and lastly one of the soft sea foam (cs) pieces along with the lattice work die from the jubilee beauty dies, now run these through the big shot ( or equivelent) save the 2 small flower shaped pieces from the lattice work as you will use them later.
  • Now die cut the second piece of lattice work using the same die along with the second S from the hand lettered prose dies. Again save 1 of the small flower shaped pieces to be used later.
  • Stamp the happy birthday from the birthday Jubilee (ss) using so saffron ink at the top of the whisper white 1st layer (cs).
  • Emboss the 1st layer and the stitched circle using the scripty 3D (ef).
  • Adhere the first of the lattice work pieces below the happy birthday using liquid glue.
  • Now adhere the second one at the bottom to form a circle in the middle and leaving a small gap between them.
  • Adhere the letters to form the word sis using liquid glue across the stitched circle, now using small glue dots attach the 3 small flower shapes around the word sis.
  • Colour 3 small basic rhinestones and 1 medium basic rhinestone using the dark so saffron stampin' blend, now attach the 3 small ones in the middle of the little flowers and the medium one in the middle of the open flower at the top of the lattice work.
  • Now attach the circle in the middle of the lattice work using dimensional pads.
  • Colour a piece of whisper white crinkled seam binding ribbon using the so saffron stampin' blend and create a small bow. Attach this bow at the bottom of the lattice work with a glue dot to finish off the card.
Will be back again soon with more cards, thanks for dropping by.
Annette X

Delicate Whispers and more

Welcome to my blog and    t hank you for joining me today! Happy Anniversary to Sylvia & Bill Intermediate level - blending with a brush...