Happy Birthday Ste!
I'm so pleased for him, as he's just started cycling again after breaking a hip back in January! Only shorter and slower rides just now but I'm sure he'll get back to his normal cycling soon.
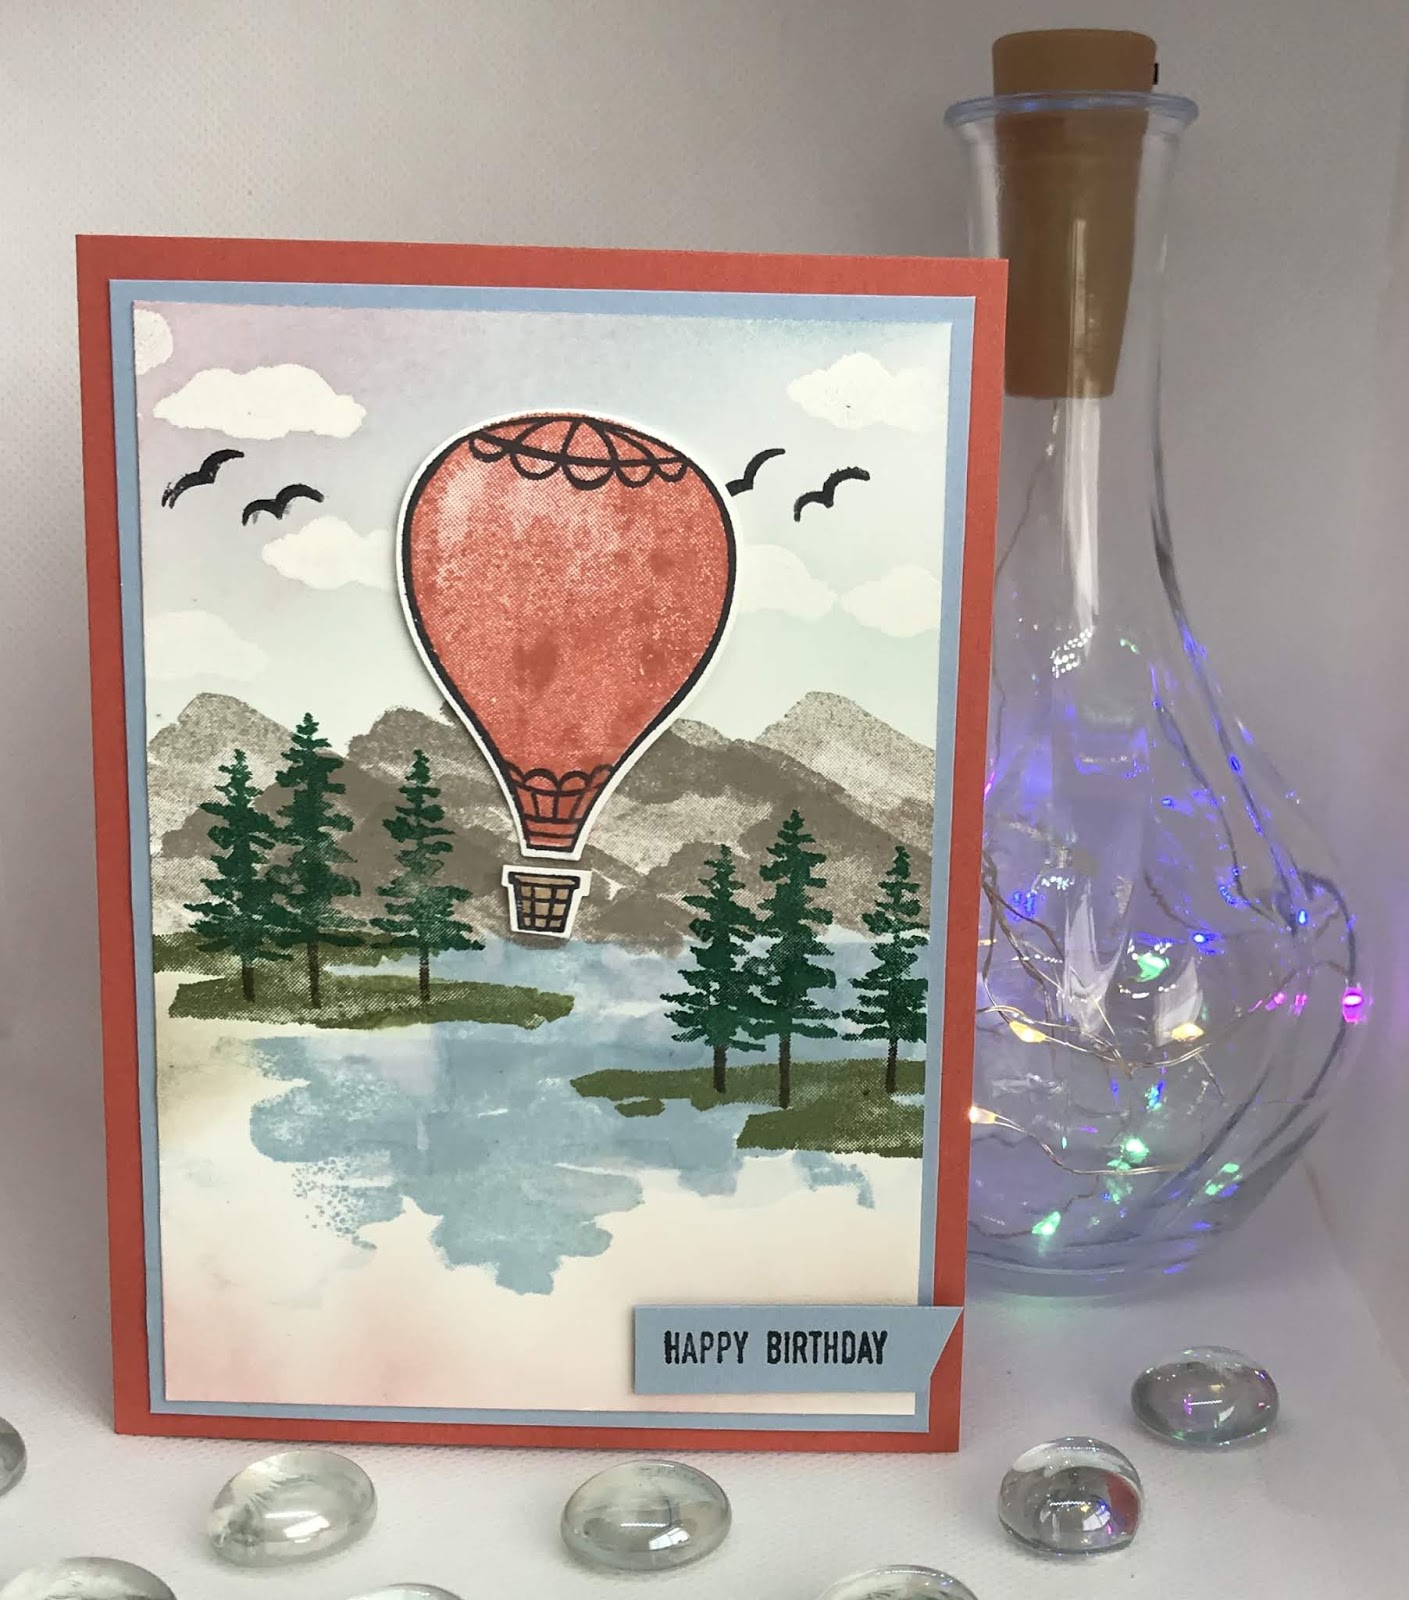
For this card I've adapted a card layout from one of the blogs I follow, with a card I liked on Pinterest, thus making it my own creation.

Card Stock: Balmy Blue 9 x 9 (scallop circle), 1 x 4.5 (sentiment), Smoky Slate 12.5 x 12.5 (1st layer), Whisper White 26 x 13 scored at 13 (card base), 8 x 8 (stitched circle) , when using layering dies (1) is the smallest.
DSP: Large piece 5 x 11.5, smaller piece 3 x 8
(cs) = card stock, (ef) = embossing folder, (ep) embossing powder, (ss) = stamp set, when using layered dies (1) is the smallest.
- Dry emboss the smoky slate 1st layer (cs) using the hammered metal (ef).
- Adhere a piece of the (r) black cord across the 1st layer just below the middle, I used narrow tear & tape for this, then adhere this layer to the card base using liquid glue.
- Stamp the whisper white stitched circle (cs) using the enjoy life (ss), garden green for the grass, versaMark & memento black for the biker, heat embossed with black (ep), memento black for the sentiment, then finally use the above the clouds (ss) and memento black for the birds.
- blend some colour lightly onto the white background using balmy blue and either a sponge or blending brush.
- Now for the die cutting, this can all be completed in one crank through your machine laying out all the pieces on your cutting plate.
- for the biker use the stitched shapes dies, circle (4).
- for the scalloped circle use the layering circles dies, scallop (8).
- for the Son I used (r) neutrals (dsp) and the hand lettered prose dies.
- Stamp the happy birthday from the label me bold (ss) in garden green onto the smaller piece of balmy blue (cs). Once stamped trim down if required.
- Adhere the larger piece of lily impressions (dsp) directly below the black cord using liquid glue.
- Adhere the biker to the scalloped circle using liquid glue.
- Attach the scalloped circle to the base card using dimensional pads.
- Cut a 5cm piece of the scalloped linen ribbon and use a balmy blue stampin' blend to change the colour.
- Adhere the happy birthday sentiment to the ribbon using narrow tear & tape, then attach to the card base using a combination of one dimension pad on the right side and a glue dot on the left side.
- Adhere the Son letters at the top of the card using liquid glue.
- Finally add 3 (r) black rhinestones below the happy birthday sentiment. Remember Stampin' Blends can be used to change basic rhinestones to any colour you want.
Will be back again soon with more cards, and thanks for joining me today.
Annette X