Showing posts with label silver foil. Show all posts

Saturday, October 9, 2021

Forever Blossoms meets loads of Dies

 Thank you for joining me today!

Congratulations to Richard & Laura


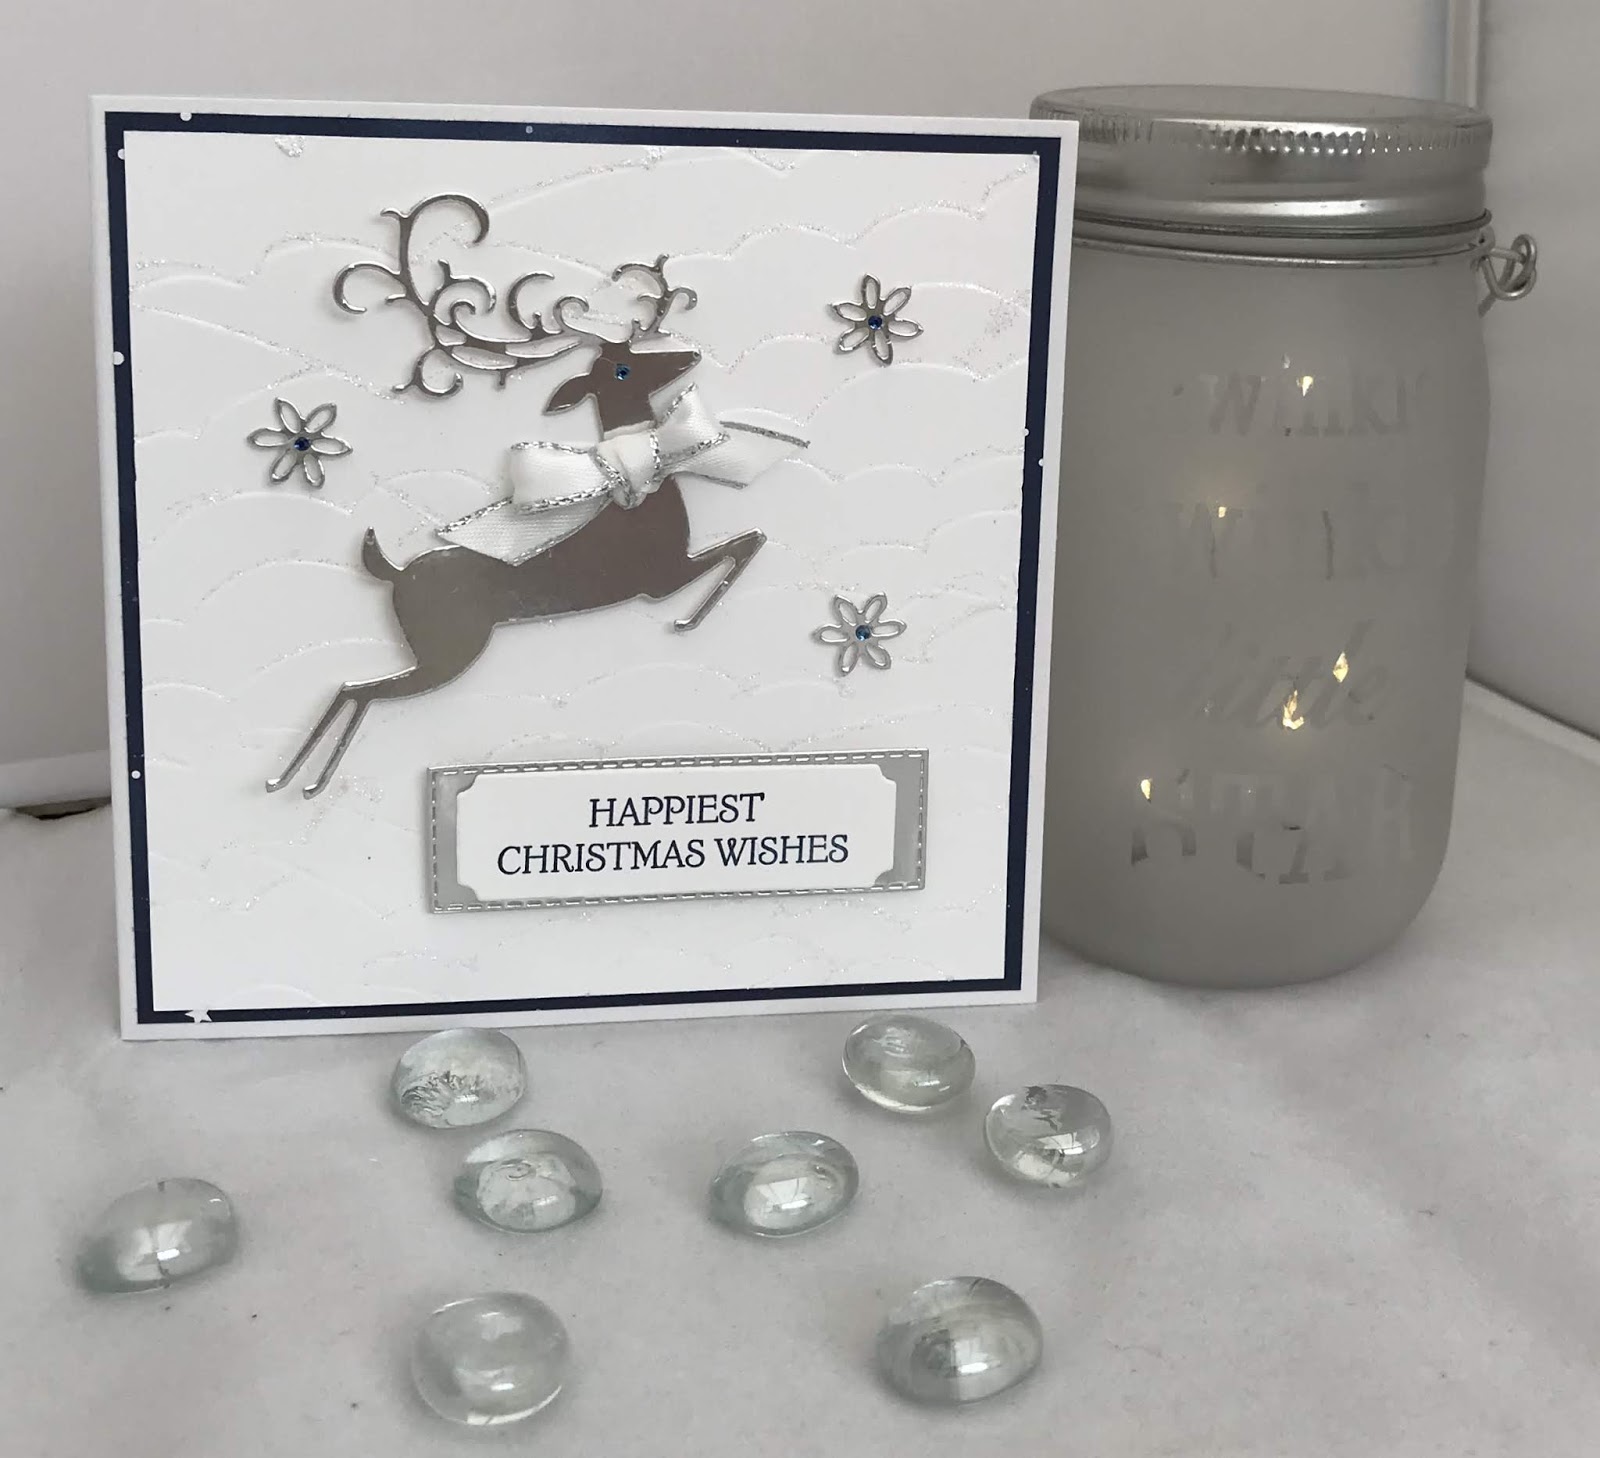
This is a mixture of old and new products, that came together in the making, when I came across the vellum piece of trellis work.

The materials required for this card are:

Card Stock: basic white, silver foil, vellum
Dies: forever flourishing, hydrangea, *rose trellis, stitched so sweetly (3)
Embossing Folders: pretty flowers
Embossing Powder: silver
Ink: soft sea foam, versamark
Ribbon: metallic mesh
Stamp Sets: forever blossoms, *teeny tiny sentiments
* = no longer available, when using layering dies (1) is the smallest
Accessories: blending brush

Hope you liked today's card. If you would like more information on how to make it, please don't hesitate to contact me, I'd love to hear from you.

If you wish to buy any of the items used, go to contacting me at the top of the page for details on how to order.

Will be back again soon with more cards, in the meantime take care and have a great day.
Annette ๐Ÿ˜˜

Sunday, December 13, 2020

Postive Thoughts and More

 Hello and welcome to my haven in a hectic world!

Thanks for joining me today!

Happy Birthday Sima ๐ŸŽ‚

Did some overlaying in different colours for the background and used the baby wipe technique for the stamping


Also used colours I don't tend to go to very often, even though I like them.

Materials required for this card are:

Card Stock: silver foil, soft sea foam, whisper white
Dies: nature's thoughts
Embossing Folders: seabed 3D
Ink Refills: blushing bride, mint macaron, soft sea foam
Punches: butterfly duet, lovely labels
Ribbon: polka dot tulle
Stamp Sets: butterfly gala, posted for you, positive thoughts
Accessories: basic pearls
* = retired, when using layering dies (1) is the smallest

Hope you liked today's card. If you would like more information on how to make it, please don't hesitate to contact me, I'd love to hear from you.

If you wish to buy any of the items used, go to contacting me at the top of the page for details on how to order.

Will be back again soon with more cards, in the meantime take care and have a great day.
Annette ๐Ÿ˜˜

Sunday, December 22, 2019

Dashing Deer with Detailed Deer

Hi folks, hope your having a great day!

I think this is my favourite card so far, and what's more it came out of my head for a change!
Card base 13.5 x 27 scored at 13.5 with each layer being .5 smaller than the layer before.
Colours for this card are Night of Navy, Silver foil and Whisper White (thick)
When working with nested dies (1) is the smallest, (dsp) = designer paper (ef) = embossing folder, (r) = retired, (ss) = stamp set,

Adhere the first layer of (r) twinkle twinkle (dsp) directly onto the front of the card.
Emboss the second layer with the high seas (ef) then with the waves upside down glitter the edges of each wave using fine glue and stampin' glitter. Once dry adhere to the card base.
Stamp the sentiment from the dashing deer (ss) in night of navy and die cut using the label from the  merry christmas dies. At the same time die cut a narrow (2) stitched rectangle in silver foil.
With another piece of silver foil die cut the reindeer and 3 stars from the detailed deer dies.
Attach the deer using dimensional pads and the stars using liquid glue.
Colour in 4 basic rhinestones using the night of navy stampin' blends and adhere to the 3 stars, using the last one as the reindeer's eye.
Make a bow using the metallic edge ribbon and adhere to the deer's neck using a couple of glue dots.
Attach the sentiment and foil backing using dimensional pads.

Hope you enjoyed todays card.

Will be back again soon with more cards!
Annette X

Wednesday, December 18, 2019

Itty Bitty Christmas meets Feels Like Frost

Hi all, welcome to my haven in a hectic world.

This is a CASe from Kelly Acheson, and it's much easier to do than it looks.

I'm still not very good at finding my own inspiration so rely on my blogger friends.
I really liked the look of these cards, so much so that I made 3 one for each of my children. And that's me now finished for this years Christmas cards. Yeah!!!

Over the next few days I'll be sharing some of the seasonal cards I've made for this year.

All measurements are in centimetres.
When using nesting dies (1) is the smallest size.
Card base 21 x 14.85 scored at 10.5, feels like frost (dsp) 8.5 x 14.85 and 2 pieces 8 x 7 for the snowflakes, silver foil 1 x 14.85 (need 2 strips),
Colours for this card are Night of Navy and Silver.
(cs) = card stock, (dsp) = designer series paper, (ep) = embossing powder, (ss) = stamp set.

First adhere the silver foil strips down each side of the card leaving a .5 edge using liquid glue.
Using the night of navy stampin' blend dark colour 2 small basic rhinestones and put to one side to dry.
With the larger feels like frost (dsp) piece, and using the stitched rectangle dies cut out an opening with about a 2cm border at the top and sides using the (2) rectangle.
Die cut the snowflakes using the christmas layers dies. you need 2 of the snowflake clusters and 1 each of the two smallest snowflakes.
Adhere the 2 snowflake clusters to the back of the open rectangle in the (dsp) mat around the edges.
Now adhere this to the card base with a .5 border on each side showing the silver foil.
On a scrap piece of night of navy (cs) stamp the sentiment from the itty bitty christmas (ss) using versamark and heat emboss with the silver (ep).
Die cut using the (1) narrow stitched rectangle.
Adhere the two snow flakes to the front of the card and add the coloured basic rhinestones.
Attach the sentiment across the opening using dimensional pads.

Will be back again soon with more cards!
Annette X

Daisies meets Nature's Symphony

  Welcome to my blog and    t hank you for joining me today! Happy birthday Serenia Intermediate level - die cutting, dry embossing, layerin...