Showing posts with label merry christmas. Show all posts

Sunday, August 22, 2021

Birch meets Many Messages & more!

 Thank you for joining me today!

Wishing Margaret & Simon a Happy Anniversary!
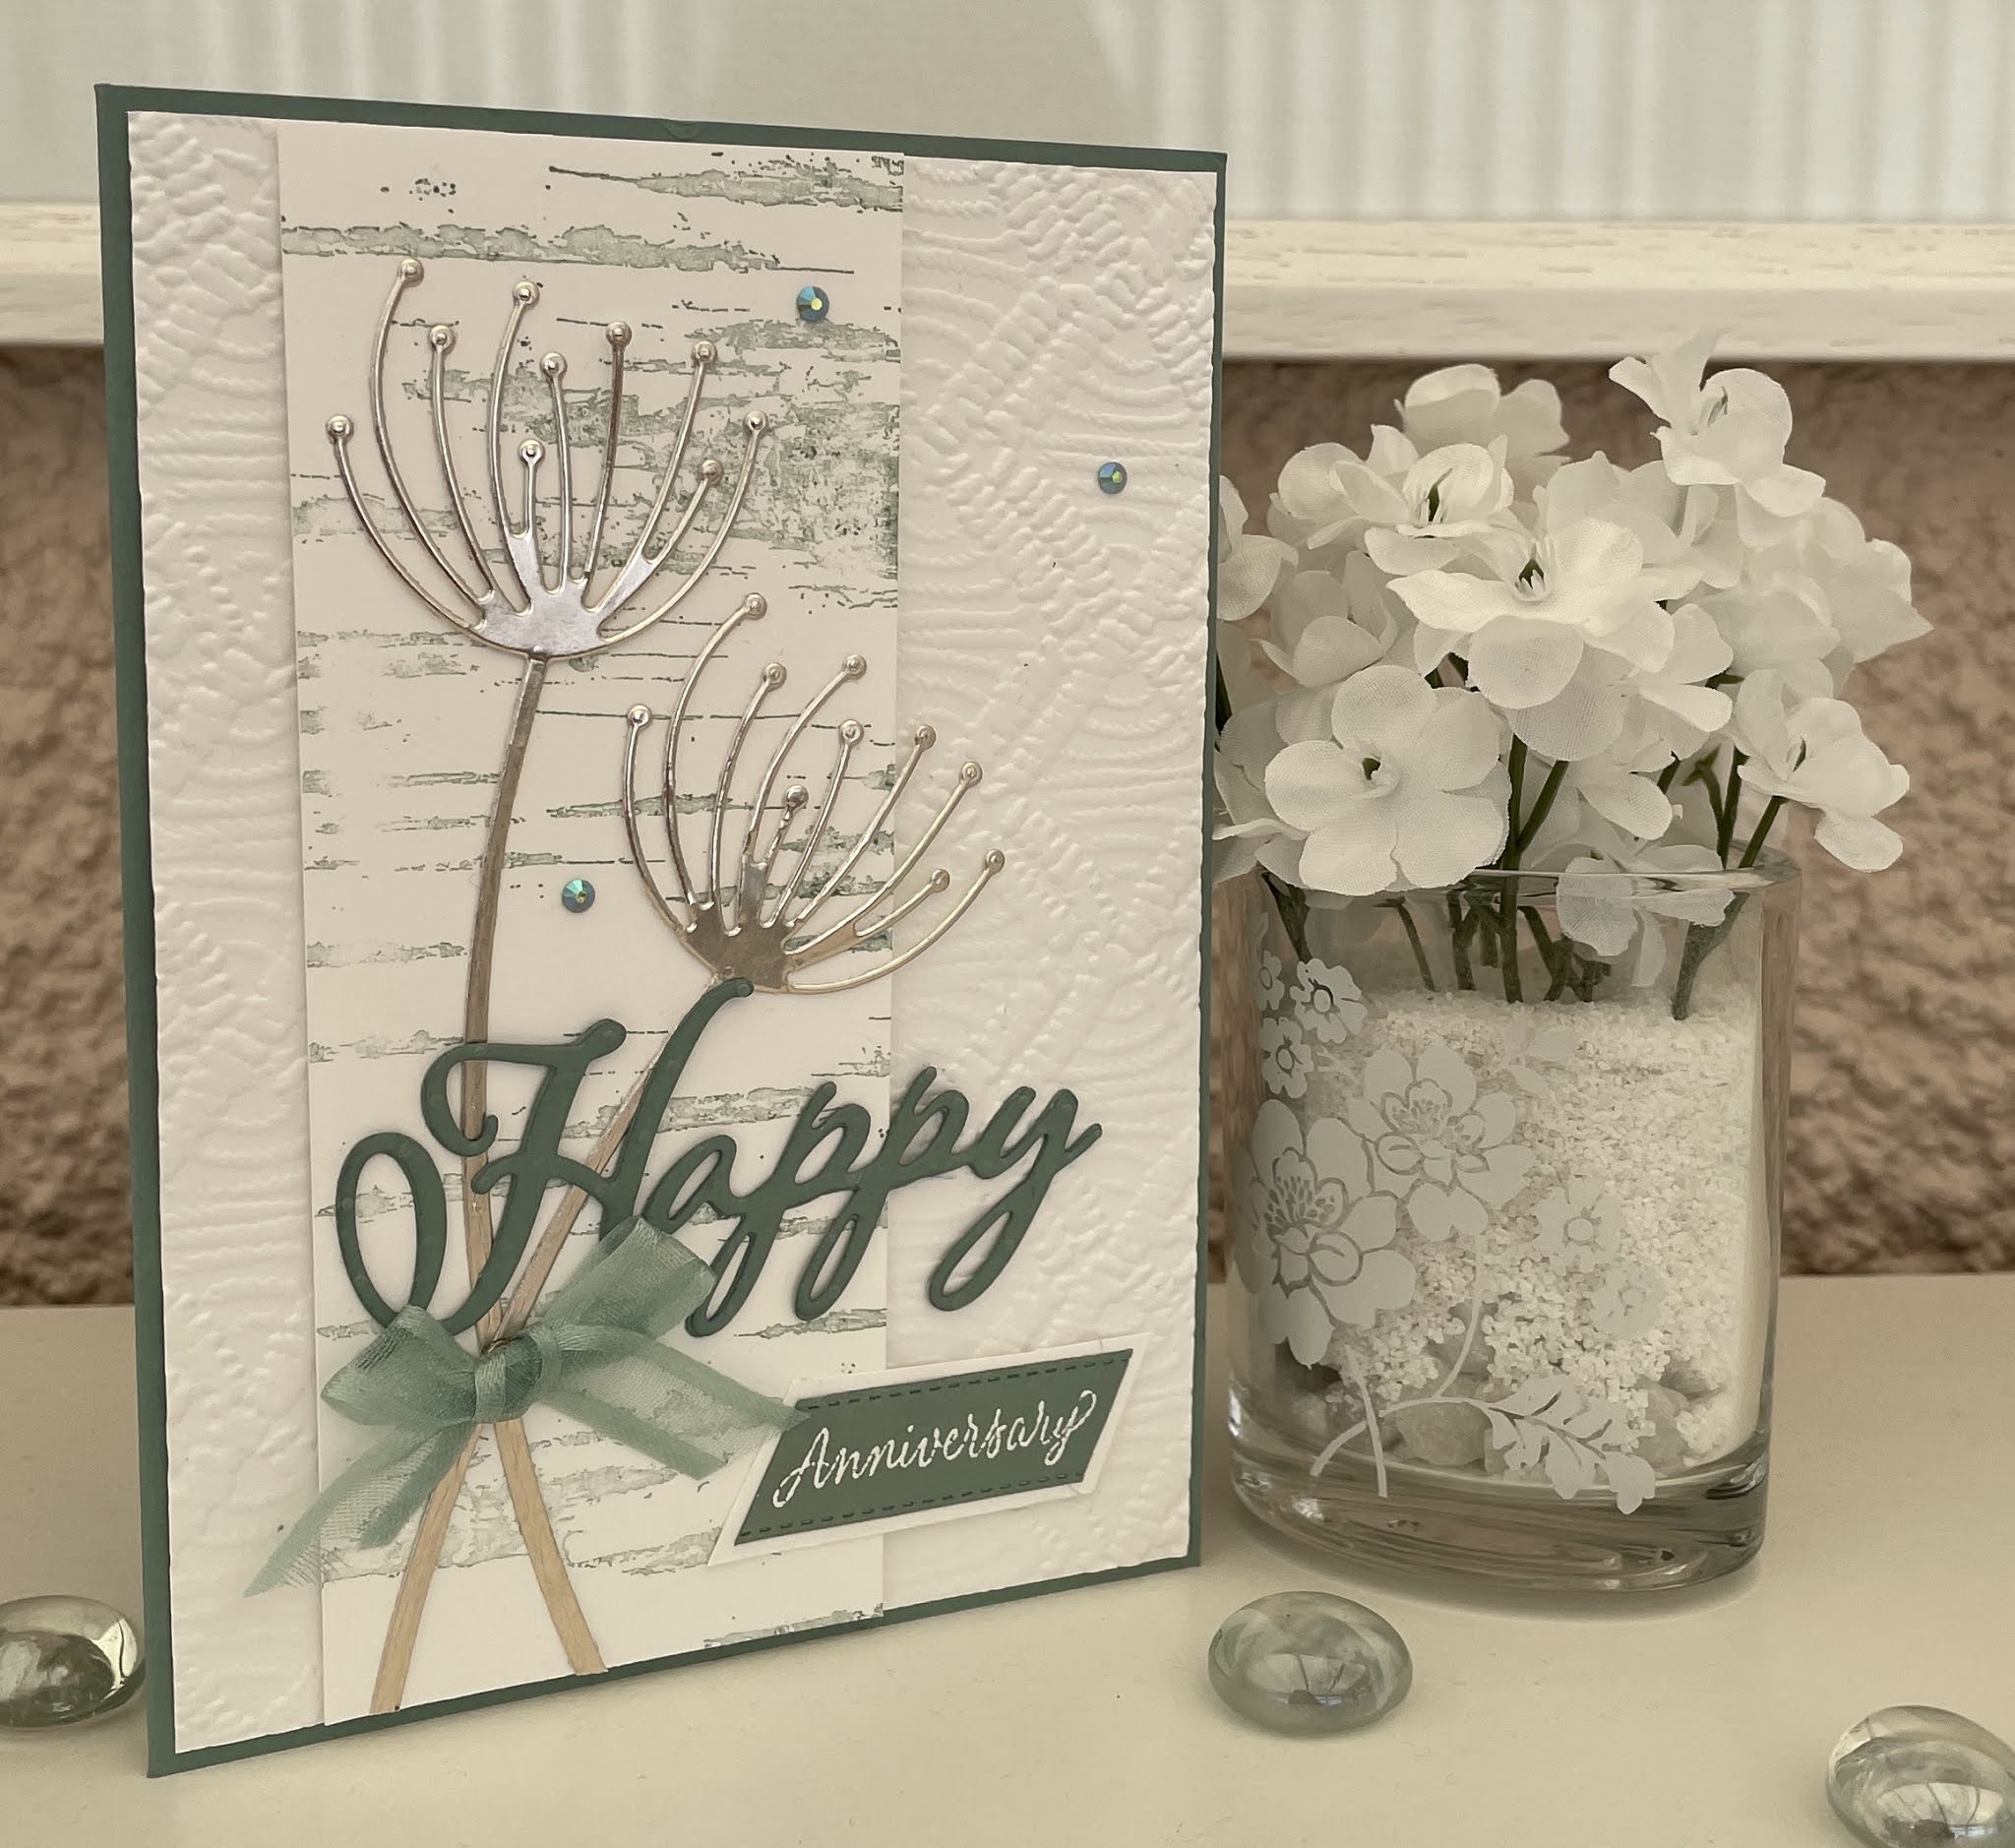


This is sort of CASed from a card on Pinterest by Debby Hughes. I changed the sentiment, embossing and background stripe. I also added some ribbon so it's now kind of my own.

Materials required for this card are:

Card Stock: basic white, soft succulent
Dies: dandy wishes, *merry christmas, tasteful labels (ends cut off on a diagonal)
Embossing Folders: macrame 3D
Embossing Powder: white
Ink: soft succulent, versamark
Ribbon: open weave 
Stamp Sets: birch, many messages (-happy)  
Accessories: in-color 21/23 jewels
* = no longer available

Hope you liked today's card. If you would like more information on how to make it, please don't hesitate to contact me, I'd love to hear from you.

If you wish to buy any of the items used, go to contacting me at the top of the page for details on how to order.

Will be back again soon with more cards, in the meantime take care and have a great day.
Annette 😘

Friday, December 27, 2019

Winter Woods meets Dashing Deer and more!

Hello and welcome to my blog, glad you popped by.

This is a card l've cased from JanB's blog at janbcards.com Floating Christmas Tree dated 29th September 2019.

Jan did a video which I followed and found very clear and easy to follow.


Abbreviations: (cs) = Card Stock, (ef) = Embossing Folder, (r) = retired, (ss) = Stamp Set
All measurements are in inches, and you will need the following:

Card Stock: Garden Green 4 pieces, 5¾" x 5½" scored along the short edge at 4¼" (card base), 5¾" x 1¼" (bottom front base), 5" x " (2 pieces matting). Glimmer paper: 1" x 3" (3 stars) Whisper White 5 pieces 3" x 5½" (card insert), 5½"  x 1" (2 pieces matting), 3½" x 6" (2 pieces trees). 3" x 1" (sentiment)
Embossing Folders: Brick & Mortar
Dies: In The Woods, Merry Christmas, Starlight (r)
Stamp Sets: Dashing Deer, Winter Woods
Embellishments: Red Rhinestones

  • Adhere the card insert using liquid glue.
  • Emboss the 2 green panels with the brick & mortar (ef) and adhere to the 2 white panels using liquid glue.
  • Adhere one of these panels to the wider green panel (bottom front base), adhere the other panel at the top of the card base.
  • Using pegs align the bottom front base across the bottom the the base card.
  • With a piece of the white trees (cs) stamp the big tree from the Winter Woods (ss) in Garden Green 3 times.
  • Now die cut the trees using the In The Woods dies, then with the other piece of white trees (cs) die cut another 3 trees without stamping. (you now have 3 stamped trees and 3 plain trees).
  • Putting a little liquid glue at the top and bottom of first stamped tree, adhere to the front of the card on the left hand side, repeat this for the right hand side then open the card and adhere a plain tree at the back of each tree.
  • With the middle tree use  dimensional pads along the bottom and top of the tree to adhere in place. With the plain back for this tree use liquid glue for the top and bottom and a couple of dimensional pads in the middle to stop it sagging.
  • With the glimmer paper die cut 3 stars, I used the Starlight dies for this, then adhere using dimensional pads.
  • Stamp the sentiment  from the Dashing Deer (ss) in Garden Green and die cut using the label die from the Merry Christmas dies. Lightly edge this with Garden Green and adhere using dimensional pads.
  • Add some Red Rhinestones to the trees!!

Thank you for dropping by and see you again soon with more cards
Annette X

Sunday, December 22, 2019

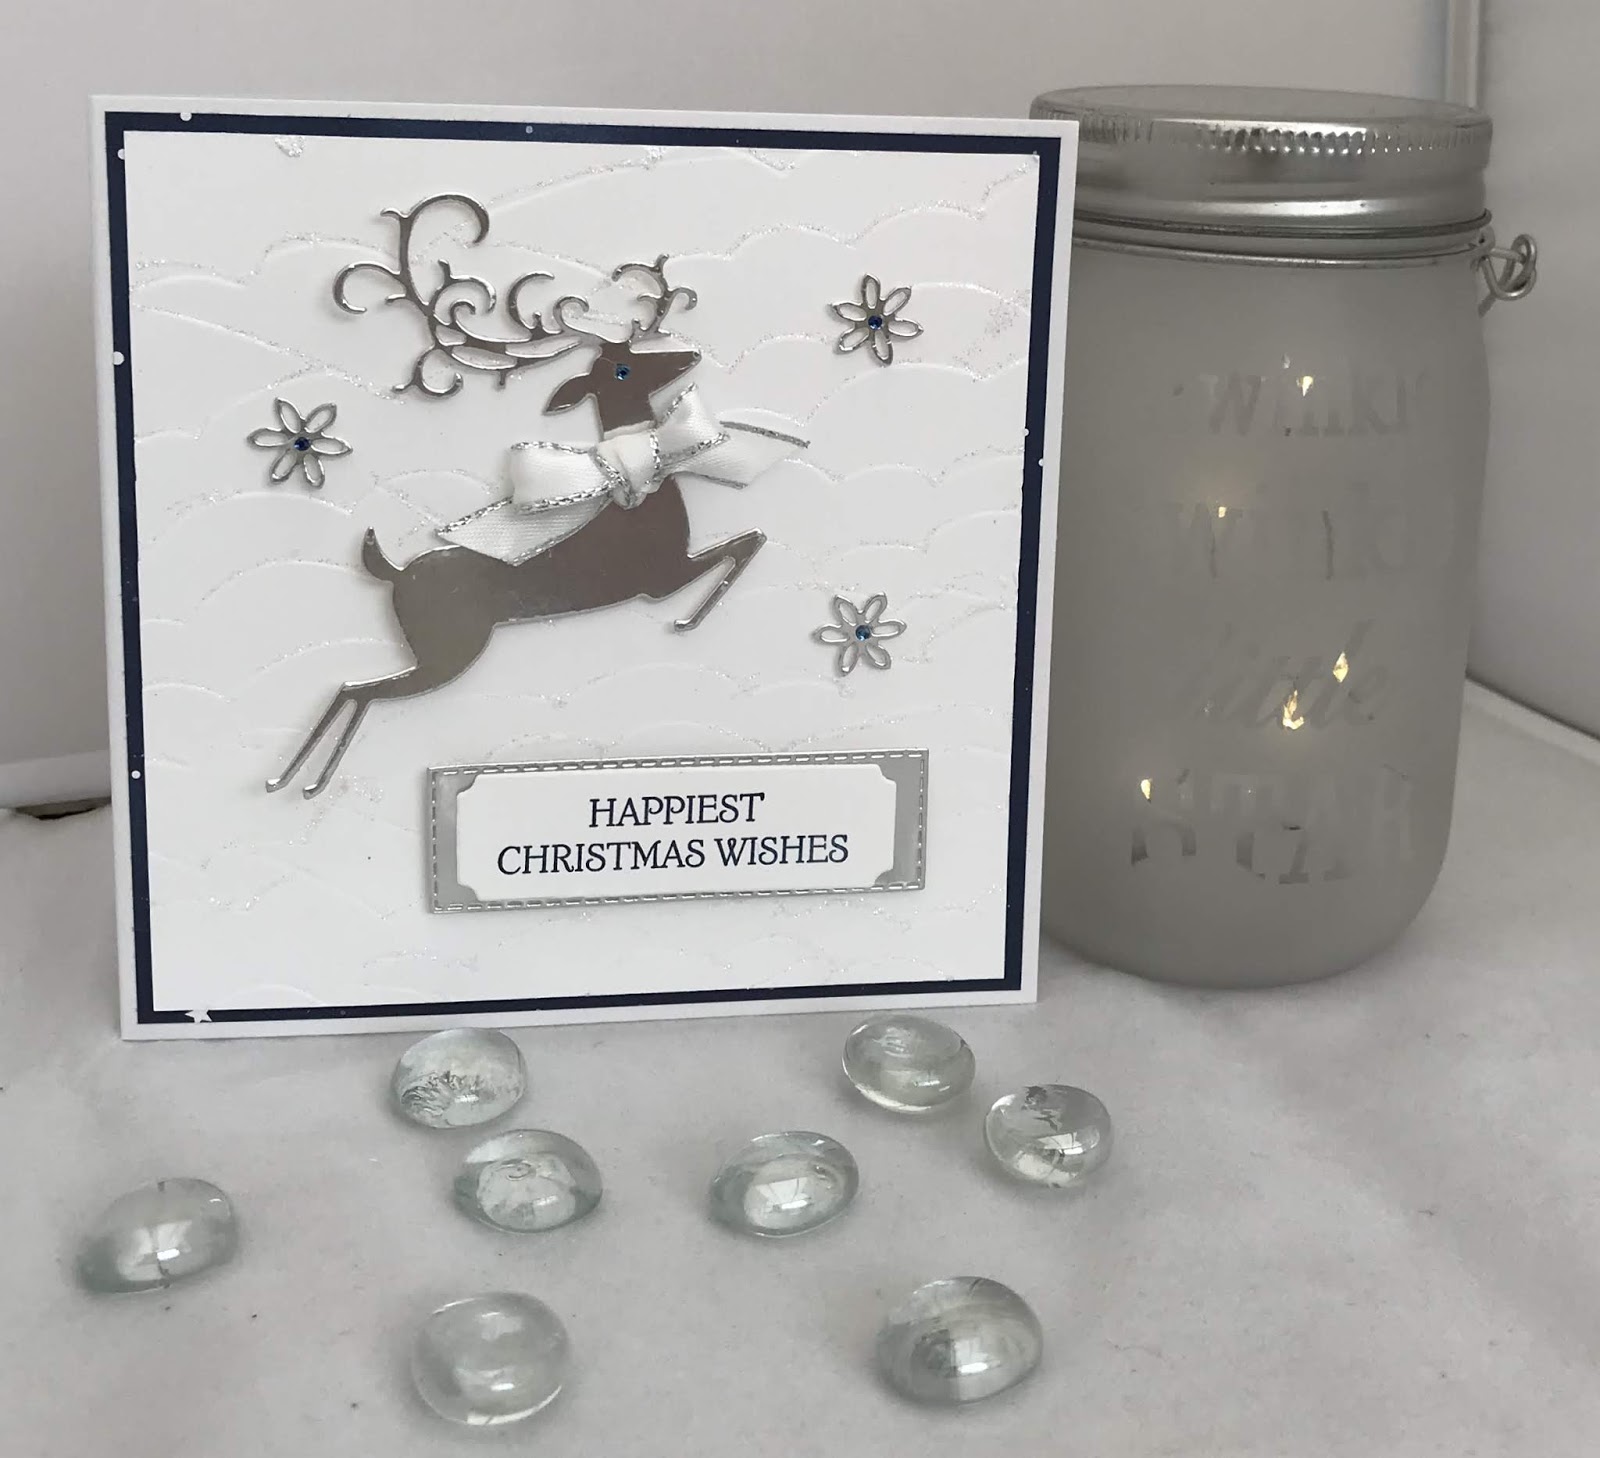
Dashing Deer with Detailed Deer

Hi folks, hope your having a great day!

I think this is my favourite card so far, and what's more it came out of my head for a change!
Card base 13.5 x 27 scored at 13.5 with each layer being .5 smaller than the layer before.
Colours for this card are Night of Navy, Silver foil and Whisper White (thick)
When working with nested dies (1) is the smallest, (dsp) = designer paper (ef) = embossing folder, (r) = retired, (ss) = stamp set,

Adhere the first layer of (r) twinkle twinkle (dsp) directly onto the front of the card.
Emboss the second layer with the high seas (ef) then with the waves upside down glitter the edges of each wave using fine glue and stampin' glitter. Once dry adhere to the card base.
Stamp the sentiment from the dashing deer (ss) in night of navy and die cut using the label from the  merry christmas dies. At the same time die cut a narrow (2) stitched rectangle in silver foil.
With another piece of silver foil die cut the reindeer and 3 stars from the detailed deer dies.
Attach the deer using dimensional pads and the stars using liquid glue.
Colour in 4 basic rhinestones using the night of navy stampin' blends and adhere to the 3 stars, using the last one as the reindeer's eye.
Make a bow using the metallic edge ribbon and adhere to the deer's neck using a couple of glue dots.
Attach the sentiment and foil backing using dimensional pads.

Hope you enjoyed todays card.

Will be back again soon with more cards!
Annette X

Delicate Whispers and more

Welcome to my blog and    t hank you for joining me today! Happy Anniversary to Sylvia & Bill Intermediate level - blending with a brush...