Showing posts with label bordered ribbon. Show all posts

Friday, March 27, 2026

Birchwood 3D meets lots more

 Welcome to my blog

and  thank you for joining me today!

Happy Anniversary Roy


Easy level - cutting angles, dry embossing, stamping
My inspiration for this card came from Pinterest

Materials required for this card are:
 
Card Stock: basic white, real read
Embossing Folders: birchwood 3D
Ink: real red, secret sea
Stamps: *best family ever, *country bouquet, layers of love
Accessories: *bordered ribbon, low profile sparkly dots
 * = no longer available

Start with a basic card base 14.5 x 21 scored at 10.5, basic white 11 x 10.5
  1. using the white panel mark 3cm in from the right and 2.5cm up on the right and cut off
  2. mark 3cm down from the left cut off to the point on the right
  3. place the 3 sentiments on a block and stamp
  4. with the hearts, ink up only the large one and stamp, then do the same with the small one
  5. dry emboss the white panel
  6. adhere the white panel to the base card using liquid glue
  7. attach the ribbon border, I did this using tear and tape 
  8. add the sparkly dot
Hope you liked today's card. If you would like more information on how to make it, please don't hesitate to contact me. I'd love to hear form you.

If you wish to buy any of the items used, go to contacting me at the top of the page for details of how to order.
 
Will be back again soon with more cards, in the meantime take care and have a great day.

Annette 😊 

Wednesday, September 3, 2025

He's All That bundle meets Delightful Wishes

Welcome to my blog

and  thank you for joining me today!

Happy Birthday Stuart


Intermediate level - die cutting, dry embossing, layering, lining up stamping 

Materials required for this card are:
 
Card Stock: basic beige, secret sea
Designer Series Paper: *he's the man
Dies: *all that, mini alphabet
Embossing Folders: *dashing designs
Ink: secret sea
Stamps: delightful wishes, *he's all that
Accessories: 25/7 in color flat pearls, *bordered ribbon
 * = no longer available

Start with a base card 14.5 x 21 scored at 10.5, secret sea 10 x 14, dsp 10 x 8.5, off cuts for die cutting
  1. dry emboss the top 5.5 cm of the blue layer
  2. adhere the dsp below the embossed area using liquid glue
  3. attach the ribbon using tape and adhere to the base card using liquid glue
  4. add adhesive sheeting to the back of the card for the diamonds and letters
  5. die cut all the pieces
  6. stamp the 2 sentiments onto the label and attach to the card using dimensional pads
  7. attach the diamonds and letters
  8. add the pearls
Hope you liked today's card. If you would like more information on how to make it, please don't hesitate to contact me, I'd love to hear from you.

If you wish to buy any of the items used, go to contacting me at the top of the page for details of how to order.
 
Will be back again soon with more cards, in the meantime take care and have a great day.

Annette 😊 

Thursday, August 22, 2024

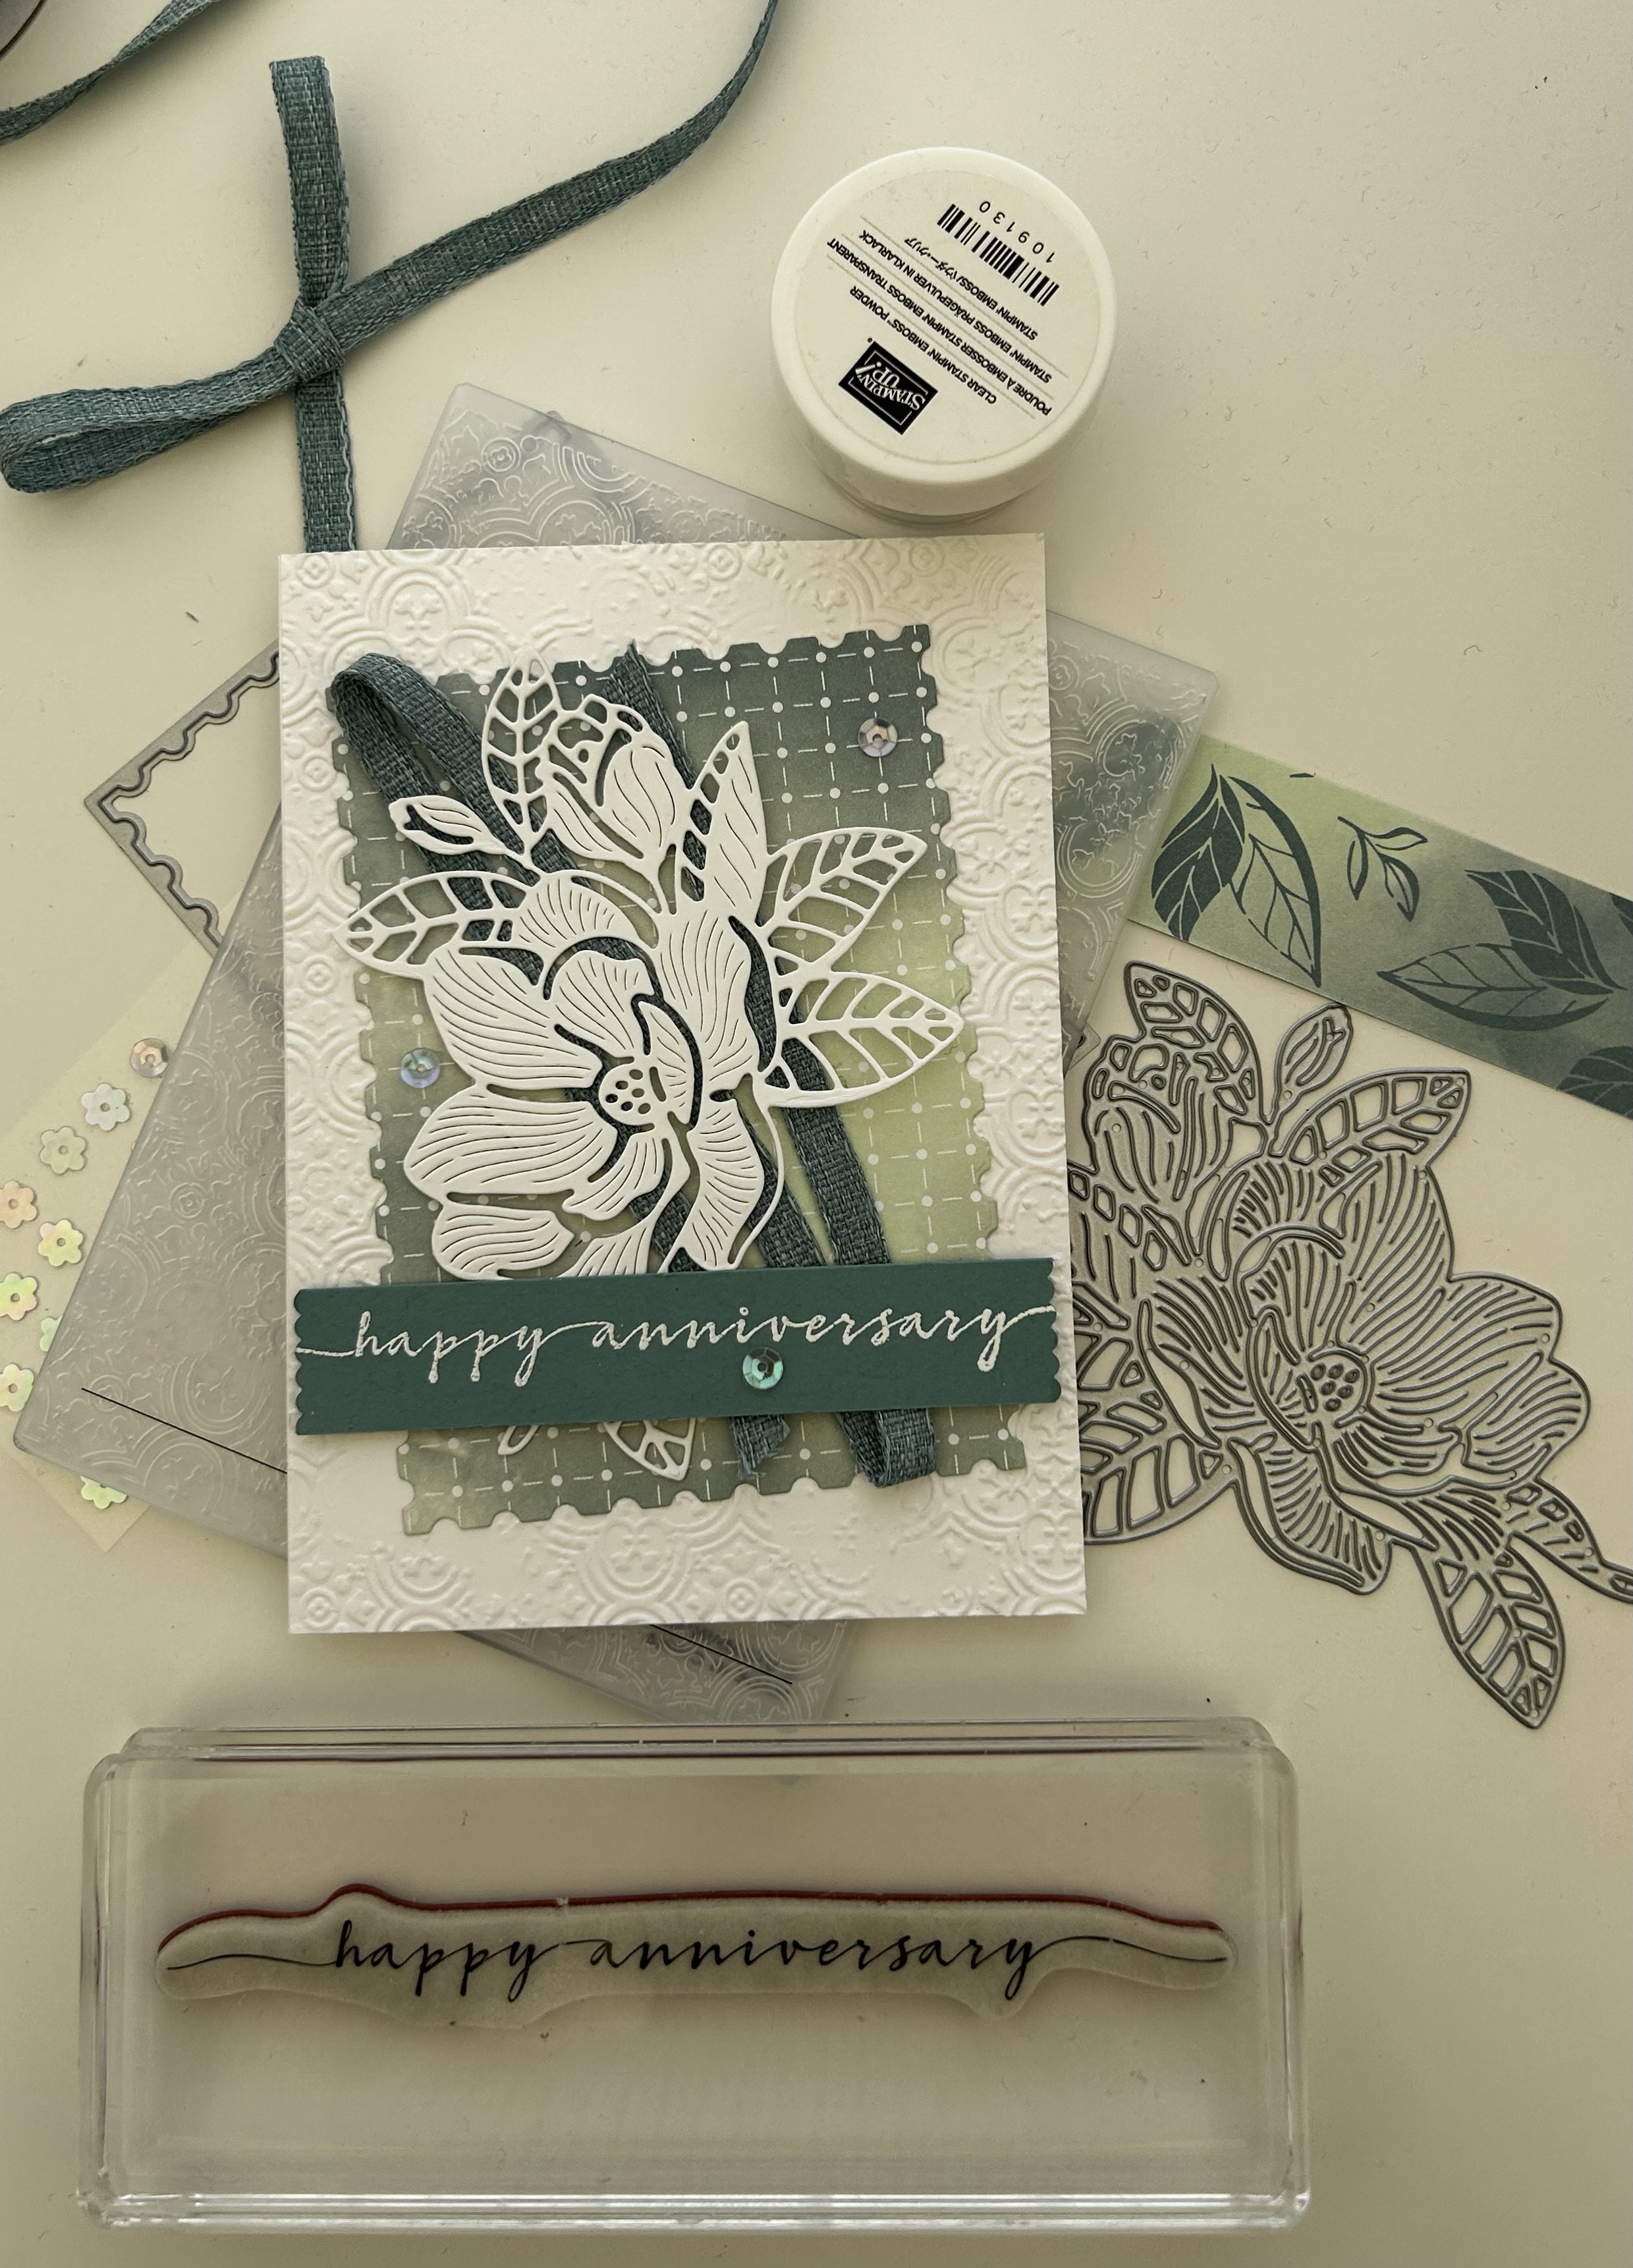
Magnolia Mood meets Perennial Postage

 Welcome to my blog

and  thank you for joining me today!

Happy Anniversary Margaret & Simon


Intermediate, die cutting, dry embossing, heat embossing, punching

Materials required for this card are:

Card Stock: basic white, lost lagoon
Designer Series Paper: hello irresistible 
Dies: magnolia mood, perennial postage (5)
Embossing Folders: distressed tile 3D
Ink: versamark 
Punches: happy labels
Stamps: sweetly scripted
Accessories: *bordered ribbon, *gingham gala sequins, white embossing powder
 
* = no longer available, when using layering dies (1) is the smallest

  1. Start with a base card 14.5 x 21 scored at 10.5, white layer 10.5 x 14.5 die cutting layer 9 x 12, dsp 9 x 12, lost lagoon 1.9 x 10.5
  2. dry emboss the white layer and adhere to the base card using liquid glue
  3. die cut the rectangle of dsp using the postage die and adhere to the base card at a slight angle using liquid glue.
  4. run a small strip of stampin' seal in the middle of the dsp and attach the ribbon
  5. die cut the flower and attach to the card using dimensional pads
  6. stamp the sentiment in versamark, add the embossing powder and heat
  7. trim the edges of the sentiment with the punch and attach to the card using dimensional pads 
  8. add the sequins
Hope you liked today's card. If you would like more information on how to make it, please don't hesitate to contact me, I'd love to hear from you.

If you wish to buy any of the items used, go to contacting me at the top of the page for details of how to order.

Will be back again soon with more cards, in the meantime take care and have a great day.
Annette 😊 
Tuesday, March 12, 2024

Petal Park meets Charming Sentiments

 Welcome to my blog

and  thank you for joining me today!

Happy Birthday Gemma


Two step stamping - die cutting, dry embossing layering, stamping, 

Materials required for this card are:

Card Stock: basic white, lemon lolly
Designer Series Paper: inked botanicals
Dies: sentiments silhouettes, thoughtful expressions (5.6)
Embossing Folders: basics 3D
Ink: lemon lolly, lost lagoon
Punches: petal park builder
Stamps: charming sentiments, petal park
Accessories: bordered ribbon, *white perfect accents 
* = no longer available, when using layering dies (1) is the smallest

  1. Start with a base card, 14.85 x 21 scored at 10.5, white matt 10 x 14.3, dsp 5 x 10, off cuts for stamping and die cutting
  2. using the two step stamping method stamp the flowers and leaves
  3. stamp the sentiment
  4. die cut the sentiment, leaves and background layer for the leaves
  5. punch out the flowers and lightly soften them up and give them depth using an embossing tool and cushioned mat
  6. dry emboss the white matt using the folder
  7. adhere the dsp paper at the bottom using liquid glue
  8. wrap the trim around the top of this section and secure at the back using tape
  9. adhere to the base card using liquid glue
  10. adhere the leaves to the background matt using liquid glue
  11. attach to the base card using dimensional tabs
  12. attach the sentiment using dimensional tabs
  13. attach the flowers using glue dots
  14. add the accents to the middle of the flowers
Hope you liked today's card. If you would like more information on how to make it, please don't hesitate to contact me, I'd love to hear from you.

If you wish to buy any of the items used, go to contacting me at the top of the page for details of how to order.

Will be back again soon with more cards, in the meantime take care and have a great day.
Annette 😊 

Delicate Whispers and more

Welcome to my blog and    t hank you for joining me today! Happy Anniversary to Sylvia & Bill Intermediate level - blending with a brush...