Showing posts with label countryside corners dies. Show all posts

Saturday, April 11, 2026

Layered thoughts meets older stash

  Welcome to my blog

and  thank you for joining me today!

Happy Birthday Andy


Intermediate level - die cutting, dry embossing, embellishing, layering, stamping

Materials required for this card are:
 
Card Stock: basic white, *boho blue
Designer Series Paper: *timeless plaid
Dies: *countryside corners (5,6)
Embossing Folders: *subtle 3D 
Ink: crumb cake 
Stamps: layered thoughts
Accessories: 23/5 in color dots, 23/5 in color jute trim
 * = no longer available, when using layering dies (1) is the smallest

Start with a basic card base 10 x 29 scored at 14.5, dsp 9.6 x 14.1, white 11 x 8, blue 13 x 8.5
  1. stamp the sentiment on the white piece of card
  2. die cut both the white and blue piece's using the 2 dies
  3. dry emboss the the dsp and white piece using the folder
  4. wrap the jute trim around the dsp and attach at the back using tape
  5. adhere the dsp to the base card using liquid glue
  6. adhere the blue piece using liquid glue
  7. attach the sentiment using dimensional pads
  8. add the dots
Hope you liked today's card. If you would like more information on how to make it, please don't hesitate to contact me. I'd love to hear form you.

If you wish to buy any of the items used, go to contacting me at the top of the page for details of how to order.
 
Will be back again soon with more cards, in the meantime take care and have a great day.
Annette ๐Ÿ˜Š

Thursday, September 5, 2024

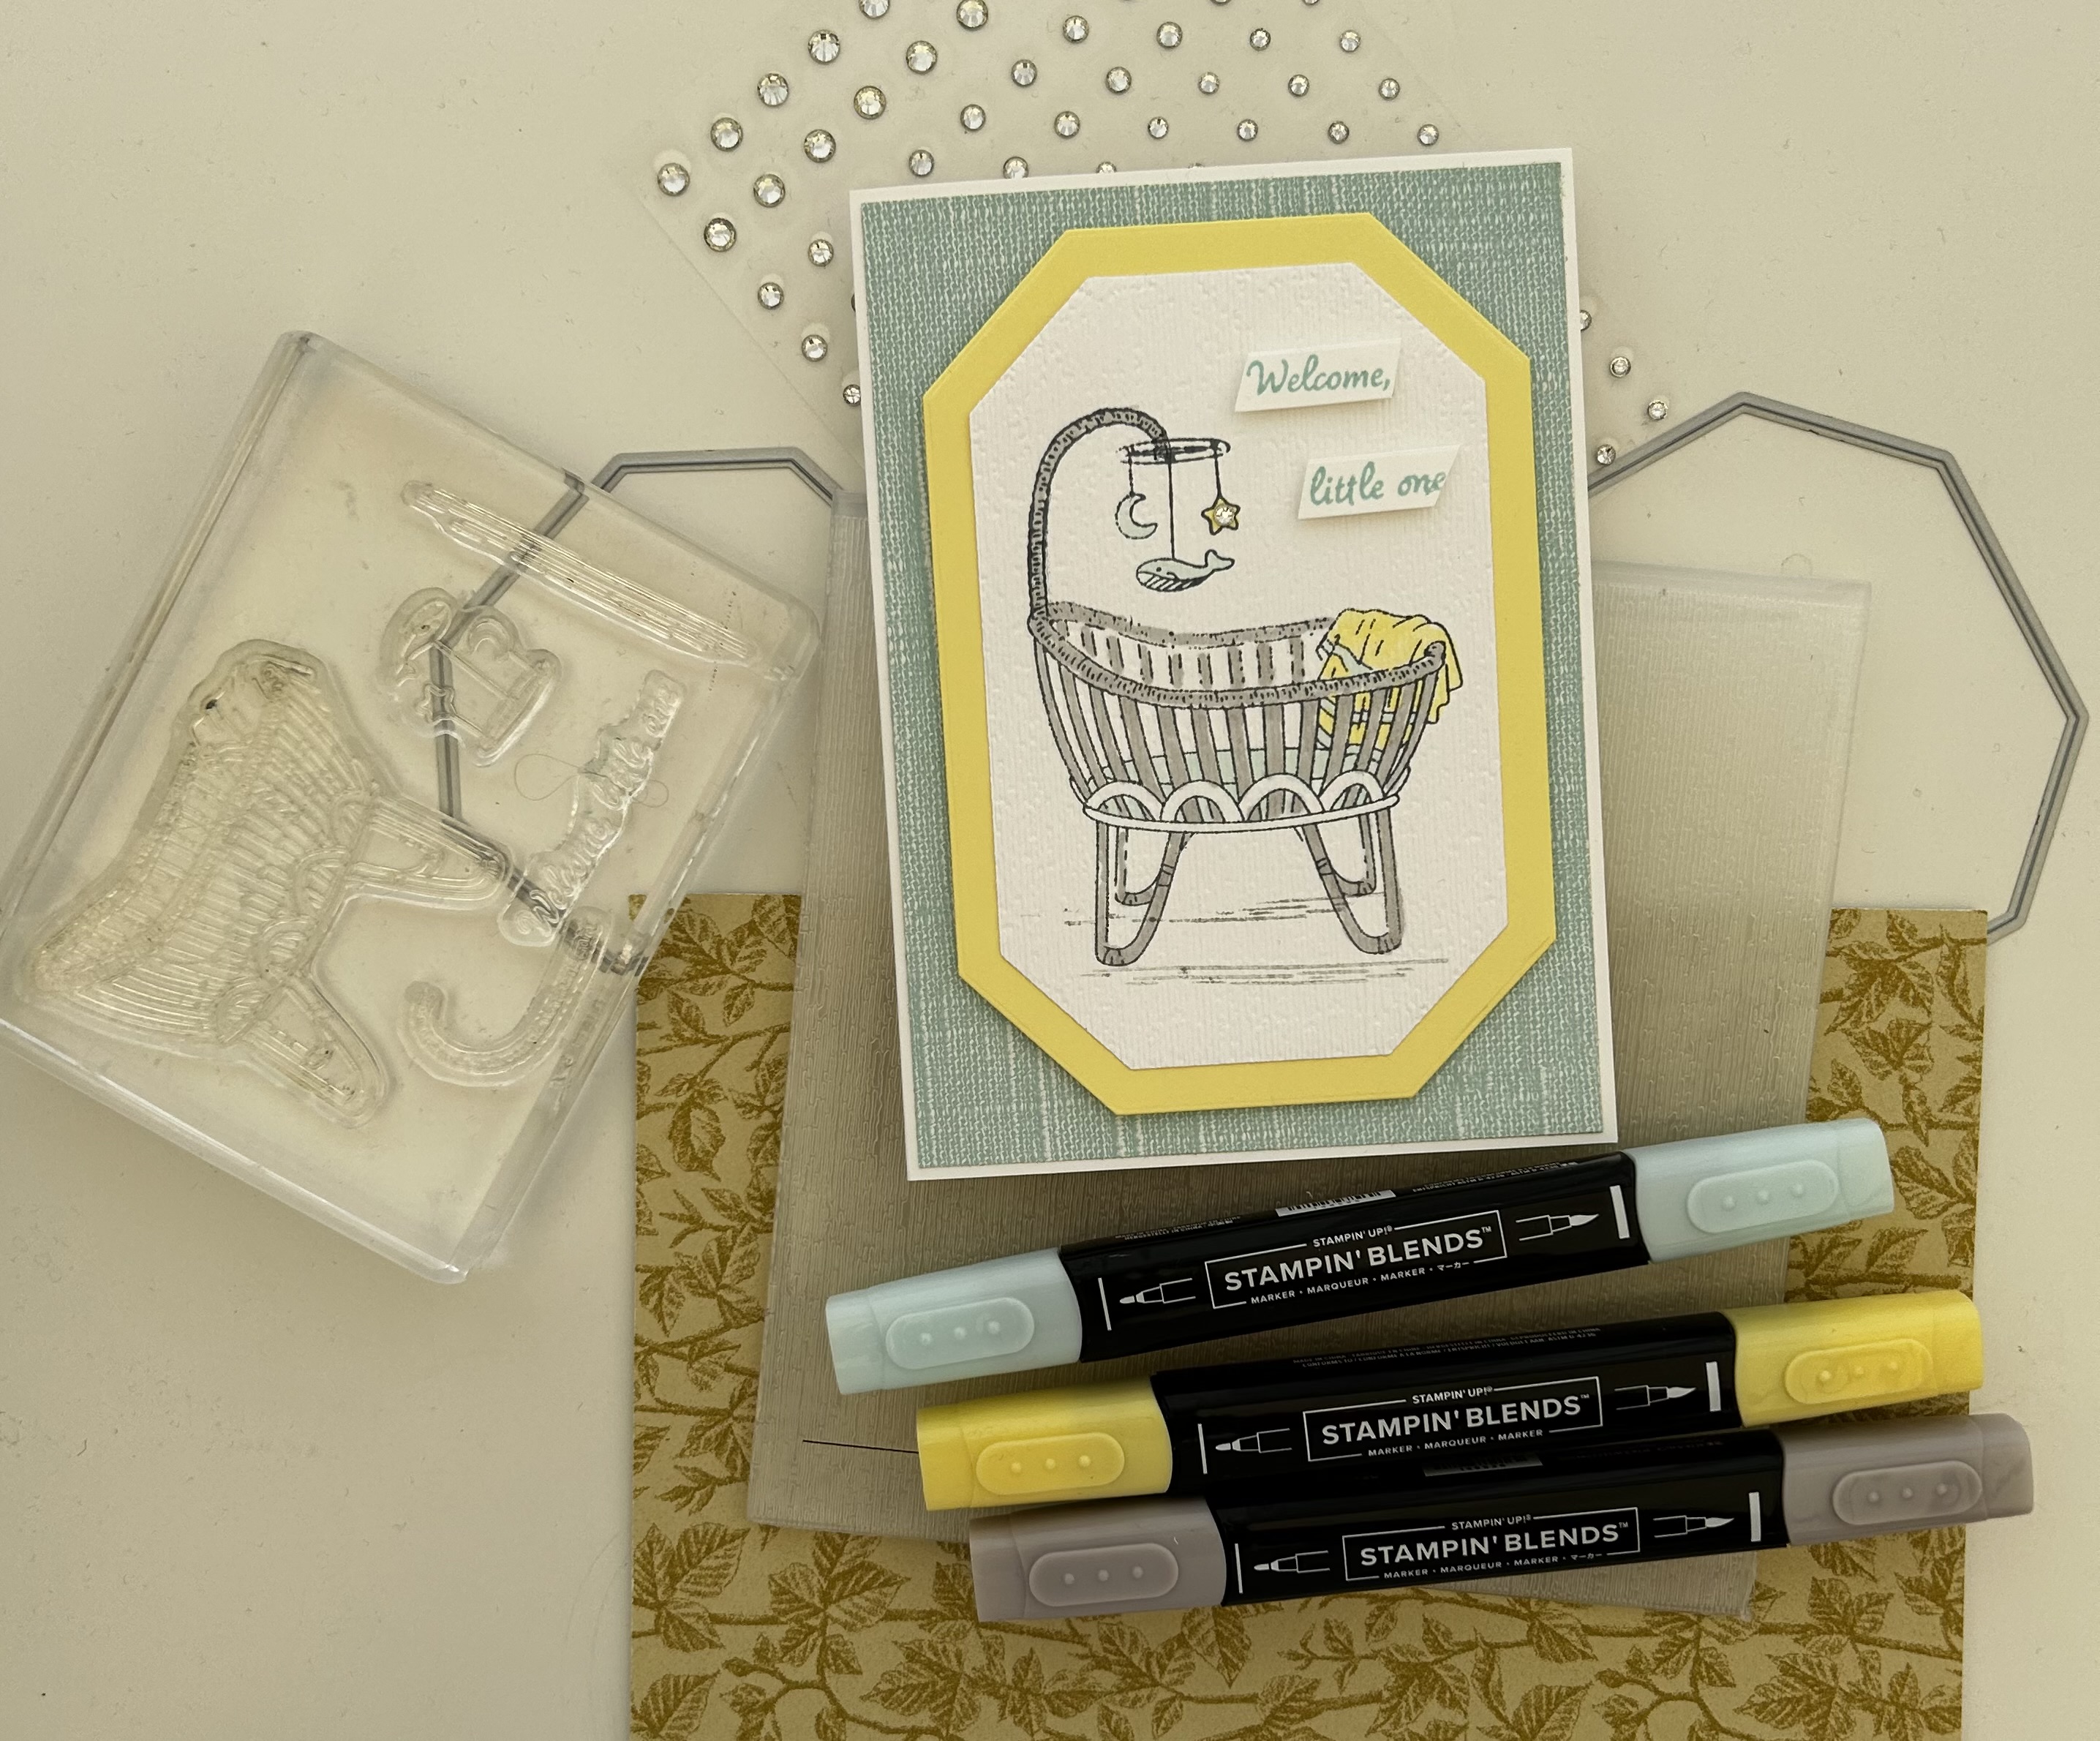
Welcome New Baby

Welcome to my blog

and  thank you for joining me today!

Welcoming a new Baby


Intermediate: colouring with alcohol ink, die cutting, dry embossing, layering, stamping

Materials required for this card are:

Card Stock: basic white, lemon lolly
Designer Series Paper: *softly stippled
Dies: countryside corners, (5,6)
Embossing Folders: *subtle 3D
Ink: momento tuxedo black, pool party, smoky slate (stamped off)
Stampin' Blends: gray granite, lemon lolly, pool party
Stamps: *cradled in love, trucking along
Accessories: rhinestone basics
 
* = no longer available, when using layering dies (1) is the smallest

  1. Start with a base card 14.5 x 21 scored at 10.5, dsp 14.1 x 10.1, rectangles 14 x 9.5, 12.5 x 8
  2. adhere the dsp using liquid glue 
  3. die cut the rectangles
  4. stamp the images and sentiment
  5. colour the images using the blends
  6. emboss the smaller rectangle
  7. adhere the 2 rectangles together using liquid glue
  8. attach the rectangles and sentiment to the base card using dimensional tabs
  9. add the rhinestone
Hope you liked today's card. If you would like more information on how to make it, please don't hesitate to contact me, I'd love to hear from you.

If you wish to buy any of the items used, go to contacting me at the top of the page for details of how to order.

Will be back again soon with more cards, in the meantime take care and have a great day.

Annette ๐Ÿ˜Š  

Monday, January 29, 2024

Sentimental Park meets Mini Alphabet

  Welcome to my blog

and  thank you for joining me today!

Good luck in your new home Donna


Intermediate easy - die cutting, dry embossing, fussy cutting, layering, stamping

Materials required for this card are:

Card Stock: basic white, misty moonlight
Designer Series Paper: countryside inn
Dies: countryside corners (6,7), *home together, mini alphabet
Embossing Folders: exposed brick 3D
Ink: misty moonlight
Stamps: sentimental park
Accessories: basic rhinestones, *well suited twine
 * = no longer available, when using layering dies (1) is the smallest

  1. Start with a base card 29.6 x 10.5 scored at 14.8, white card matt 14.8 x 10.5, dsp 12 x 8, misty moonlight 13.5 x 9, scrap basic white and misty moonlight for extra die cutting
  2. dry emboss the white matt and adhere to the base card
  3. die cut all the pieces - 2 rectangles, letters, house, star
  4. adhere the 2 rectangles together using liquid glue, then adhere to the base card again using liquid glue
  5. stamp the sentiments and fussy cut round them 
  6. arrange all the pieces onto the rectangles and attach using dimensional pads
  7. wrap som twine around the spine of the card and tie with a bow, then add a rhinestone the the star.
Hope you liked today's card. If you would like more information on how to make it, please don't hesitate to contact me, I'd love to hear from you.

If you wish to buy any of the items used, go to contacting me at the top of the page for details of how to order.

Will be back again soon with more cards, in the meantime take care and have a great day.
Annette ๐Ÿ˜Š 

Delicate Whispers and more

Welcome to my blog and    t hank you for joining me today! Happy Anniversary to Sylvia & Bill Intermediate level - blending with a brush...