Showing posts with label double oval. Show all posts

Monday, August 21, 2023

Alphabest meets Beautiful Balloons and more

   Welcome to my blog

and  thank you for joining me today!

Happy Birthday Lily-Mae


Really quick and easy - Die cutting, stamping, punching

Materials required for this card are:

Card Stock: basic white
Designer Series Paper: bright & beautiful
Dies: alphabet a la mode, beautiful balloons bundle
Embossing Folders: exposed brick 3D
Ink: boho blue, moody mauve
Punches: best label, double oval
Stamp Sets: alphabest, beautiful balloons, circle sayings
Accessories: in colour dots & jute trim 23/25 
  1. Start with a base card 14.8 x 21 scored at 10.5, dsp 10.1 x 14.4
  2. dry emboss the dsp and adhere using liquid glue
  3. stamp the letters, balloon and sentiment
  4. die cut the numbers and balloon
  5. punch out the sentiment and letters
  6. attach the elements to the card using dimensional pads
  7. make a jute bow and attach to the balloon using a glue dot
  8. add the dots.
Hope you liked today's card. If you would like more information on how to make it, please don't hesitate to contact me, I'd love to hear from you.

If you wish to buy any of the items used, go to contacting me at the top of the page for details on how to order.

Will be back again soon with more cards, in the meantime take care and have a great day.
Annette 😘

Tuesday, January 24, 2023

Butterfly Wings meets Go to Greetings

  Welcome to my blog

and  thank you for joining me today!

Happy Birthday Ashlie


Used a layout from Pinterest, using different products.

Materials required for this card are:

Card Stock: basic white, merry mertot
Designer Series Paper: *hydrangea hill mercury glass
Dies: brilliant wings, potted succulents
Ink: merry merlot
Punches: double oval
Stamp Sets: go to greetings
Accessories: metallic mesh ribbon, rhinestone basics

 * = no longer available
  1. base card 14.2 x 21 scored at 10.5, mercury glass 10.2 x 13.3 white matt 10.5 x 13.8
  2. die cut the white matt using the plate from potted succulent dies
  3. adhere the white die cut matt to the mercury glass using wet glue and trim round the edges
  4. wrap the mesh ribbon around the layered matts and tie with a bow, then adhere to base card using a strong adhesive tape
  5. die cut the intricate butterfly and the corresponding full butterfly, then adhere the two together by the body using wet glue
  6. stamp the sentiment and punch it out, then punch the corresponding scallop oval and adhere the two together using wet glue
  7. add a couple of strips of the mesh across the top of the card diagonally using adhesive tape, then attach the butterfly also using adhesive tape
  8. add the sentiment to the right of the bow using dimensionals
  9. add the rhinestones
Hope you liked today's card. If you would like more information on how to make it, please don't hesitate to contact me, I'd love to hear from you.

If you wish to buy any of the items used, go to contacting me at the top of the page for details on how to order.

Will be back again soon with more cards, in the meantime take care and have a great day.
Annette 😘

Tuesday, January 11, 2022

Eden's Garden bundle for note cards

    Thank you for joining me today!

Just saying Hello note card


This is my version of a card created by the lovely Lisa Cursio, have you seen her cards? they're really good. Watch her on Tube.

Materials required for this card are:

Card Stock: evergreen evening, soft succulent, very vanilla
Designer Series Paper: *ever eden
Dies: eden, stitched rectangles (4&6) wide
Ink: evergreen evening, soft succulent
Punches: double oval
Stamp Sets: eden's garden
Accessories: *gold trim
 
* = no longer available, and when using layering dies (1) is the smallest

Hope you liked today's card. If you would like more information on how to make it, please don't hesitate to contact me, I'd love to hear from you.

If you wish to buy any of the items used, go to contacting me at the top of the page for details on how to order.

Will be back again soon with more cards, in the meantime take care and have a great day.
Annette 😘

Saturday, August 28, 2021

Dragonfly Garden meets Punch Party

 Thank you for joining me today!


Hoping our friends get better soon, they've both come down with covid!


I'm saying this is my own design as it came about from looking at lots of different cards, it has product that's no longer available as well as current products.

Materials required for this card are:

Card Stock: basic white, rich razzleberry, vellum
Designer Series Paper: pansy petals (love this one)
Dies: stitched so sweetly (6)
Embossing Folders: tasteful textile 3D (dragonflies)
Ink: momento black, rich razzleberry, soft succulent
Punches: dragonflies, double oval
Ribbon: *grosgrain stitched
Stampin' Blends: rich razzleberry, soft succulent
Stamp Sets: dragonfly garden, *punch party
Accessories: blending brushes, wink of stella
* = no longer available, when using layering dies (1) is the smallest

Hope you liked today's card. If you would like more information on how to make it, please don't hesitate to contact me, I'd love to hear from you.

If you wish to buy any of the items used, go to contacting me at the top of the page for details on how to order.

Will be back again soon with more cards, in the meantime take care and have a great day.
Annette 😘
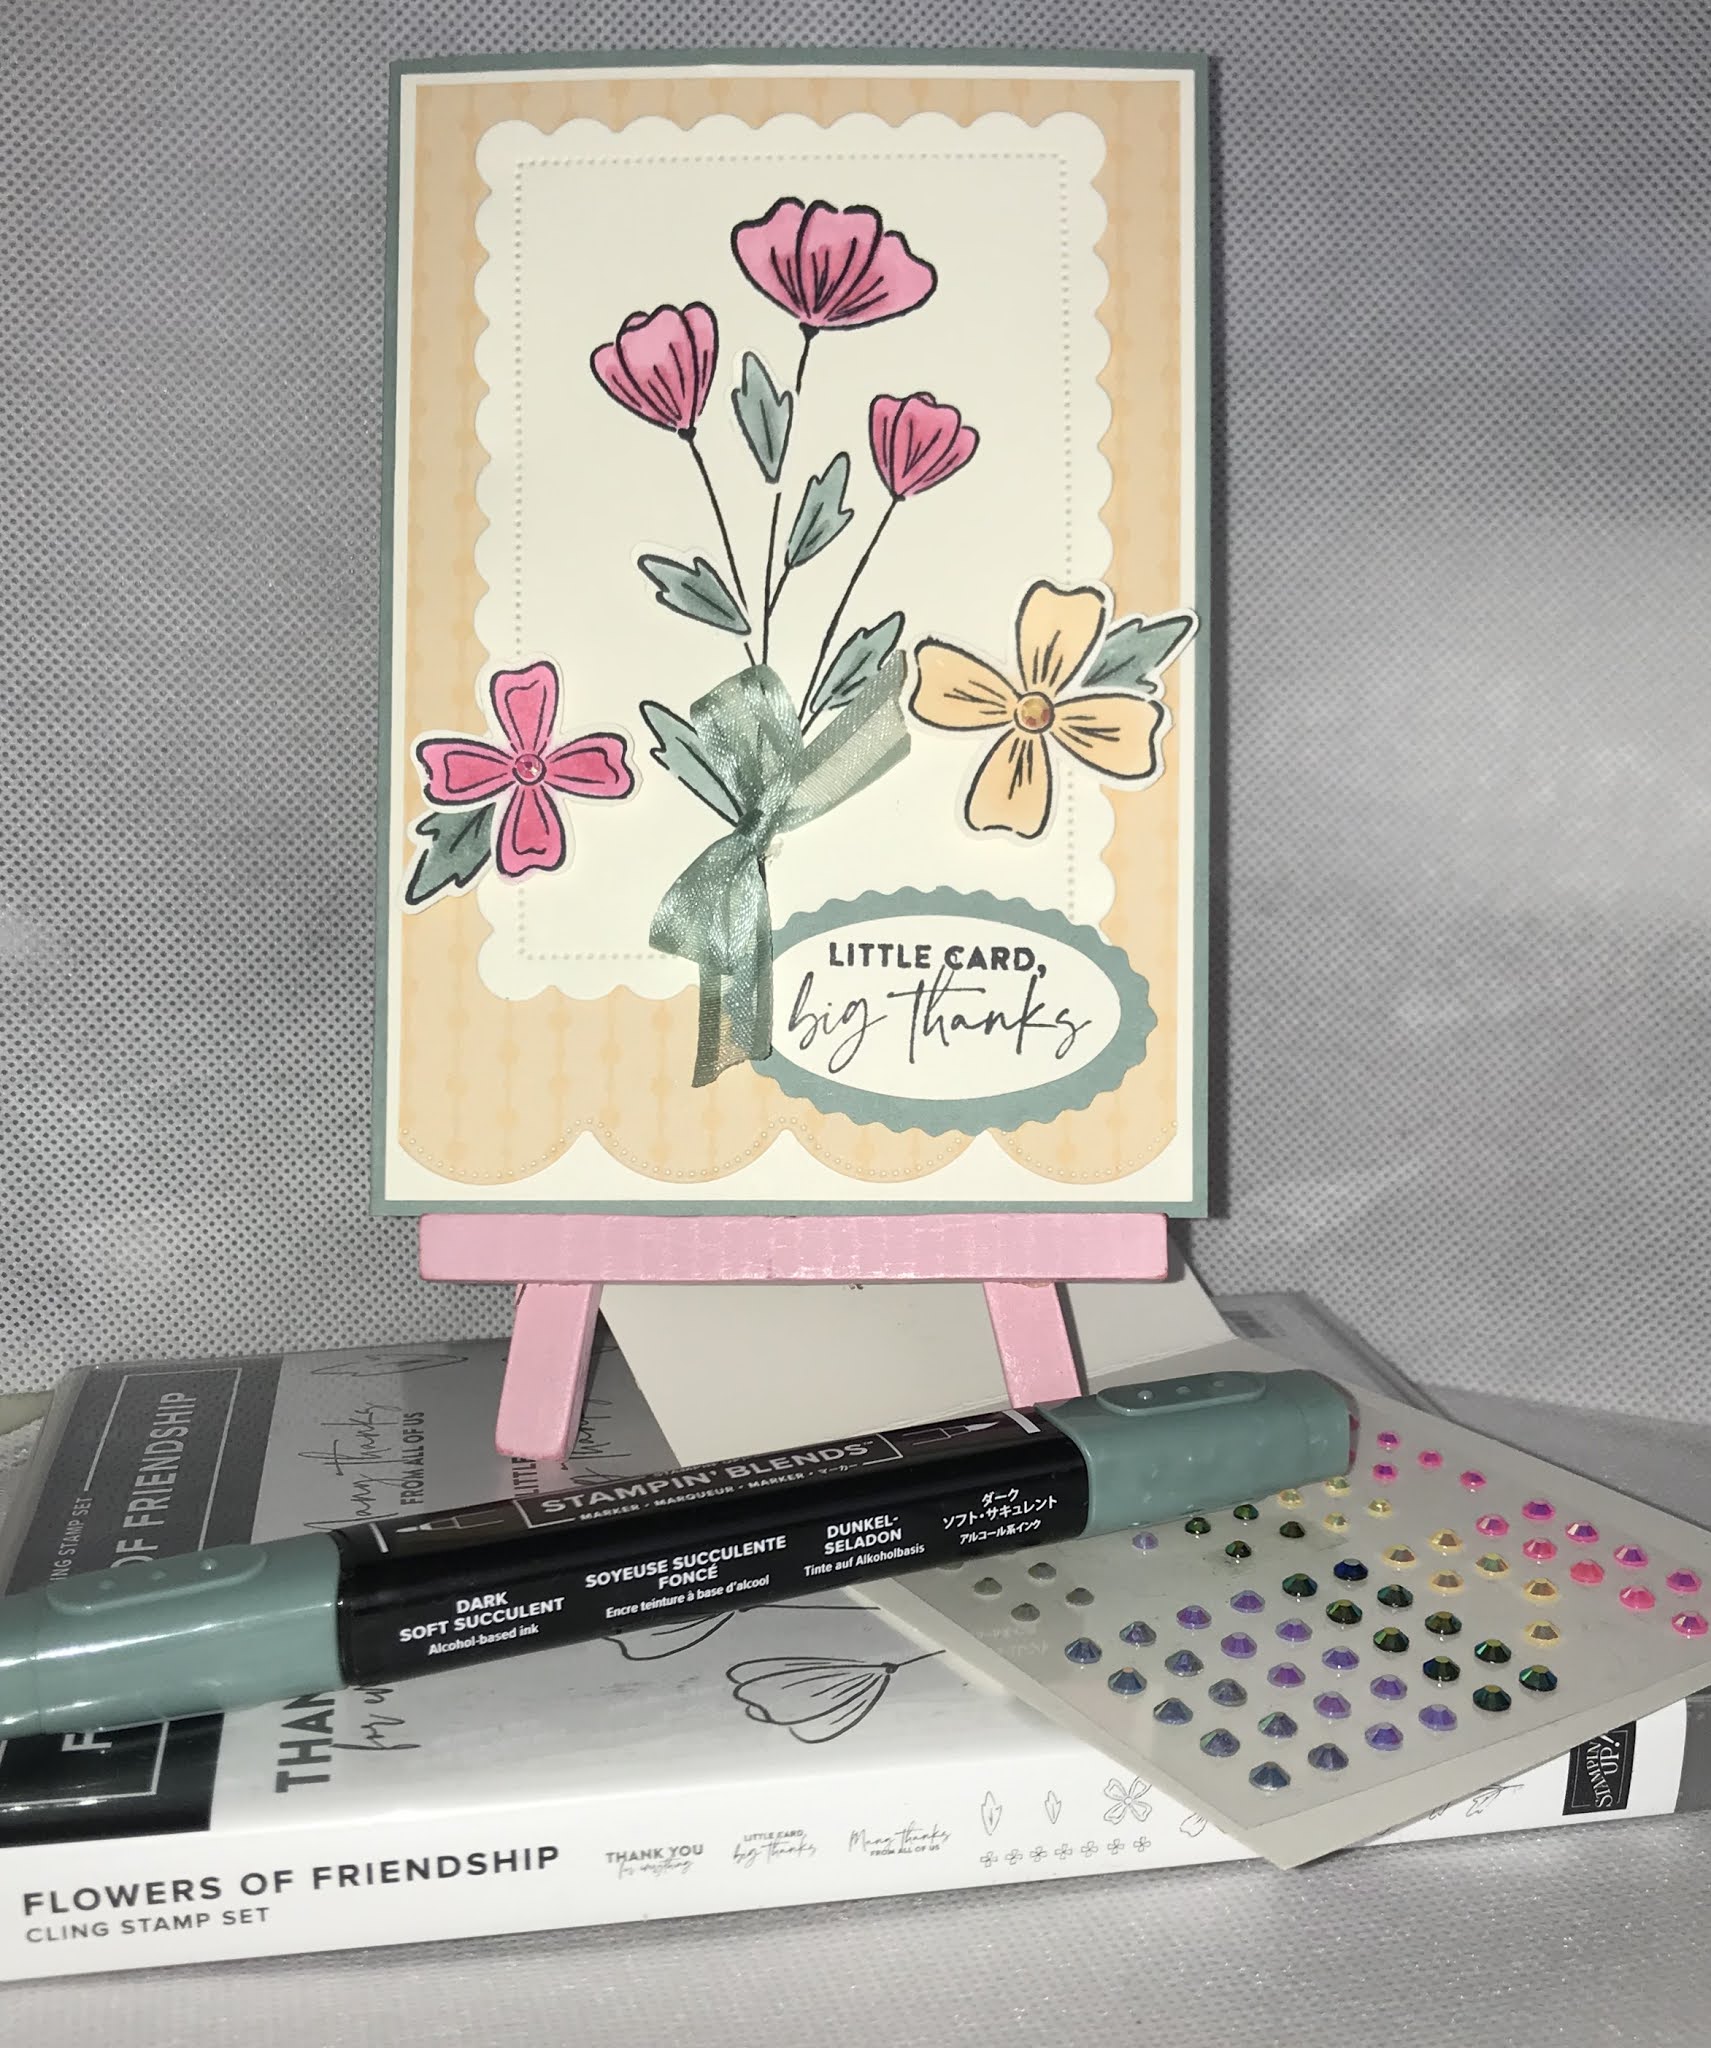
Sunday, May 30, 2021

Flowers & Friendship meets scalloped contours

 Thank you for joining me today!

I just love the sentiments in this stamp set. You can never have enough ways of saying Thank You!


Again this Sunday I've used more of my new goodies, and this one is almost the same colours as last weeks card but "hey ho" it's the thought that counts. Not quite so easy to make this time.

Materials required for this card are:

Card Stock: soft succulent, very vanilla
Designer Series Paper: 21/23 in colors
Dies: scalloped contours (4)
Ink: memento tuxedo black
Punches: double oval, flowers & leaves
Ribbon: in color open weave
Stampin' Blends: pale papaya, polished pink, soft succulent
Stamp Sets: flowers of friendship
Accessories: 21/23 in color jewels
When using layering dies (1) is the smallest

Hope you liked today's card. If you would like more information on how to make it, please don't hesitate to contact me, I'd love to hear from you.

If you wish to buy any of the items used, go to contacting me at the top of the page for details on how to order.

Will be back again soon with more cards, in the meantime take care and have a great day.
Annette 😘

Delicate Whispers and more

Welcome to my blog and    t hank you for joining me today! Happy Anniversary to Sylvia & Bill Intermediate level - blending with a brush...