Showing posts with label faux suede trim. Show all posts

Friday, August 8, 2025

Blast from the Past meets Birthday Celebration Bundle

 Welcome to my blog

and  thank you for joining me today!

Happy 90th Charles


Intermediate level - die cutting, dry embossing, layering, shadowing, stamping

Materials required for this card are:

Bundles: birthday celebration
Card Stock: night of navy, *tranquil tide, very vanilla. 
Designer Series Paper: *true gentleman
Embossing Folders: mini corrugated 3D
Ink: night of navy
Punches: *tailored tag
Stamps: *truly tailored
Accessories: *ab milky dots, adhesive sheets
 * = no longer available

Start with a base card 14.5 x 21 scored at 10.5, very vanilla 10.1 x 9.5, dsp 10.1 x 5, very vanilla 4.5 x 4 and tranquil tide 4.5 x 4scraps for die cutting
  1. dry emboss the very vanilla layer
  2. adhere this to the dsp layer to measure 10.1 14.1 using liquid glue
  3. adhere the trim using tear & tape across the join
  4. adhere this piece to the base card using liquid glue
  5. punch the 2 tags, one tranquil tide and one very vanilla
  6. stamp the sentiment on the very vanilla tag
  7. cut the green tag in half and adhere to the sentiment tag as a border using liquid glue
  8. stamp the TH
  9. add adhesive sheeting to the back of the two 4.5 x 4 pieces and die cut the numbers and the TH
  10. shadow the numbers together, then adhere to the base card
  11. attach the TH and sentiment using dimensional tabs
  12.  attach the dots
Hope you liked today's card. If you would like more information on how to make it, please don't hesitate to contact me, I'd love to hear from you.

If you wish to buy any of the items used, go to contacting me at the top of the page for details of how to order.
 
Will be back again soon with more cards, in the meantime take care and have a great day.
Annette 😊

Wednesday, May 21, 2025

Adventurous Sky meets oldie Badges & Banners

Welcome to my blog

and  thank you for joining me today!

Happy Birthday Leigh


I'm on a mission to use some of my old stash at the moment and coming up with some decent cards I think!

Easy level - die cutting, layering, punching out, stamping

Materials required for this card are:

Card Stock: very vanilla 
Designer Series Paper: *true gentleman
Dies: something fancy 
Ink: night of navy
Punches: *best badge 
Stamps: adventurous sky, *badges & banners
Accessories: *faux suede trim
 * = no longer available

Start with a craft note card base, background layer 3⅜ x 4⅞, dsp (2 pieces) 3⅜ x 2½ 
  1. stamp both the sentiments on the background layer
  2. die cut the one and punch out the other sentiments
  3. adhere the 2 pieces of dsp to the background layer over lapping at the middle using liquid glue
  4. adhere the trim across the middle using liquid glue or tear & tape
  5. attach the sentiments using dimensional pads 
Hope you liked today's card. If you would like more information on how to make it, please don't hesitate to contact me, I'd love to hear from you.

If you wish to buy any of the items used, go to contacting me at the top of the page for details of how to order.
 
Will be back again soon with more cards, in the meantime take care and have a great day.

Annette 😊 

Sunday, April 28, 2024

Blast from the past Perennial Birthday

 Welcome to my blog

and  thank you for joining me today!

Happy Birthday Stephen

For this card I was inspired by one i'd seen on Pinterest, don't know who it was but thank you.


Intermediate level - brush blending, dry embossing, heat embossing, layering, punching, sponge daubing, stamping

Materials required for this card are:
 
Card Stock: early espresso, very vanilla
Designer Series Paper: nature's sweetness
Embossing Folders: metal plate 3D
Ink: pecan pie, versaMark
Punches: banner pick a punch, heartfelt hexagon
Stamps: *perennial birthday
Accessories: *designer elements, *faux suede trim, sponge dauber
 
* = no longer available

  1. Start with a base card 14.5 x 21 scored at 10.5, dsp 10 x 14, 10 x 6, sentiment 6.5 x 6, vellum banner 10 x 8, cs banner 11 x 2.5
  2. distress the edges of the 10 x 14 dsp and all of the 10 x 6 dsp, using a blending brush
  3. stamp the sentiment using versaMark, add gold embossing powder then heat emboss
  4. punch out the sentiment and distress the edges using a sponge dauber
  5. to make the V in the vellum banner put a mark 1cm up and 5cm in from the edge, then from the bottom corners cut up to the mark on each side
  6. emboss this banner using the folder
  7. for the dark banner, flag each end with the banner punch
  8. attach the trim towards the bottom of the larger layer using tear n tape
  9. adhere the smaller piece of dsp and the darker banner using liquid glue
  10. add the sentiment to the vellum banner using dimensional pads 
  11. add liquid glue to the back of the vellum behind the sentiment and adhere to the card
  12. attach the elements
Hope you liked today's card. If you would like more information on how to make it, please don't hesitate to contact me, I'd love to hear from you.

If you wish to buy any of the items used, go to contacting me at the top of the page for details of how to order.

Will be back again soon with more cards, in the meantime take care and have a great day.
Annette 😊 

Friday, April 12, 2024

Inspirational Sketches meets Go To Greetings

 Welcome to my blog

and  thank you for joining me today!

Happy Birthday Duncan


Intermediate card for men -  brush blending, die cutting, dry embossing, layering, punching, stamping. CASEd from 'Mandy VanHavermaet'

Materials required for this card are:

Card Stock: early espresso, pecan pie
Designer Series Paper: nature's sweetness
Dies: deckled rectangles (4)
Embossing Folders: basics 3D
Ink: early espresso, pecan pie
Punches: happy labels
Stamps: inspirational sketches, go to greetings
Accessories: blending brushes, *faux suede trim, rustic metallic dots
 
* = no longer available, when using layering dies (1) is the smallest
  1. Start with a base card 14.5 x 21 scored at 10.5, pecan pie layer 10 x 14, dsp layer 10 x 6, deckled rectangle 6.5 x 9.5, basic white 10 x 2.5, basic white 5.3 x 8.5
  2. With the hay type stamp, stamp around the pecan pie layer on the left, top and right sides, using the stamping off method, then emboss this layer
  3. using pecan pie and a blending brush, lightly colour the dsp, white rectangle and sentiment strip, then finish off each end of the sentiment using the punch
  4. adhere the dsp to the bottom of the pecan pie layer using liquid glue
  5. wrap the suede trim around the top of the dsp and attach to the back using tape
  6. attach these layers to the base card using dimensional pads
  7. stamp the bird and sentiment
  8. adhere the bird to the deckled rectangle using liquid glue
  9. attach the sentiment and bird to the base card using dimensional pads
  10. add the metallic dots
Hope you liked today's card. If you would like more information on how to make it, please don't hesitate to contact me, I'd love to hear from you.

If you wish to buy any of the items used, go to contacting me at the top of the page for details of how to order.

Will be back again soon with more cards, in the meantime take care and have a great day.
Annette 😊 

Wednesday, August 16, 2023

No Stamping Card

   Welcome to my blog

and  thank you for joining me today!

Happy Birthday Gareth


Quick and easy - DSP and die cutting

Materials required for this card are:

Card Stock: basic black, basic white, *mango melody 
Designer Series Paper: *he's the man
Dies: wanted to say
Accessories: *faux suede trim, *matte black dots
 * = no longer available
  1. Start with a base card 29.7 x 10.5 scored at 14.85, dsp 10 x 8.5, 10 x 6.5, basic black 9 x 5, mango melody 8 x 4.5 (apply adhesive sheet to the back of this piece)
  2. adhere the 2 pieces of dsp leaving an even border (they will overlap in the middle)
  3. adhere the trim across the middle using tear & tape
  4. attach the 2 pop outs from the dsp pack in bottom section using dimensional pads
  5. die cut the two happy birthday's (inner & outer), remove the backing from the adhesive sheet and attach to outer happy birthday
  6. Use dimensional pads to attach the happy birthday to the card
  7. add the matte dots below the front wheel of the car
Hope you liked today's card. If you would like more information on how to make it, please don't hesitate to contact me, I'd love to hear from you.

If you wish to buy any of the items used, go to contacting me at the top of the page for details on how to order.

Will be back again soon with more cards, in the meantime take care and have a great day.
Annette 😘

Tuesday, April 11, 2023

He's The Man and more

  Welcome to my blog

and  thank you for joining me today!

Happy Birthday Thomas


I've used a mixture of old and new for this card, it's nothing like what I had in mind but l'm pleased with the finished article.

Materials required for this card are:

Card Stock: basic white, early espresso, soft succulent
Designer Series Paper: he's the man
Dies: all that, deckled rectangles (3), layering circles (3)
Embossing Folders: gingham
Ink: soft succulent
Stamp Sets: peaceful moments
Accessories: *candy dots, faux suede trim
 
* = no longer available, when using layering dies (1) is the smallest
  1. Start with with a base card of 14.5 x 21 scored at 10.5
  2. Layer 1 - 10.1 x 14.1 emboss this layer then add the suede trim towards the bottom (this was done using tear n tape)
  3. adhere to the base card using liquid glue
  4. stamp the happy birthday
  5. die cut the rectangle, deckled circle and the happy birthday circle
  6. cut the dsp to fit just inside the deckled rectangle 
  7. adhere the happy birthday and dsp onto their backgrounds using liquid glue
  8. attach all elements onto the card using dimensionals, then add the candy dots (or something similar)
Hope you liked today's card. If you would like more information on how to make it, please don't hesitate to contact me, I'd love to hear from you.

If you wish to buy any of the items used, go to contacting me at the top of the page for details on how to order.

Will be back again soon with more cards, in the meantime take care and have a great day.
Annette 😘

Thursday, April 28, 2022

Whiskey Business meets Playful Alphabet

  Welcome to my blog

and  thank you for joining me today!

Happy Birthday Stephen


Found this card on Pinterest but added the 'Son' at bottom of it. The original was made by Tina Rappe, so thank you for your inspiration.

Materials required for this card are:

Card Stock: early espresso
Designer Series Paper: in good taste
Dies: playful alphabet
Ink: early espresso, memento black
Stampin' Markers: basic black (edging the second glass)
Stampin' Up Blends: cinnamon cider, color lifter
Stamp Sets: faux suede trim, whiskey business, wink of stella
Accessories: *antiqued corners & slides elements, wink of stella (for the whiskey)
 
* = no longer available, when using layering dies (1) is the smallest, N = narrow, W = wide

Hope you liked today's card. If you would like more information on how to make it, please don't hesitate to contact me, I'd love to hear from you.

If you wish to buy any of the items used, go to contacting me at the top of the page for details on how to order.

Will be back again soon with more cards, in the meantime take care and have a great day.
Annette 😘

Tuesday, April 26, 2022

Happy Hedgehogs meets Pansy Patch

  Welcome to my blog

and  thank you for joining me today!

Another card for Paul


The dsp is embossed at the bottom, the hedgehop background is blended along with the edging of the card base and the rest is stamped and punched out, with a little ribbon thrown in for good measure.

Materials required for this card are:

Card Stock: very vanilla
Designer Series Paper: bloom where you're planted
Embossing Folders: timeworn type 3D
Ink: balmy blue, cinnamon cider, early espresso, gray granite, just jade
Punches: hedgehog builder
Stampin' Up Blends: gray granite
Stamp Sets: happy hedgehogs, pansy patch
Accessories: faux suede trim
 

Hope you liked today's card. If you would like more information on how to make it, please don't hesitate to contact me, I'd love to hear from you.

If you wish to buy any of the items used, go to contacting me at the top of the page for details on how to order.

Will be back again soon with more cards, in the meantime take care and have a great day.
Annette 😘

Tuesday, April 12, 2022

Create With Friends meet Whiskey Business

    Thank you for joining me today!

Happy Birthday Duncan


This was a quick and easy card to make except for the fussy cutting (hate doing that). There's also dry embossing, die cutting, heat embossing and colouring with blends.

Materials required for this card are:

Card Stock: basic black, basic white
Designer Series Paper: in good taste
Dies: tasteful labels
Embossing Folders: painted texture 3D
Embossing Powder: clear
Ink: & memento black, *rococo rose, versamark
Stampin' Blends: mango melody
Stamp Sets: create with friends, whiskey business
Accessories: faux suede trim, wink of stella
 
* = no longer available

Hope you liked today's card. If you would like more information on how to make it, please don't hesitate to contact me, I'd love to hear from you.

If you wish to buy any of the items used, go to contacting me at the top of the page for details on how to order.

Will be back again soon with more cards, in the meantime take care and have a great day.
Annette 😘

Monday, January 17, 2022

Gorgeous Leaves meets Peaceful Moments

    Thank you for joining me today!

For the 2nd time as I have 2 cards today, my cousin and my friend. 

Happy Birthday Mick


This one is a little bit of lots of things, stamping, blending and die cutting. 

Materials required for this card are:

Card Stock: garden green, soft suede, very vanilla
Dies: intricate leaves, stitched rectangles (2,3)w 
Embossing Folders: timber 3D
Ink: crumb cake, garden green, soft suede
Ribbon:  faux suede trim
Stampin Blends: black, blackberry bliss
Stamp Sets: gorgeous leaves, peaceful moments
Accessories: basic rhinestones, blending brushes (darkened the area below the ribbon before stamping)
 When using layering dies (1) is the smallest

Hope you liked today's card. If you would like more information on how to make it, please don't hesitate to contact me, I'd love to hear from you.

If you wish to buy any of the items used, go to contacting me at the top of the page for details on how to order.

Will be back again soon with more cards, in the meantime take care and have a great day.
Annette 😘

Wednesday, August 18, 2021

All Squared Away meets Simply Succulent

 Thank you for joining me today!

A blast from the past with this DSP it's one of the first packs of paper I ever got and I still have a full pack, oops!


It's not as hard to do as it looks!

I watched a video using the basic borders and this idea sprung to mind, as I'm now going to be making lots of 'thank you' cards for Paul, it's now week 3 and the dinners are beautiful, even Dad like's them as much as he liked Sue's.

If you're new to my blog, the story is since the start of Covid we had Sunday dinner delivered every week from the lovely Sue, but she has now moved down to Devon and it's just a little too far away for Holly to deliver it every week 😞. So we are having our Sunday dinners on a Wednesday as Paul doesn't do Sundays.

Materials required for this card are:

Card Stock: basic black, very vanilla
Designer Series Paper: *mocha morning
Dies: basic borders, layering circles (4,5), potted succulents
Ink: soft suede
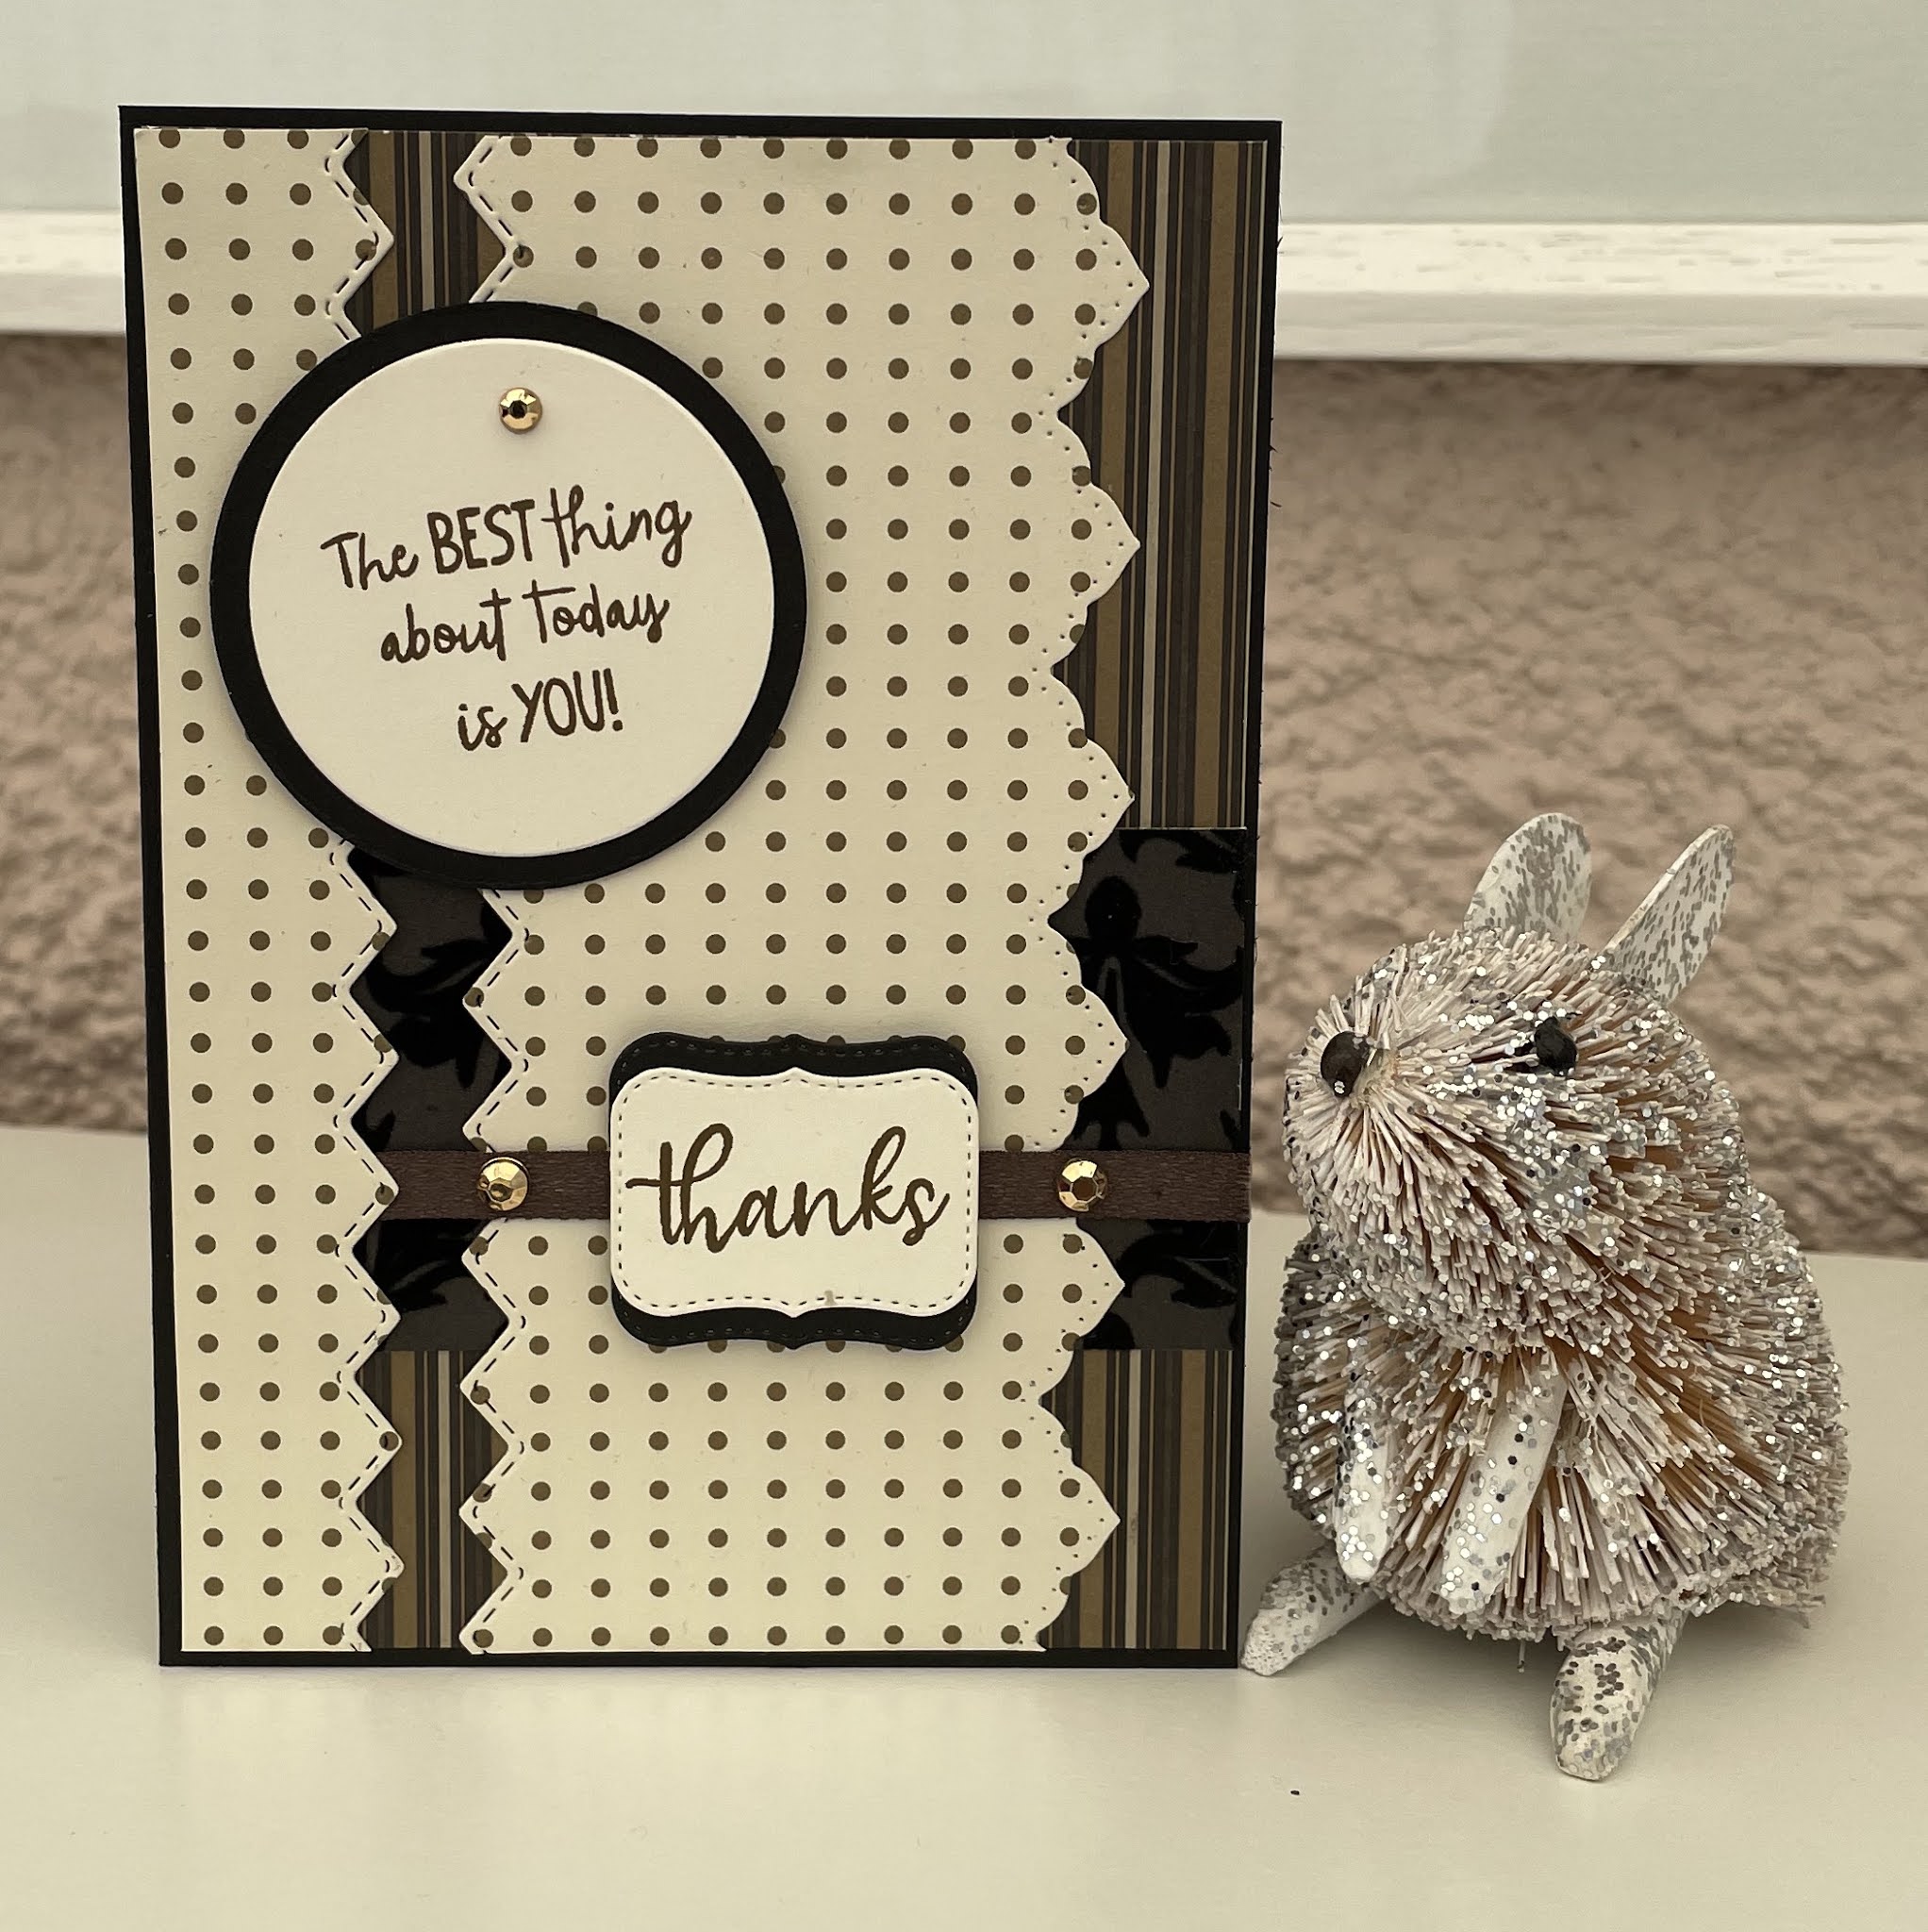
Ribbon: faux suede trim
Stamp Sets: all squared away, simply succulents 
Accessories: gilded gems
* = no longer available, when using layering dies (1) is the smallest

Hope you liked today's card. If you would like more information on how to make it, please don't hesitate to contact me, I'd love to hear from you.

If you wish to buy any of the items used, go to contacting me at the top of the page for details on how to order.

Will be back again soon with more cards, in the meantime take care and have a great day.
Annette 😘

Thursday, March 11, 2021

Rooted in Nature meets Happy Thoughts

 Thanks for joining me today!


Happy Birthday Sid


Cards for men are so hard for me, but I quite liked this one!

Materials required for this card are:

Card Stock: very vanilla
Dies: nature's roots, tasteful labels
Embossing Folders: subtle 3D, woodland
Ink: early espresso, garden green
Ribbon: faux suede trim
Stampin' Blends: cajun craze
Stamp Sets: happy thoughts, rooted in nature  
Accessories: take your pick large stylus (beveled the label, once die cut)

Hope you liked today's card. If you would like more information on how to make it, please don't hesitate to contact me, I'd love to hear from you.

If you wish to buy any of the items used, go to contacting me at the top of the page for details on how to order.

Will be back again soon with more cards, in the meantime take care and have a great day.
Annette 😘

Monday, December 7, 2020

Beautiful World meets Playful Alphabet

 Hello and welcome to my haven in a hectic world!

Thanks for joining me today!

Happy Birthday Dad

My Dad was told that he wouldn't make old bones, just after his 37th birthday and today he turns 89, so don't believe everything you hear.


Just love this suite of products and think I'll be using it for a long time to come.

Materials required for this card are:

Card stock: gold foil, misty moonlight, whisper white
DSP: world of good
Dies: playful alphabet, tasteful labels, world map
Embossing folders: subtle 3D
Ink: misty moonlight
Punches: detailed trio
Ribbon: faux suede trim 
Stamp sets: beautiful world

Hope you liked today's card. If you would like more information on how to make it, please don't hesitate to contact me, I'd love to hear from you.

If you wish to buy any of the items used, go to contacting me at the top of the page for details on how to order.

Will be back again soon with more cards, in the meantime take care and have a great day.
Annette 😘

Saturday, November 7, 2020

Whiskey Business

 Hello and welcome to my haven in a hectic world!

Thanks for joining me today!

This one's for the love of my life


He loves his whiskey (in moderation) especially Jack Daniels. In 2006 while on holiday in America we did the tour of the JD distillery.  It was the highlight of the holiday for hubby!! 

Materials required for this card are:

Card stock: gold foil, whisper white
DSP: world of good speciailty
Dies: playful alphabet, stitched rectangles (7) wide
Embossing folders: *stone 3D
Embossing Powder: clear, gold
Ink: memento, versamark
Punches: lovely labels
Ribbon: faux suede trim
Stampin' blends: mango melody, so saffron
Stamp sets: whiskey business
Accessories: antiqued elements
* = retired, when using layering dies (1) is the smallest

Hope you liked today's card. If you would like more information on how to make this card, please don't hesitate to contact me, I'd love to hear from you.

If you wish to buy any of the items used, go to contacting me at the top of the page for details on how to order.

Will be back again soon with more cards, in the meantime take care and have a great day.
Annette 😘

Delicate Whispers and more

Welcome to my blog and    t hank you for joining me today! Happy Anniversary to Sylvia & Bill Intermediate level - blending with a brush...