Showing posts with label radiating stitches. Show all posts

Saturday, August 24, 2024

Eden's Garden meets Charming Sentiments

   Welcome to my blog

and  thank you for joining me today!

Happy Birthday Donna


This was made as last years card, then I realised last year was a big year for Donna so quickly had to make her a new special card and put this one away.

Quick and simple - Layering, die cutting and stamping

Materials required for this card are:

Card Stock: basic white (thick & normal), vellum, *shimmer vellum
Designer Series Paper: *ever eden
Dies: radiating stitches (1), sentiment silhouettes, timeless arrangements
Ink: *soft succulent 
Stamp Sets: *eden's garden, charming sentiments
Accessories: *open weave
 * = no longer available, when using layering dies (1) is the smallest
  1. Start with a thick basic white base card 14.5 x 21 scored at 10.5, dsp 14 x 10, and 2 basic white 9.5 x 5.5 & 9 x 2
  2. stamp the sentiment and image on the 2 pieces of basic white
  3. die cut these pieces plus the floral borders using the vellum, one green and one plain
  4. cut 4 cm off the bottom of the dsp, turn it round and reposition it using tape
  5. add a strip of ribbon across the dsp seam and adhere at the back
  6. adhere the dsp to the base card using liquid glue, with another small piece of the ribbon, tie a faux bow
  7. adhere the floral borders (cut to be individual) to the back of the floral image using glue dots
  8. attach the floral image and sentiment using dimensional pads
Hope you liked today's card. If you would like more information on how to make it, please don't hesitate to contact me, I'd love to hear from you.

If you wish to buy any of the items used, go to contacting me at the top of the page for details on how to order.

Will be back again soon with more cards, in the meantime take care and have a great day.
Annette 😘

Sunday, July 23, 2023

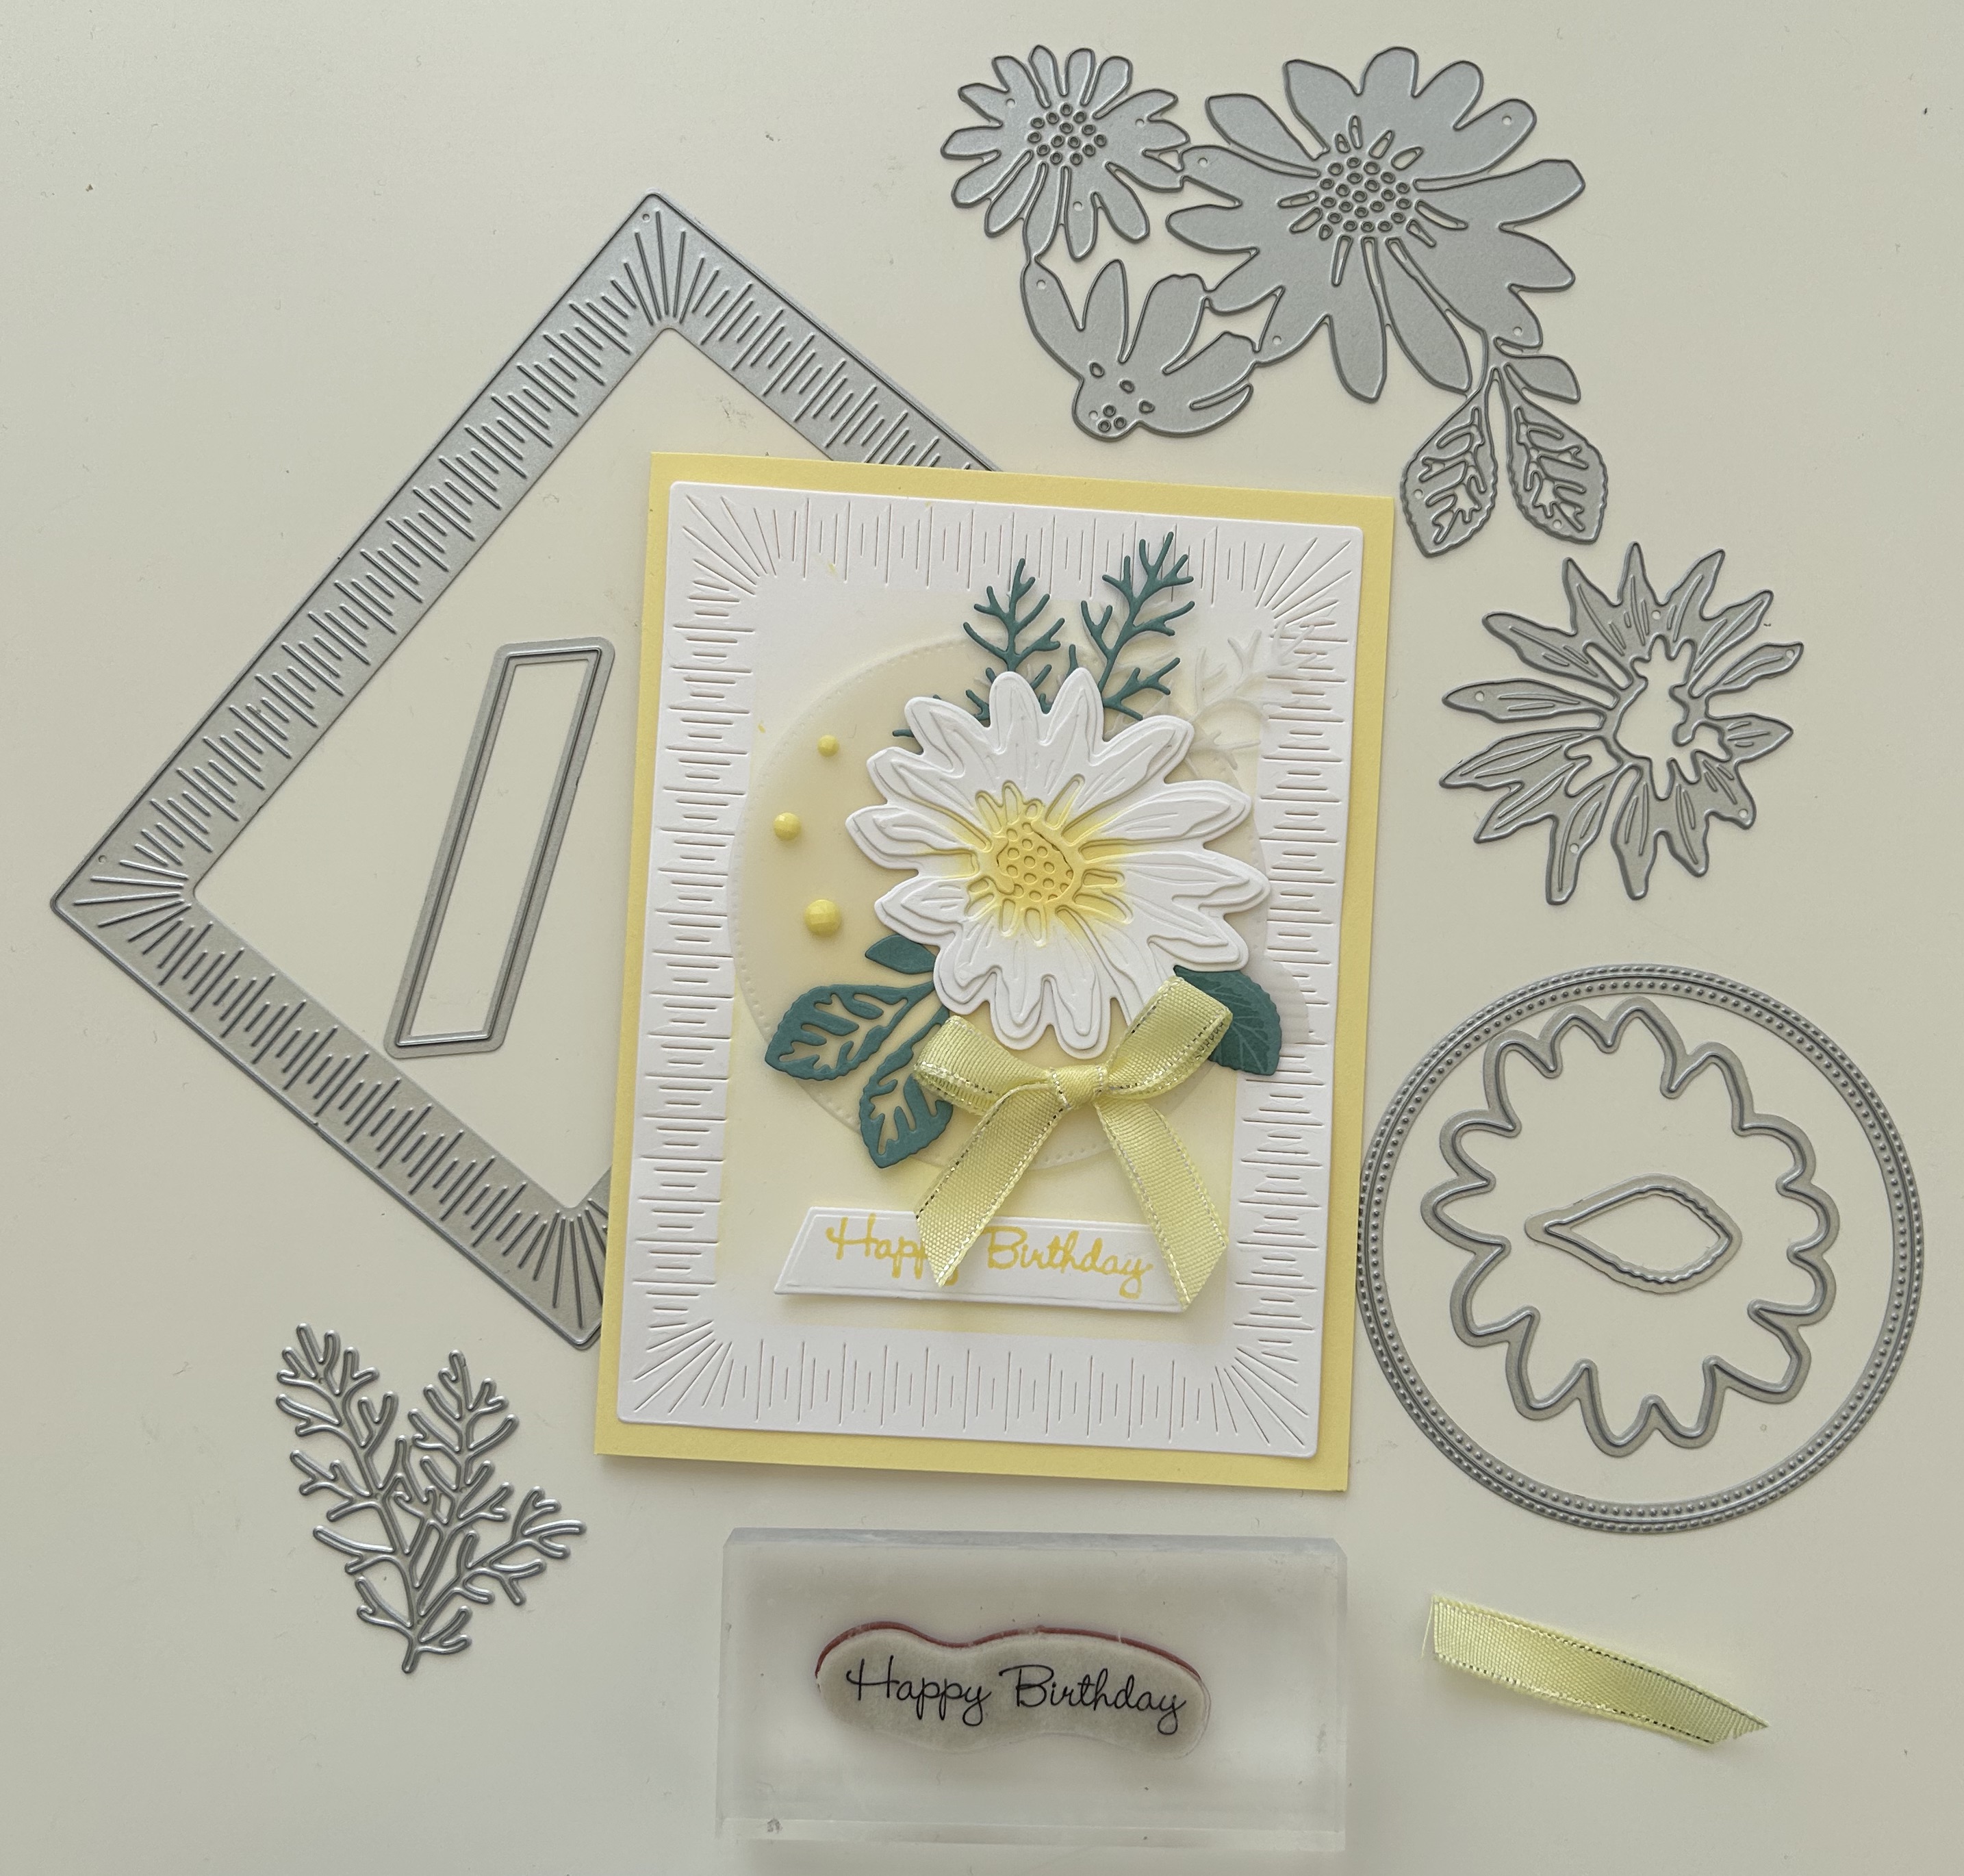
Cheerful Daisies meets Go to Greetings

   Welcome to my blog

and  thank you for joining me today!

Happy Birthday Anne


easy decoupage, layering, die cutting and stamping

Materials required for this card are:

Card Stock: basic white, lemon lolly, lost lagoon 
Dies: cheerful daisies, radiating stitches, something fancy, stylish shapes
Ink: lemon lolly, lost lagoon, versamark
Stamp Sets: cheerful daisies, go to greetings
Accessories: adhesive-backed solid gems, clear embossing powder, sheer ribbon
  1. Start with a base card 14 x 21 scored at 10.5, white layer 14 x 11, lost lagoon, vellum, basic white for leaves and flower and sentiment
  2. die cut the background layer and use a blending brush to colour the centre
  3. adhere this layer to the base card using liquid glue
  4. stamp the sentiment using versamark & lemon lolly ink, add the clear embossing powder and heat emboss.
  5. stamp the single leaf 
  6. die cut all the pieces - flower layers (3), leaves (2) one green and one vellum, sentiment label, large vellum circle 
  7. using a blending brush, colour the centre of the flower pieces and then build the layers using glue dot
  8. adhere the circle to the base card using liquid glue
  9. adhere the leaves around the vellum circle using liquid glue
  10. add the flower to the top using glue dots
  11. make a bow and attach using a glue dot
  12. attach the sentiment using dimensional pads
  13. add the gems
Hope you liked today's card. If you would like more information on how to make it, please don't hesitate to contact me, I'd love to hear from you.

If you wish to buy any of the items used, go to contacting me at the top of the page for details on how to order.

Will be back again soon with more cards, in the meantime take care and have a great day.
Annette 😘

Delicate Whispers and more

Welcome to my blog and    t hank you for joining me today! Happy Anniversary to Sylvia & Bill Intermediate level - blending with a brush...