Showing posts with label vellum. Show all posts

Sunday, April 28, 2024

Blast from the past Perennial Birthday

 Welcome to my blog

and  thank you for joining me today!

Happy Birthday Stephen

For this card I was inspired by one i'd seen on Pinterest, don't know who it was but thank you.


Intermediate level - brush blending, dry embossing, heat embossing, layering, punching, sponge daubing, stamping

Materials required for this card are:
 
Card Stock: early espresso, very vanilla
Designer Series Paper: nature's sweetness
Embossing Folders: metal plate 3D
Ink: pecan pie, versaMark
Punches: banner pick a punch, heartfelt hexagon
Stamps: *perennial birthday
Accessories: *designer elements, *faux suede trim, sponge dauber
 
* = no longer available

  1. Start with a base card 14.5 x 21 scored at 10.5, dsp 10 x 14, 10 x 6, sentiment 6.5 x 6, vellum banner 10 x 8, cs banner 11 x 2.5
  2. distress the edges of the 10 x 14 dsp and all of the 10 x 6 dsp, using a blending brush
  3. stamp the sentiment using versaMark, add gold embossing powder then heat emboss
  4. punch out the sentiment and distress the edges using a sponge dauber
  5. to make the V in the vellum banner put a mark 1cm up and 5cm in from the edge, then from the bottom corners cut up to the mark on each side
  6. emboss this banner using the folder
  7. for the dark banner, flag each end with the banner punch
  8. attach the trim towards the bottom of the larger layer using tear n tape
  9. adhere the smaller piece of dsp and the darker banner using liquid glue
  10. add the sentiment to the vellum banner using dimensional pads 
  11. add liquid glue to the back of the vellum behind the sentiment and adhere to the card
  12. attach the elements
Hope you liked today's card. If you would like more information on how to make it, please don't hesitate to contact me, I'd love to hear from you.

If you wish to buy any of the items used, go to contacting me at the top of the page for details of how to order.

Will be back again soon with more cards, in the meantime take care and have a great day.
Annette 😊 

Wednesday, September 27, 2023

Irresistible Blooms meets Cheerful Daisies

  Welcome to my blog

and  thank you for joining me today!

Happy Birthday Judi


Die cutting, heat embossing, layering and stamping

Materials required for this card are:

Card Stock: basic white, distressed gold, vellum, 
Designer Series Paper: hello irresistible
Dies: cheerful daisies, irresistible blooms 
Ink: lost lagoon, versaMark
Stamp Sets: cheerful daisies, irresistible blooms
Accessories: brushed brass butterflies, rustic metallic dots, white embossing powder
  1. Start with a base card 14.8 x 21 scored at 10.5, distressed gold 14.4 x 10.1, dsp 14 x 9.7
  2. stamp the white flowers & leaves in versamark and heat emboss
  3. stamp the sentiment in flirty flamingo
  4. die cut all these pieces plus the trim and gold leaves (back the white trim with adhesive sheeting before cutting)
  5. place the trim across the dsp and press it down
  6. adhere the dsp to the gold layer using liquid glue, then adhere this piece to the base card again using liquid glue
  7. attach the 3 flowers using dimensional pads
  8. adhere the leaves and sentiment using liquid glue
  9. add the dots and butterfly
Hope you liked today's card. If you would like more information on how to make it, please don't hesitate to contact me, I'd love to hear from you.

If you wish to buy any of the items used, go to contacting me at the top of the page for details on how to order.

Will be back again soon with more cards, in the meantime take care and have a great day.
Annette 😘

Sunday, September 3, 2023

Cheerful Daisies meets Irresistible Blooms

   Welcome to my blog

and  thank you for joining me today!

Happy Birthday Lesley


Die cutting, heat embossing, layering and stamping

Materials required for this card are:

Card Stock: basic white, distressed gold, vellum, 
Designer Series Paper: hello irresistible
Dies: cheerful daisies, irresistible blooms 
Ink: flirty flamingo, versaMark
Stamp Sets: cheerful daisies, irresistible blooms
Accessories: brushed brass butterflies, rustic metallic dots, white embossing powder
  1. Start with a base card 14.8 x 21 scored at 10.5, distressed gold 14.4 x 10.1, dsp 14 x 9.7
  2. stamp the white flowers & leaves in versamark and heat emboss
  3. stamp the sentiment in flirty flamingo
  4. die cut all these pieces plus the trim and gold leaves (back the white trim with adhesive sheeting before cutting)
  5. place the trim across the dsp and press it down
  6. adhere the dsp to the gold layer using liquid glue, then adhere this piece to the base card again using liquid glue
  7. attach the 3 flowers using dimensional pads
  8. adhere the leaves and sentiment using liquid glue
  9. add the dots and butterfly
Hope you liked today's card. If you would like more information on how to make it, please don't hesitate to contact me, I'd love to hear from you.

If you wish to buy any of the items used, go to contacting me at the top of the page for details on how to order.

Will be back again soon with more cards, in the meantime take care and have a great day.
Annette 😘

Sunday, June 27, 2021

Very Versailles meets Butterfly Brilliance

 Thank you for joining me today!

Happy Anniversary Stephen & Serenia!

about this card


Materials required for this card are:

Card Stock: basic white, vellum
Dies: brilliant wings, messages
Ink: pale papaya, soft secculent
Stamp Sets: butterfly brilliance, many messages, very versailles
Accessories: blending brushes, silver & clear epoxy essentials 

Hope you liked today's card. If you would like more information on how to make it, please don't hesitate to contact me, I'd love to hear from you.

If you wish to buy any of the items used, go to contacting me at the top of the page for details on how to order.

Will be back again soon with more cards, in the meantime take care and have a great day.
Annette 😘

Sunday, January 17, 2021

A Touch Of Ink meets Parcels & Petals

 Hello and welcome to my haven in a hectic world!

Thanks for joining me today!

This is the 3rd and last post for day 😌

Sue's card number 45 now, my how time flies! Her dinners are so delicious. 


I took inspiration for this card from Liz Yuilles' "old stables crafts" 
blog!! You'll find some lovely cards there.

Materials required for this card are:

Card Stock: blackberry bliss, note cards, vellum
Designer Series Paper: oh so ombre (sab)
Dies: stitched so sweetly (5) plus label
Embossing Folders: greenery, wrapped in texture
Embossing Powder: white
Ink: blackberry bliss, versamark
Punches: *washi label (can't stop using this one)
Ribbon: crinkled seam binding
Stampin' Blends: blackberry bliss (for ribbon)
Stamp Sets: a touch of ink, parcels & petals
Accessories: blending brushes, *white perfect accents
* = retired, when using layering dies (1) is the smallest

Hope you liked today's card. If you would like more information on how to make it, please don't hesitate to contact me, I'd love to hear from you.

If you wish to buy any of the items used, go to contacting me at the top of the page for details on how to order.

Will be back again soon with more cards, in the meantime take care and have a great day.
Annette 😘

Saturday, January 2, 2021

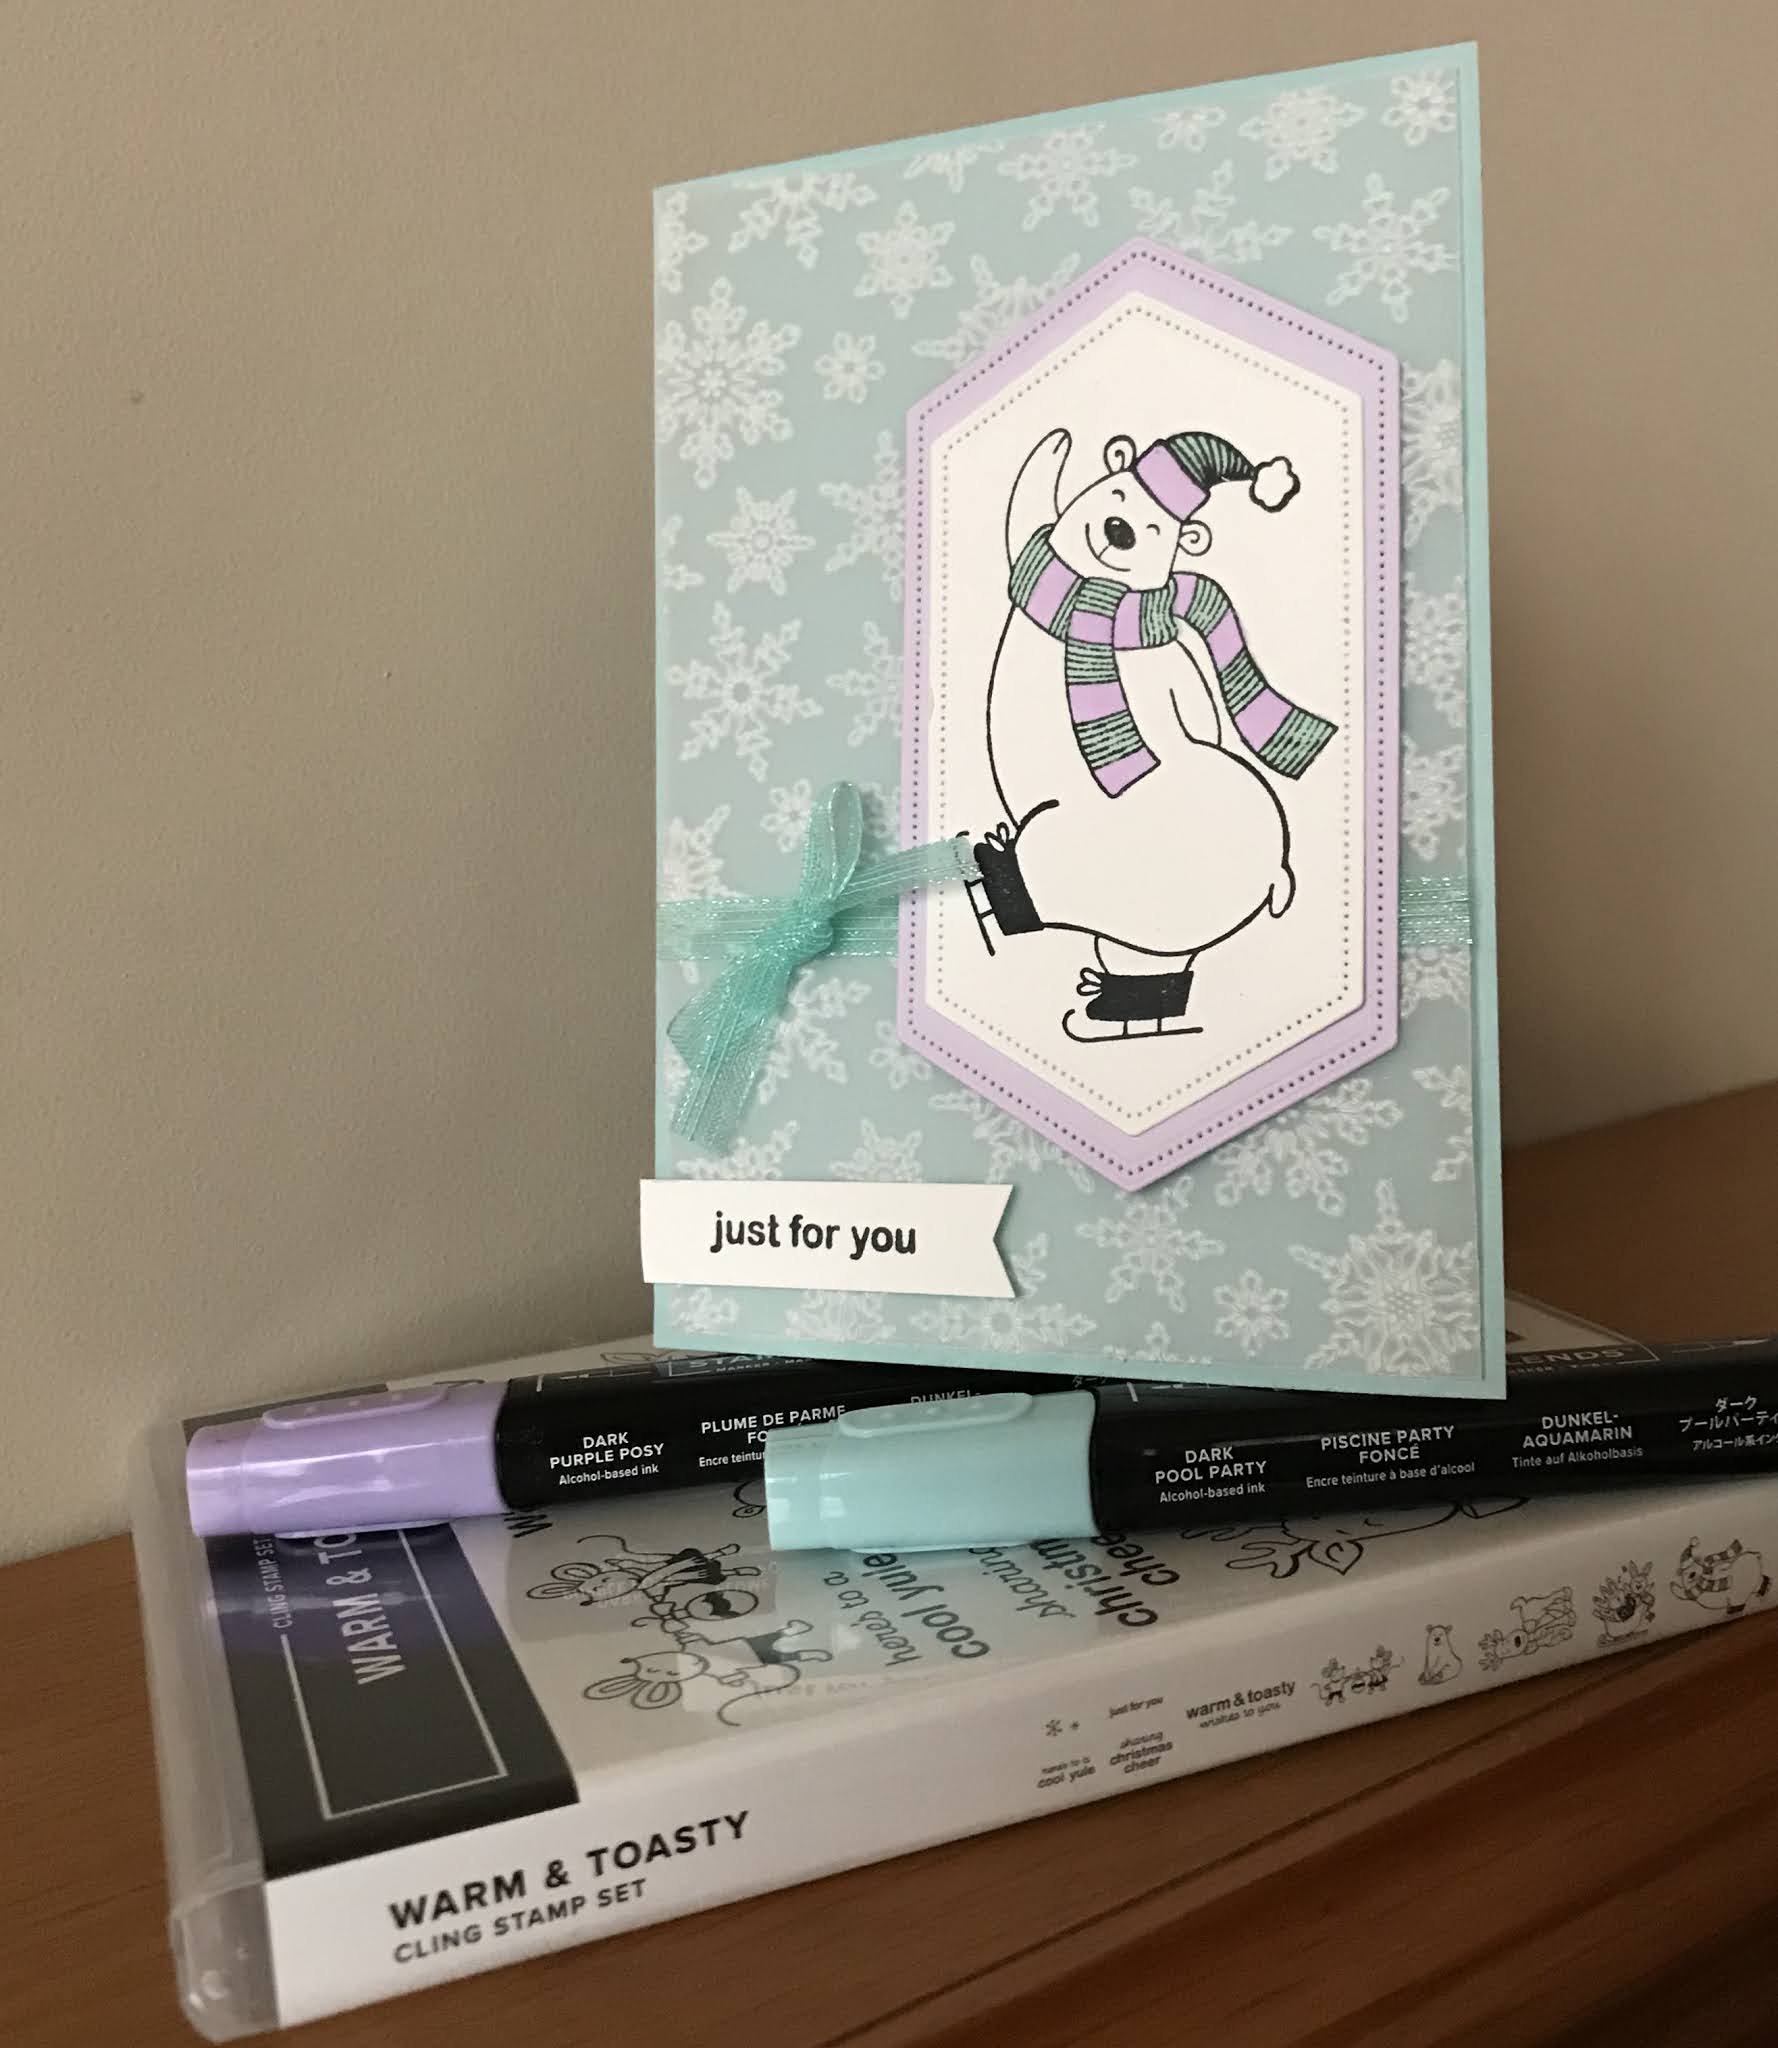
Warm & Toasty

 Hello and welcome to my haven in a hectic world!

Thanks for joining me today!

Filling in with a few more Christmas cards I've made, before the birthdays start 😊

To a beautiful Granddaughter


Quick and easy, and looks just perfect for her!

Materials required for this card are:

Card Stock: pool party, purple posy, vellum
Dies:stitched nested labels (6&7)
Embossing Folders: winter snow
Ink: memento tuxedo black
Punches: banner pick a punch
Ribbon: sheer
Stampin' Blends: pool party, purple posy
Stamp Sets: warm & Toasty
when using layering dies (1) is the smallest

Hope you liked today's card. If you would like more information on how to make it, please don't hesitate to contact me, I'd love to hear from you.

If you wish to buy any of the items used, go to contacting me at the top of the page for details on how to order.

Will be back again soon with more cards, in the meantime take care and have a great day.
Annette 😘

Wednesday, August 21, 2019

Magical Mermaid meets Under The Sea

Hi, it's lovely you've popped by today.

Happy Birthday Lily-Mae

The card for today is for my Grand Daughter, she's turning 9 this year, where have all those years gone!!

She love's everything girlie so I'm sure she'll love this year's card.
To recreate this card follow the guide below:
® = retired, (sab) = Sale-A-Bration, (h) = Hostess, (ss) = Stamp set, (dsp) = Designer Series Paper, (cs) = Card Stock, (nsu) = not Stampin’ up!
When using layering dies 1 is the smallest.

All measurements are in inches


Base card (nsu) measuring 10" x 7" and scored at 5"
Card Stock: Vellum measuring 4" x 6"
Whisper White 3 pieces one each measuring 4" x 6" (second layer), 2" x 4½" (mermaid) and 2¼" x 2¼" (Sentiment)
Mint Macaron Glimmer paper (sab) measuring 3" x 3"
Lovely Lipstick measuring 2¼" x 2¼"
Stampin' Blends: Light crumb cake, lovely lipstick, Petal Pink, Dark pool party, Both Daffodil Delight & Fliry Flamingo
Stamp Sets: Magical Mermaid 
Ribbon: Polka Dot tulle
Embossing folders: ® Seaside
Dies: Under the Sea, Stitched Shapes, Layering circles
Accessories: Basic Rhinestones
Stampin' Pads: Bermuda bay, Lovely Lipstick, Mint Macaron, Sahara Sand, Shaded Spruce

Sponge around the edge of the vellum with Mint Macaron ink and adhere to the base card with liquid glue at a jaunty angle

For the second layer of Whisper White (cs) create a background using the 3 green stampin' pads and the Seaweed stamp, then randomly stamp some of the dots in Sahara Sand

Emboss this layer using the ® Seaside folder and adhere to the card, again at a jaunty angle using liquid glue

Stamp the sentiment using the square piece of Whisper White (cs) in Lovely Lipstick

Die cut the sentiment using stitched circle No 2, scalloped circle No 4 with the Lovely Lipstick (cs) & the netting in the glimmer paper (these can all go through at the same time)

Stamp the Mermaid in Memento Tuxedo Black ink and colour using the Stampin' Blends and then fussy cut it.

Adhere the circles using dimensional pads, add the ribbon across the back of the scalloped circle and adhere to the card again using dimensional pads

Adhere the netting using liquid glue and the mermaid using dimensional pads
Colour 3 basic rhinestones with the dark Lovely Lipstick Blends and add to the sentiment.

Will be back again soon with more cards
Annette X

Delicate Whispers and more

Welcome to my blog and    t hank you for joining me today! Happy Anniversary to Sylvia & Bill Intermediate level - blending with a brush...