Welcome to my blog
and thank you for joining me today!
Happy Anniversary to Carole & Nigel

Mixing and matching up different techniques
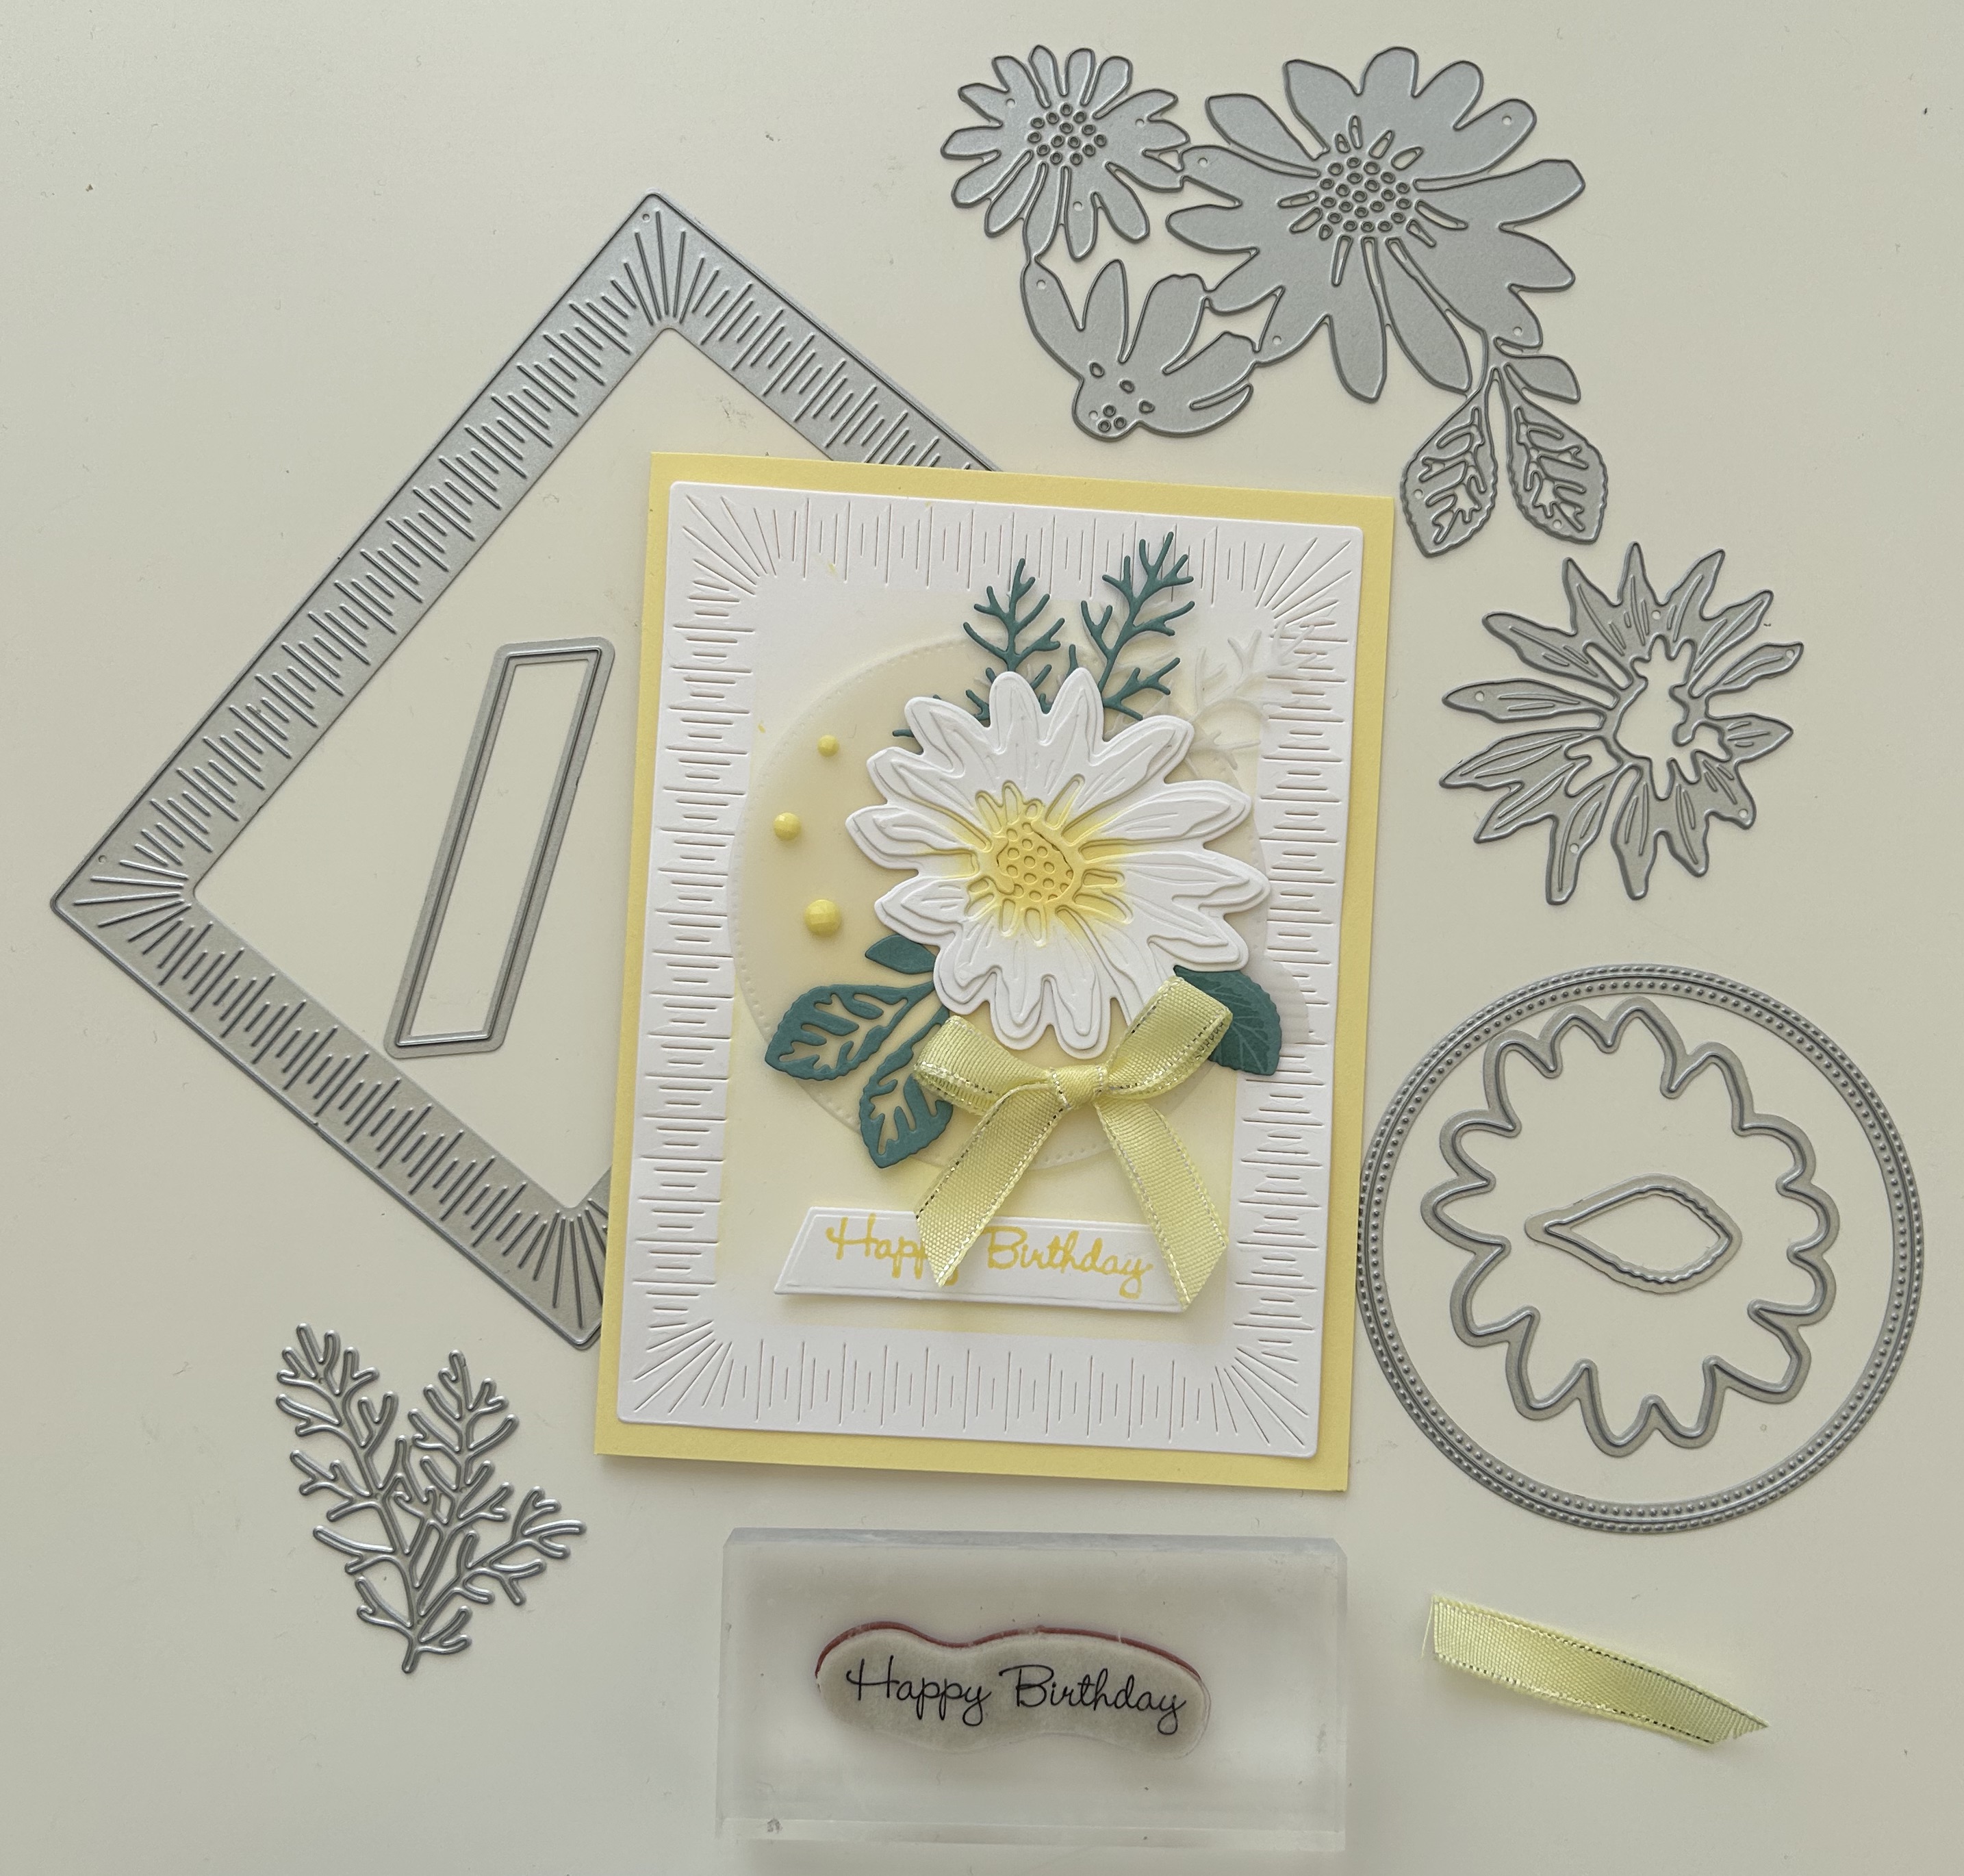
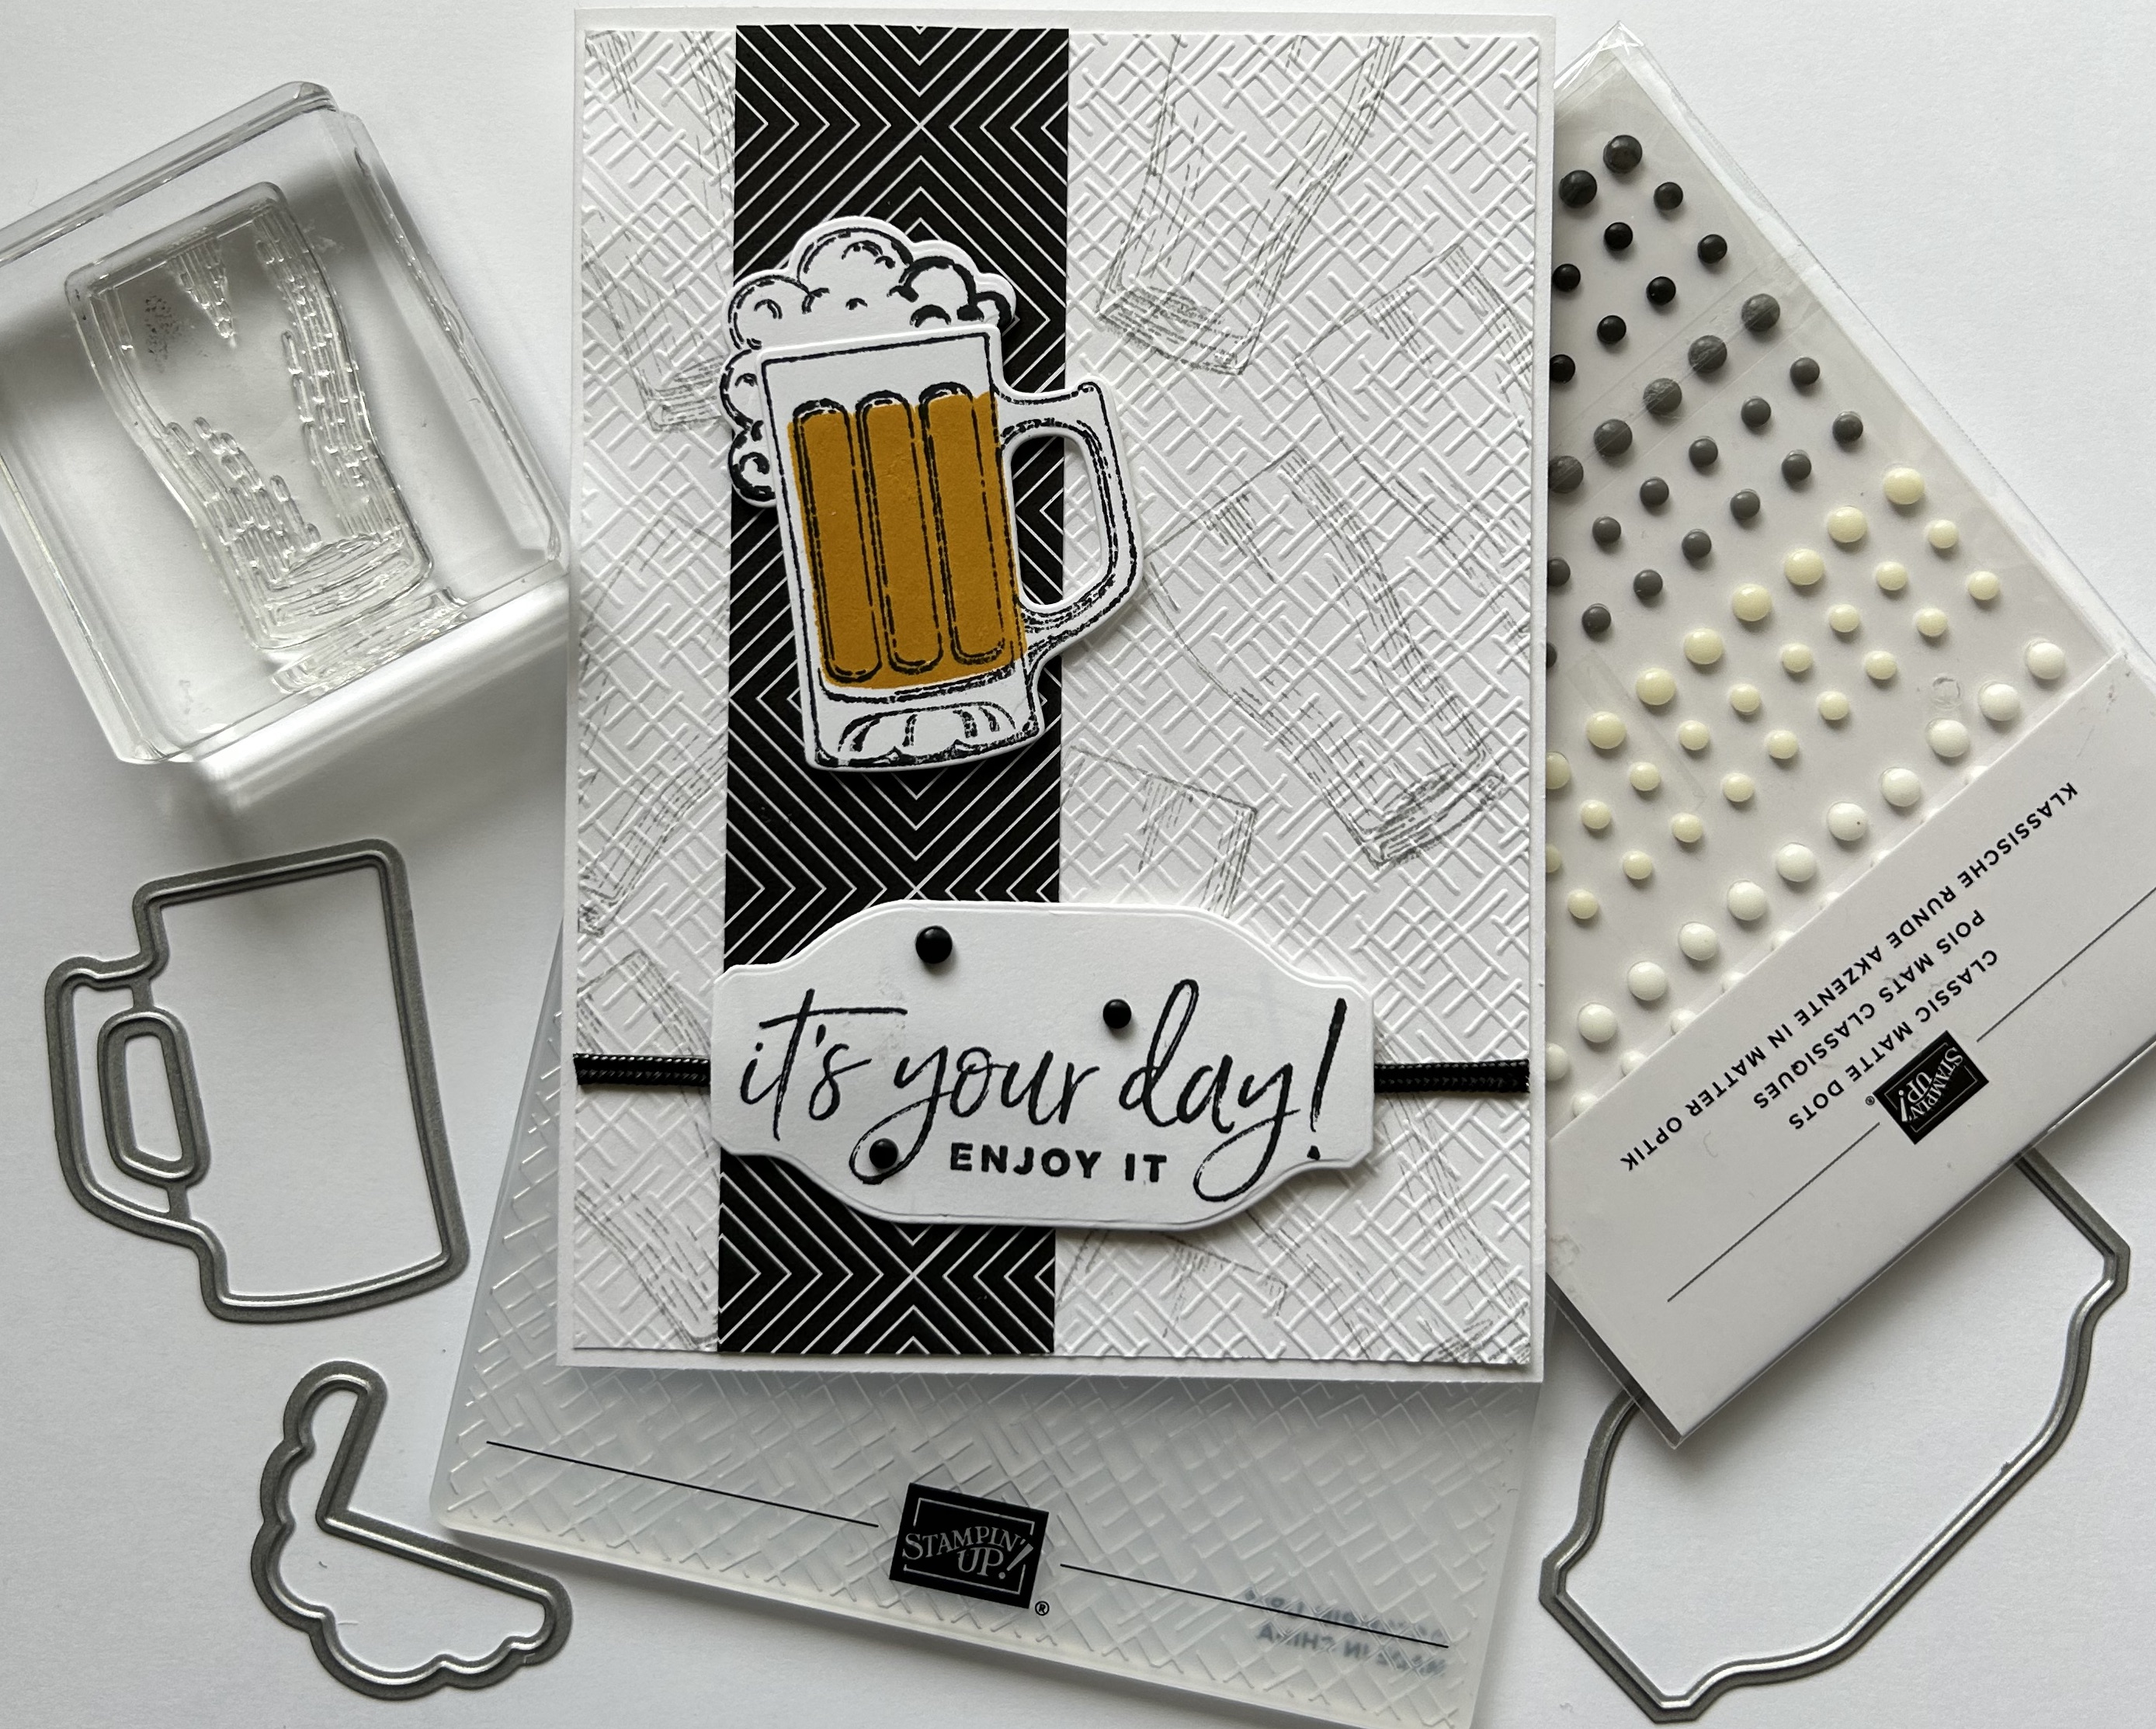
Materials required for this card are:
Card Stock: basic white, moody mauve
Dies: dainty delight, *framed florets (both ovals)
Embossing Folders: timeworn type
Ink: memento tuxedo black, moody mauve, parakeet party
Punches: *word window
Stampin' Blends: moody mauve
Stamp Sets: dainty delight, *teeny tiny sentiments
Accessories: bakers twine essentials, blending brushes, iridescent rhinestones
* = no longer available
- Start with a base card 21 x 14.5 scored at 10.5, basic white layer 14 x 10
- on a small piece of basic white stamp the flowers and happy anniversary
- punch the sentiment, and die cut the flowers
- die cut both the ovals out of the white layer
- using blending brushes and a torn piece of paper colour the inner oval
- emboss the white layer and coloured oval using the folder
- attach the white layer to the base card using dimensional pads
- adhere the coloured oval in the centre using liquid glue
- colour the bakers twine using the blend pen and create a bow
- attach the flowers and sentiment using dimensional pads
- add the bow using a glue dot
- add the iridescent rhinestones
Hope you liked today's card. If you would like more information on how to make it, please don't hesitate to contact me, I'd love to hear from you.
If you wish to buy any of the items used, go to contacting me at the top of the page for details on how to order.
Will be back again soon with more cards, in the meantime take care and have a great day.
Annette 😘