Happy Birthday Mike!
This is my take, on card from Kelly Acheson's blog "a stamp above" on 5 May 2020, I changed the orientation and turned it into swing card.
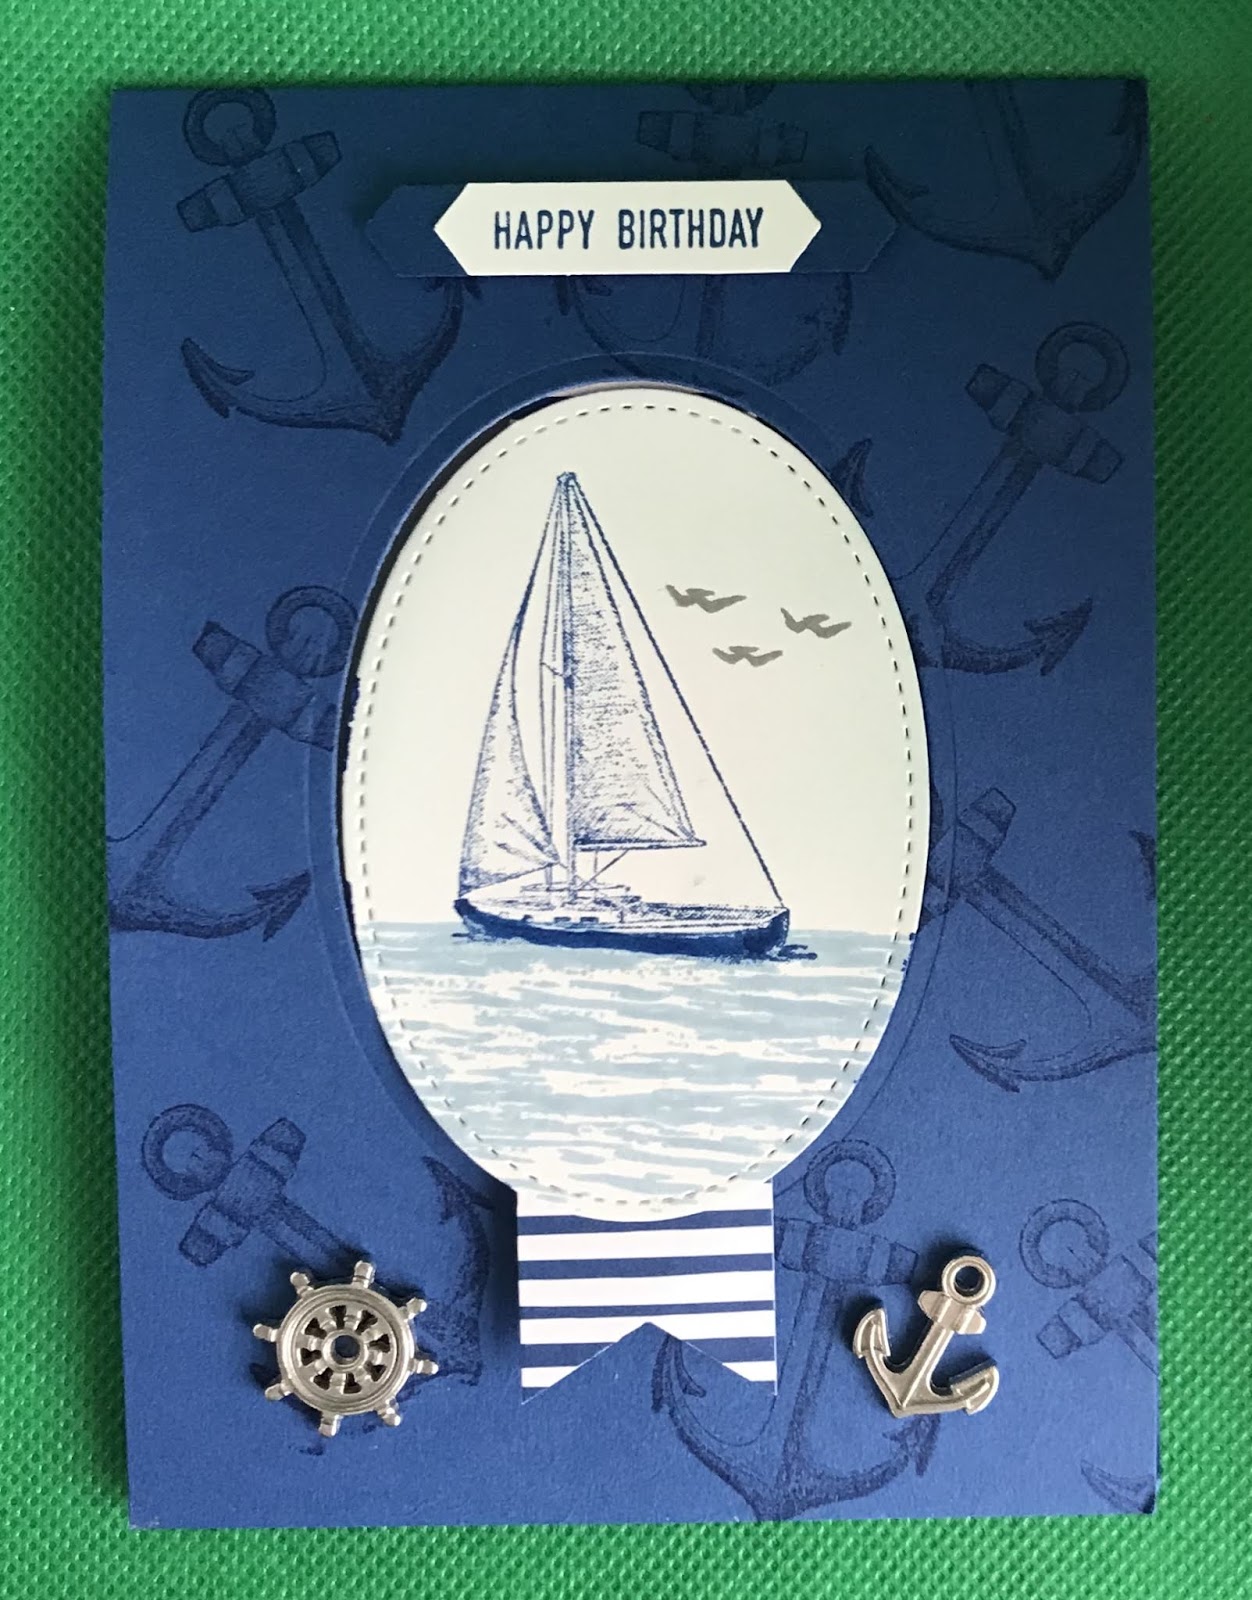
closed
|  open open |
Measurements are in centimetres.
(cs) = card stock, (dsp) = designer series paper, (ss) = stamp set, when using layering dies (1) is the smallest.
Colours: Basic Gray, Blueberry Bushel, Pool Party, Seaside Spray.
- Card base is blueberry bushel (cs) 10.5 x 29.7 scored at 14.8.
- Die cut the opening for the front using the layering ovals dies (7), then randomly stamp the anchor from the sailing home (ss) in blueberry bushel.
- On a piece of whisper white (cs) 7 x 9.5 stamp the scene, water is from the high tide (ss) in seaside spray, boat is from the sailing home (ss) in blueberry bushel and the birds are from the my meadow (ss) in basic gray. Lightly sponge above the water in pool party to form a sky line.
- Die cut the scene using the stitched shape dies oval (4), now die cut another oval the same size in blueberry bushel.
- Cut a piece of whisper white (cs) 10 x 14.3 (card insert), do a dry placement, and through the aperture stamp the greeting from the sailing home (ss) using blueberry bushel in the middle.
- Cut a 2.5 stripe from the 6" x 6" 18/20 in color (dsp) stack, then use the triple banner punch to make the tail at one end and a 1cm score mark at the other.
- Adhere the dsp to the back of the card insert making sure it's in the middle. Then using 2 pieces of bakers twine measuring 14cm each create a reef knot and attach both ends to the back of the card insert towards the bottom using sellotape, making sure the knot on the front is roughly in the middle.
- Attach the card insert to the card base using dimensional pads.
- Close the card, add some liquid glue down the centre of the dsp showing through the oval aperture then place the scene oval over the top, making sure it's in the right place and adhere down.
- Open the card and adhere the blueberry bushel oval over the top of the white one.
- On a scrap piece of whisper white (cs) stamp the happy birthday from the itty bitty greetings (ss) in blueberry bushel and punch out using the classic label punch. I re-inserted the ends to make the label smaller then punched a second label in blueberry bushel and adhered the two together and attached to the front of the card using dimensional pads.
- Lastly I added a couple of the (r) sail away trinkets.
Annette X


No comments:
Post a Comment