Happy Easter Sheilah!
I normally only do one Easter card each year for my Aunt, but from this year there will be two.
All measurements are in centimetres.
(cs) = card stock, (ef) = embossing folder, (ep) embossing powder, (r) = retired, (ss) stamp set
Grapefruit Grove 2 pieces, 9.5 x 13. 5 (1st layer), 5.5 x 7.5 (cross),
Gold foil 2 pieces, 5.5 x 2 (sentiment backing), 5.5 x 7.5 (cross),
Whisper White 4 pieces, 13.8 x 21 scored at 10.5 (card base), 9 x 12.5 (2nd layer), pieces, 5.5 x 2 (sentiment). 5.5 x 16 (2 foliage)
When using layering dies (1) is the smallest.
Colours are Grapefruit Grove, Gold, Pear Pizzazz.
- With the stitched rectangles dies, die cut the grapefruit grove (cs) using the (8) wide frame, and the whisper white (cs) using the (7) wide frame.
- Adhere the grapefruit grove rectangle to the base card using liquid glue.
- Next, emboss the whisper white rectangle using the brick& mortar (ef), (this is what I forgot to do, hence my frosted flower was squashed). Now attach this rectangle to the card base using dimensional pads.
- With the larger strip of whisper white (cs) stamp the foliage from the hold on to hope (ss) twice and die cut both of these using the cross of hope dies.
- On the small piece of whisper white (cs) stamp the happy easter from the (r) delightful dozen (ss) using versaMark, then heat emboss using gold (ep).
- Using the washi label punch, punch out the sentiment, then punch out a second one using the gold foil. Cut this one in half and adhere behind the sentiment leaving a slight edge on either side using liquid glue.
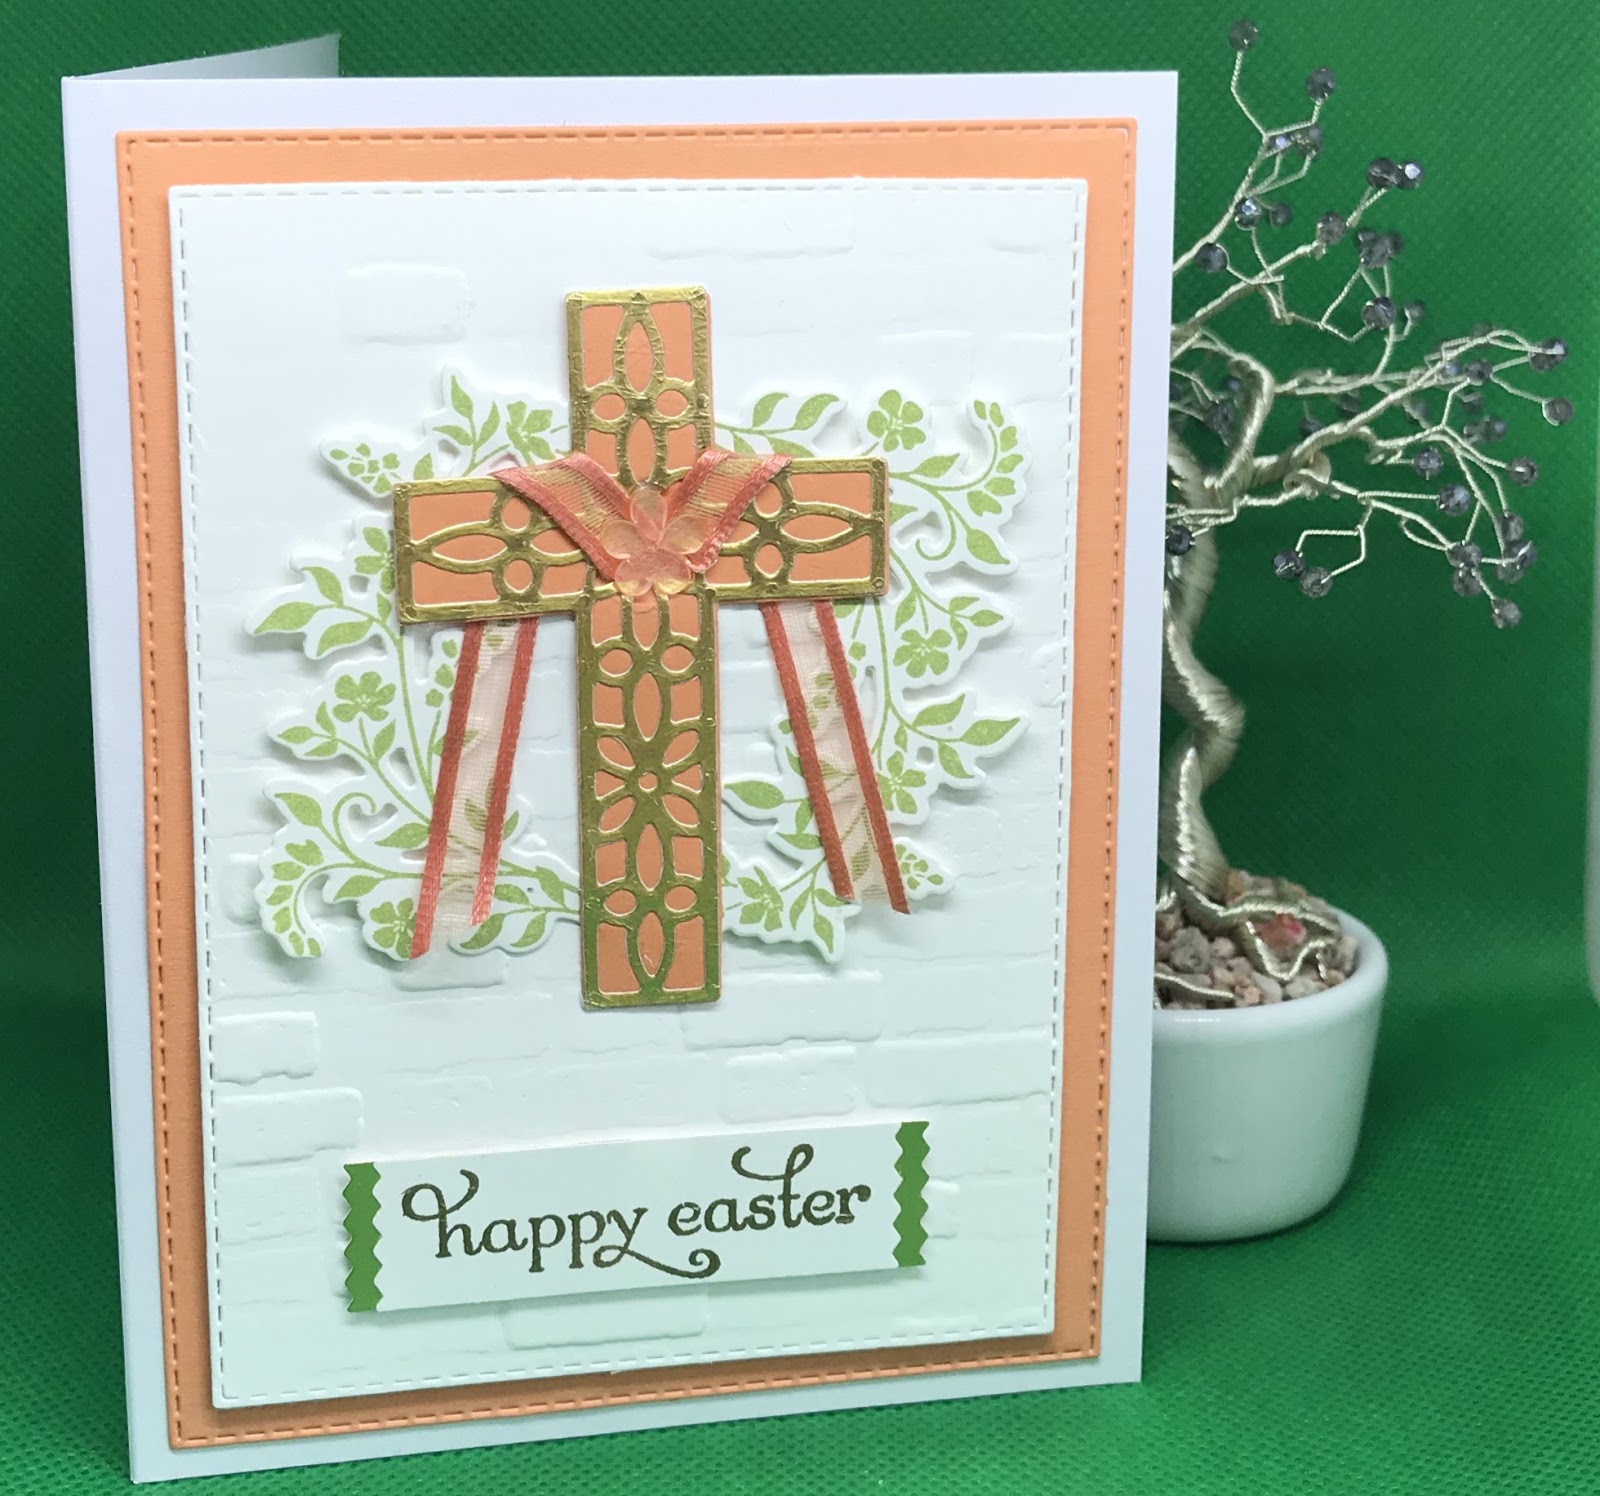
- Using the cross of hope dies, die cut the 2 crosses, lattice cross in gold foil and grapefruit grove cross solid.
- Adhere the gold cross to the solid cross using liquid glue.
- Wrap a piece of the (r) organza ribbon around the cross using a glue dot at the front to adhere it and also at the back on either side to hold the ribbon in place.
- Add one of the frosted flower embellishments over the ribbon to finish off the front of the cross.
- Adhere the very top and the very bottom of the foliage behind each side of the cross to make a wreath.
- Attach to the card base, along with the sentiment using dimensional pads.
- I felt it needed a little something extra after completing it and writing the blog, so added some random (r) gold sequins.
Annette X


No comments:
Post a Comment